Burning
A Fujifilm Recipe for a Sky on Fire
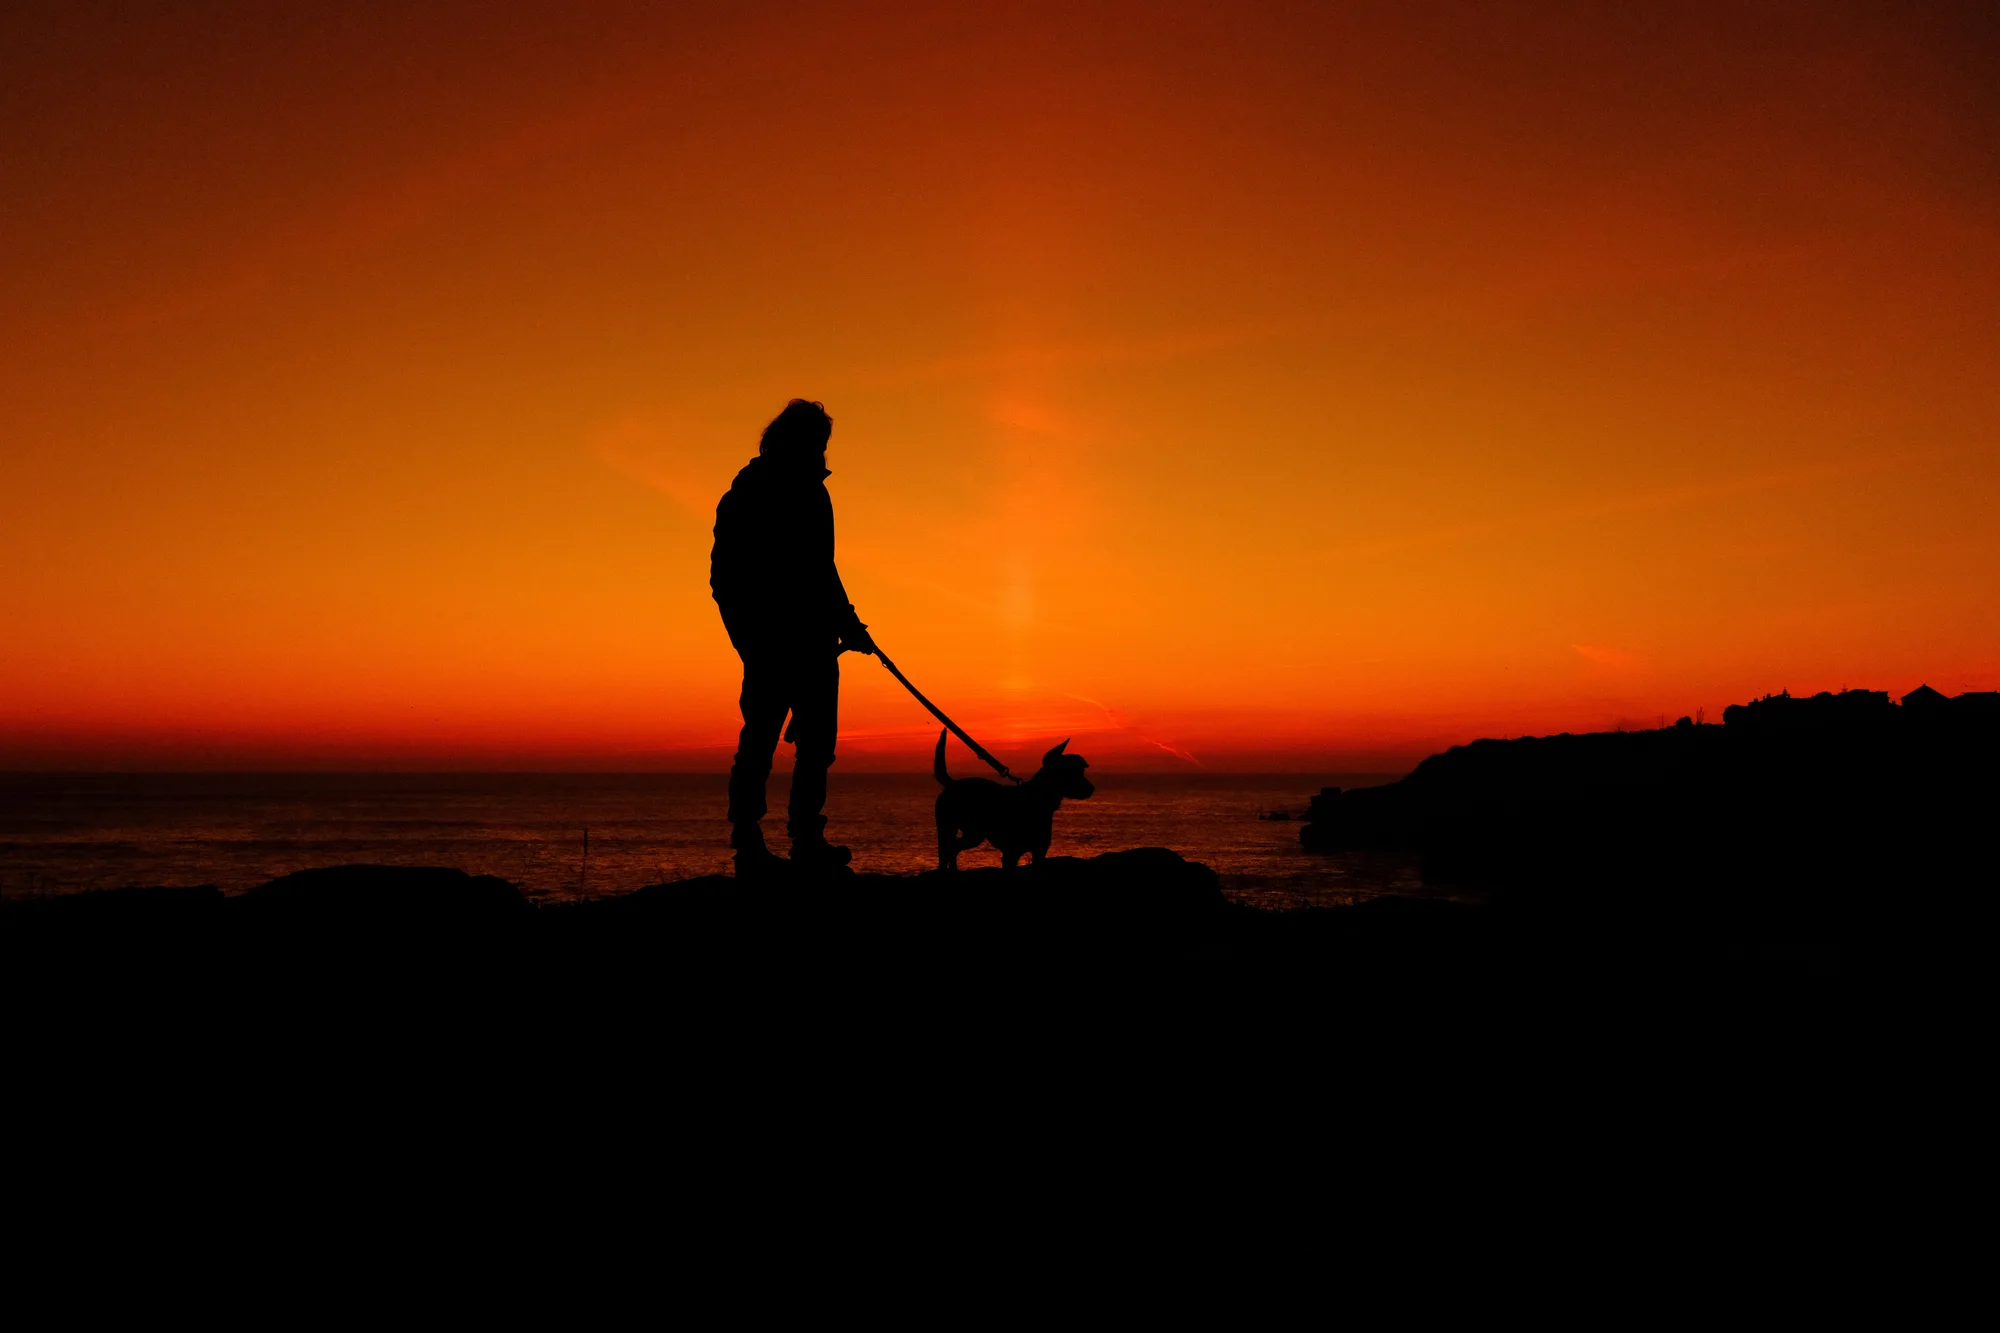
Burning is in the same vein as Velvet Dreams. It runs on Velvia, and it is made for the same moment of the day, the period that opens once the sun has gone below the horizon. The two go in opposite directions from there. Velvet Dreams leans into purple and magenta. Burning shifts the white balance to Auto R+8 B-8, which pulls the blue out of the sky and leaves orange and red.
This is not a general purpose recipe. Its range is narrow, and the sky has to still hold its warm light for it to work at all. Point the camera at a backlit subject inside that window and you get a black silhouette against a sky that looks like it is burning. Outside of it, the results are usually too orange to be usable.
When to Use This Recipe
Burning covers a narrow set of conditions. Its range is even shorter than Velvet Dreams, since it needs warm light still in the sky rather than the purple that comes later.
Best suited for:
- The 10 to 30 minutes right after the sun sets
- Skies that already show orange, red or amber
- Silhouettes of people, statues, trees or coastlines
- Sea horizons and open landscapes
- Backlit subjects shot into the remaining light
- Clear skies or skies with thin cloud streaks
Not ideal for:
- Daylight and midday sun
- Blue hour once the warm light is gone (use Velvet Dreams instead)
- Indoor photography
- Portraits with natural skin tones
- Grey or fully overcast skies
Tips for Better Results
Expose for the sky
Meter on the brightest part of the sky and let the foreground fall to black. If you try to save the shadows, you lose the silhouette and the color at the same time.
Shoot into the light
Put your subject between you and the point where the sun went down. A person, a dog, a statue, a rock. The shape matters more than the detail, so look for outlines that stay readable in full black.
Keep shooting after the sun is gone
The strongest orange usually arrives several minutes after the sun disappears, not while it is still visible. Most people pack up too early.
Find a clean horizon
Sea, a cliff edge, a rooftop. Anything that gives the sky room to fill the frame. Cluttered foregrounds fight with the silhouette.
Watch your ISO
Light drops fast once the sun is down. Start around 400 and raise it as needed to keep a shutter speed you can hand hold.
Photo Examples
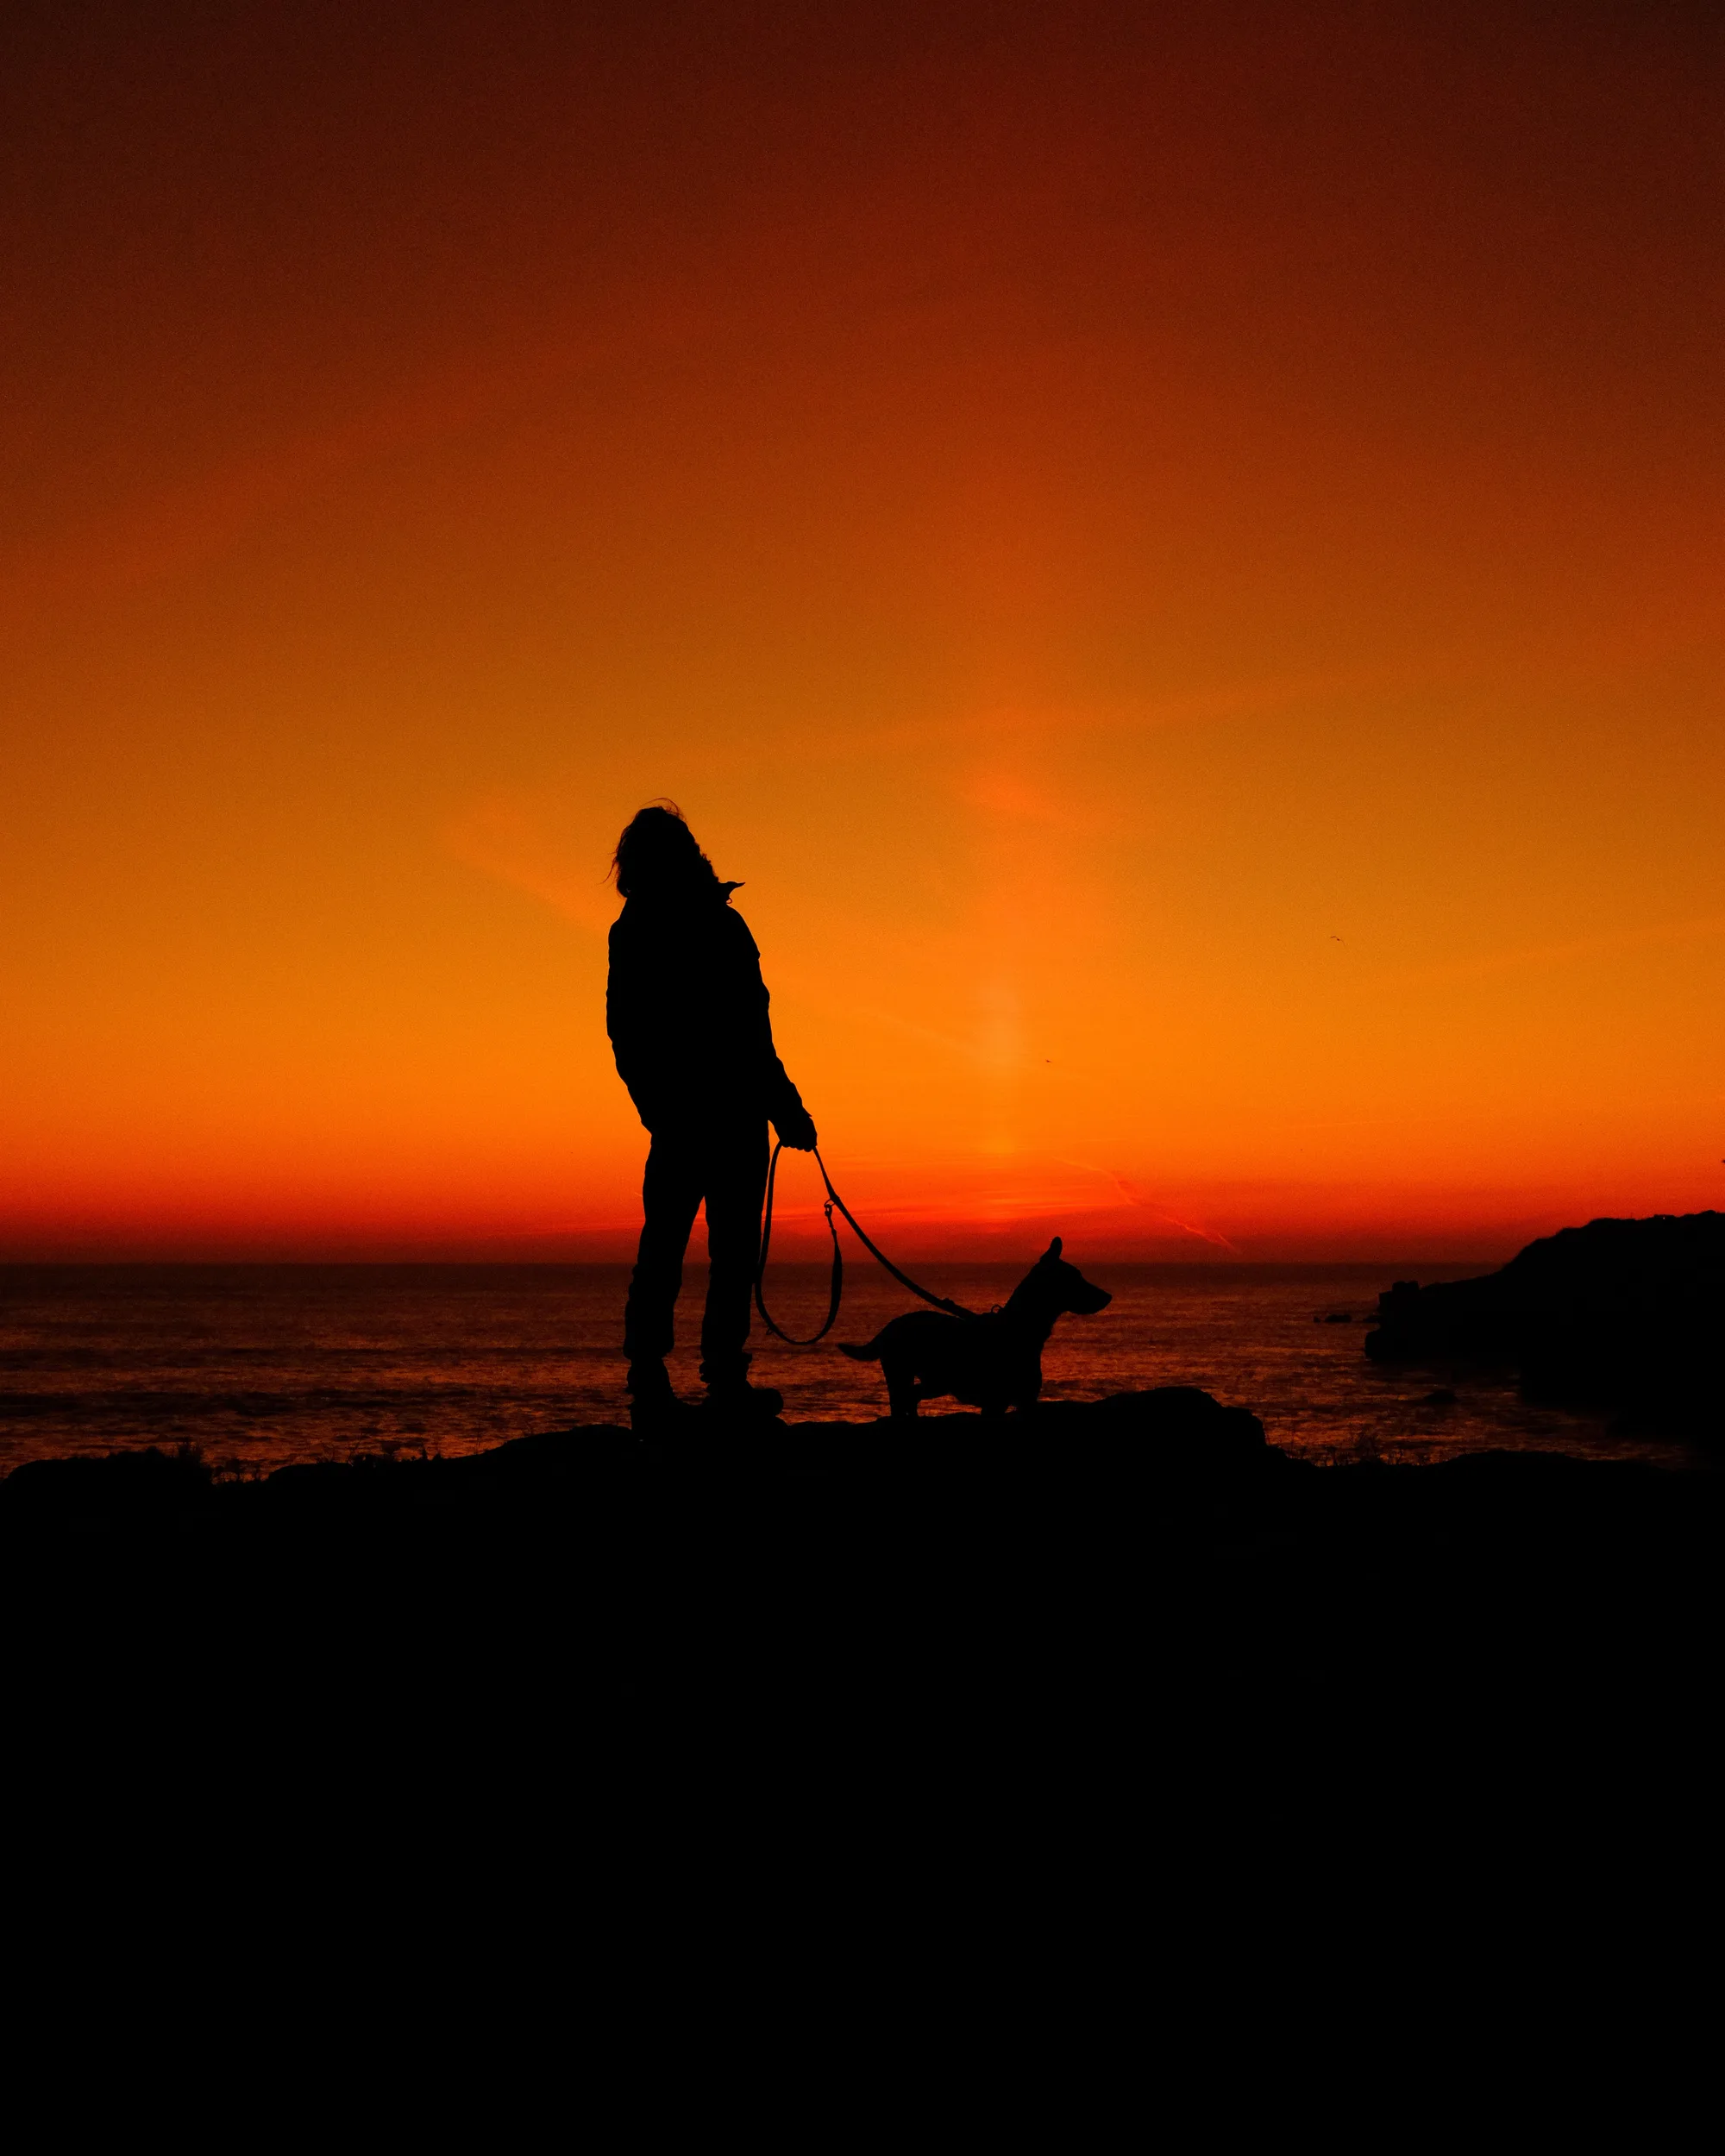
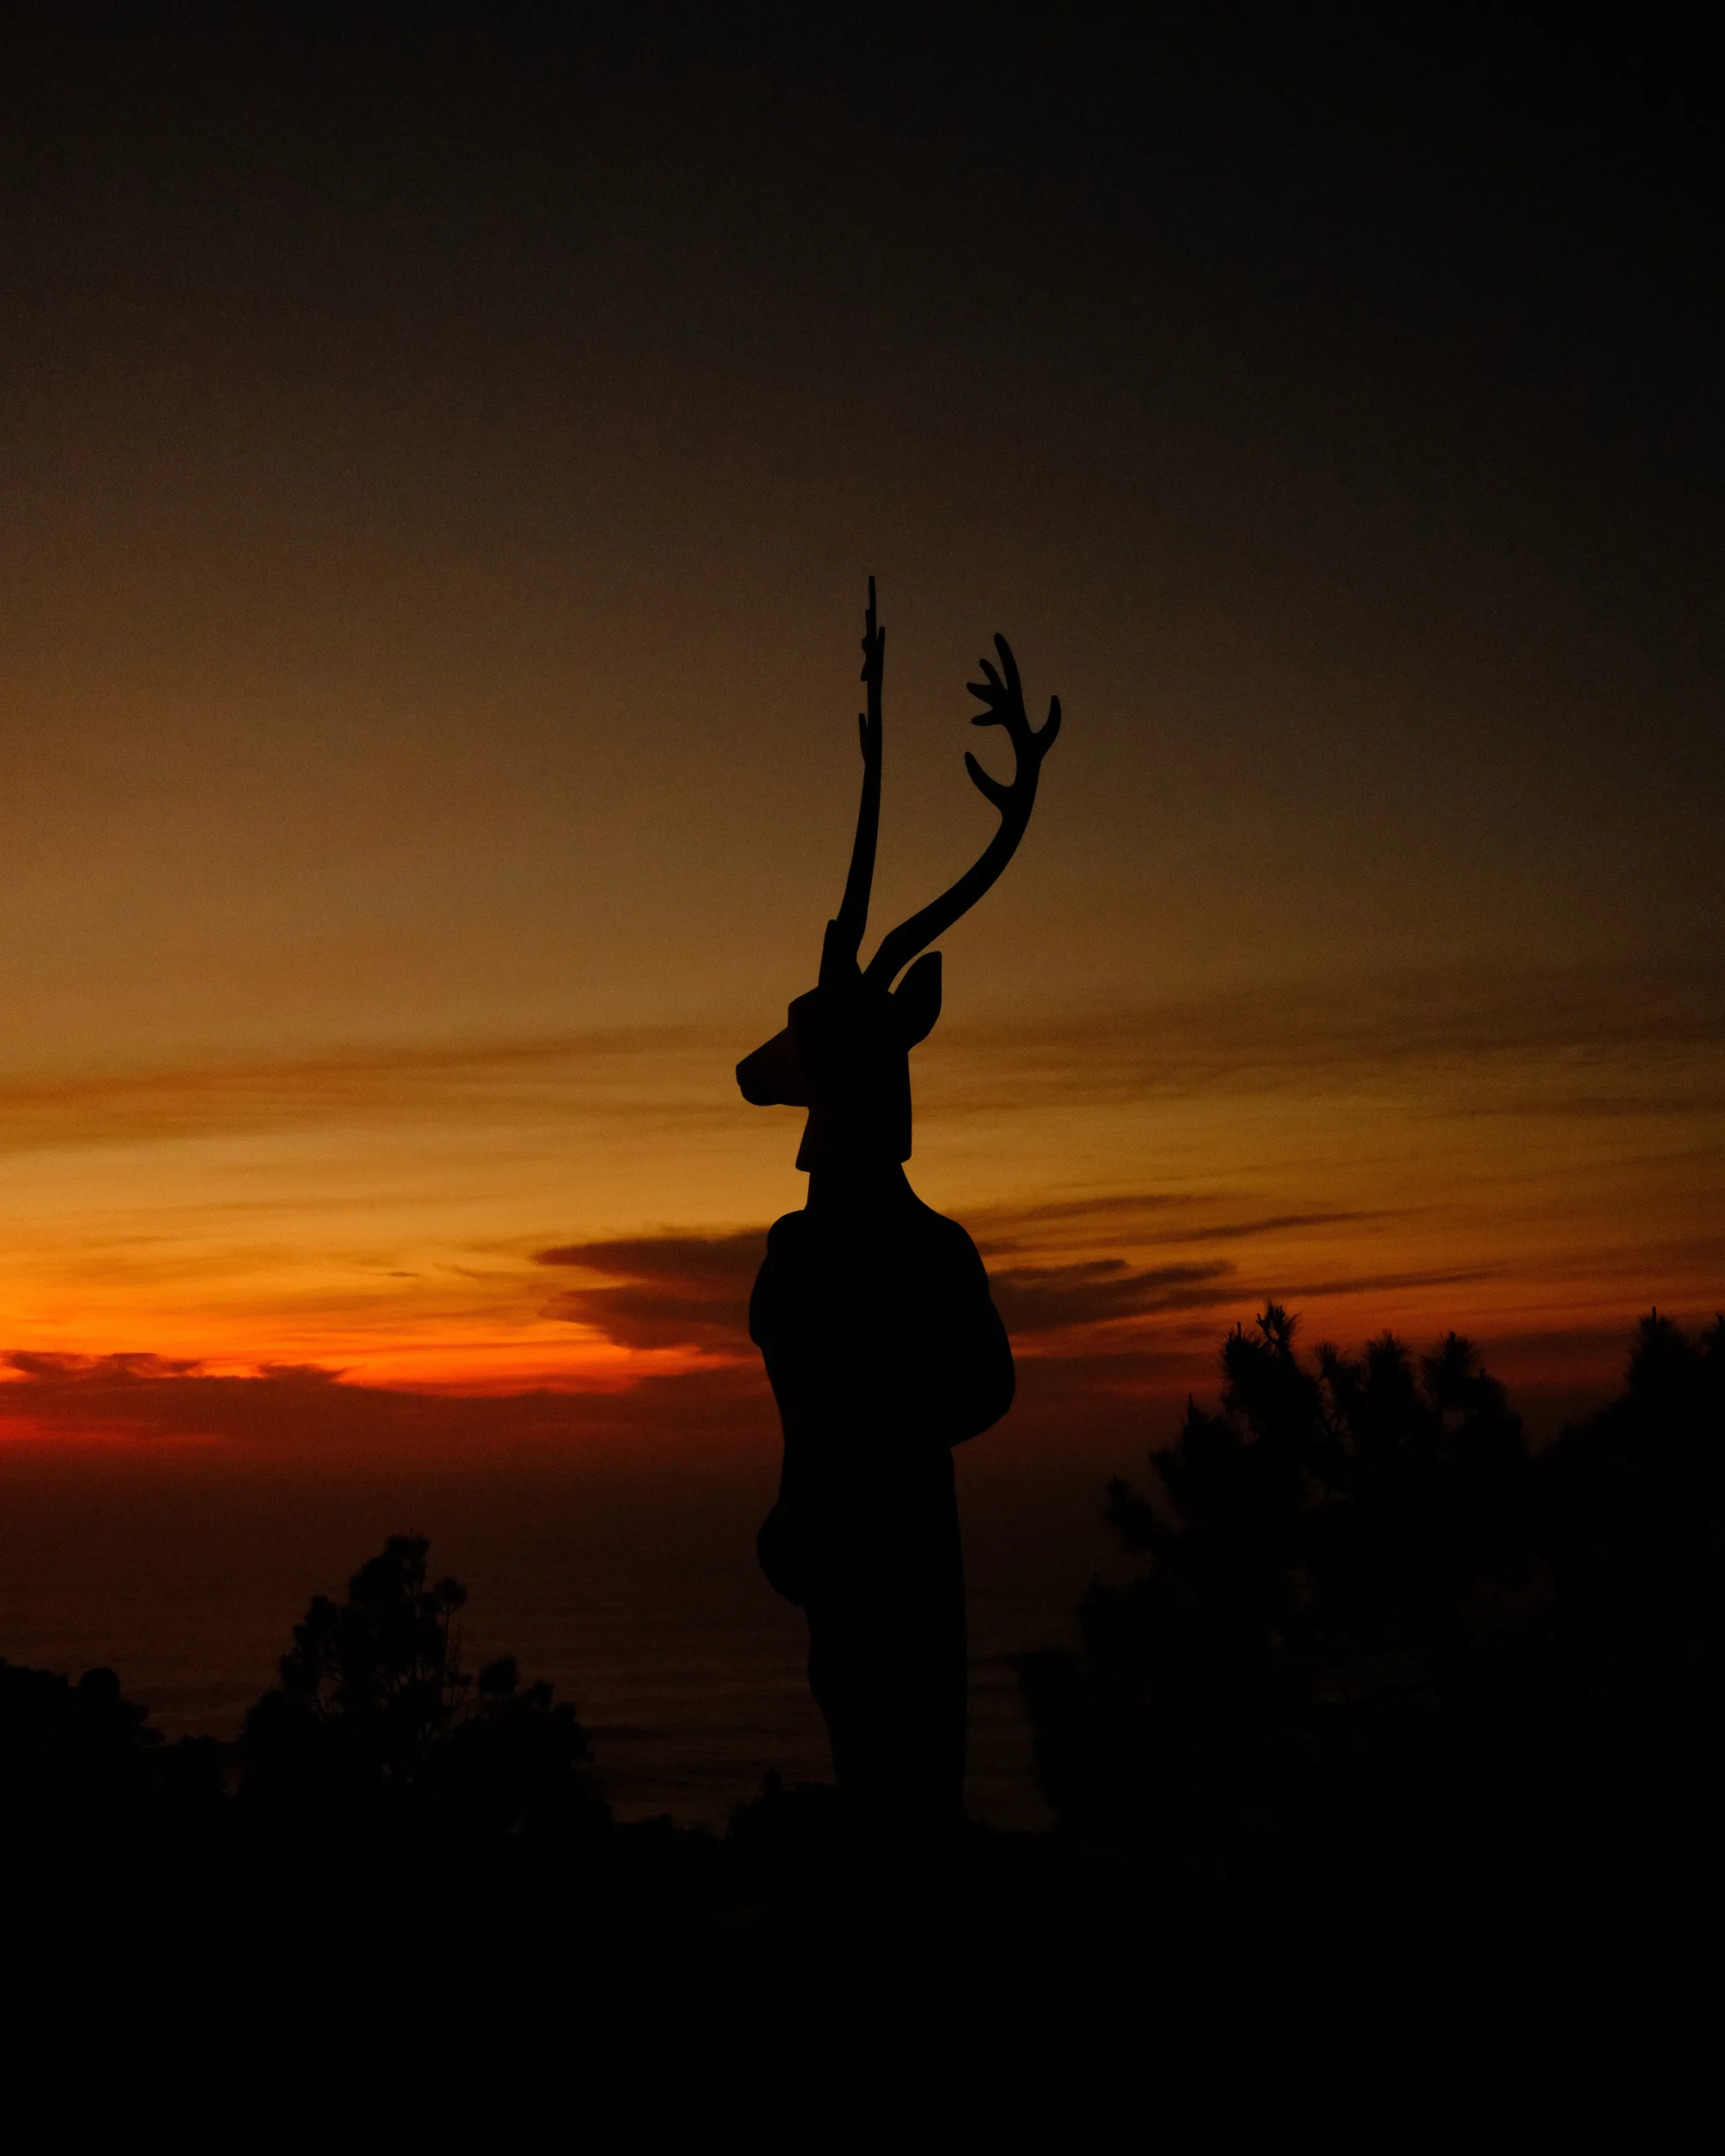
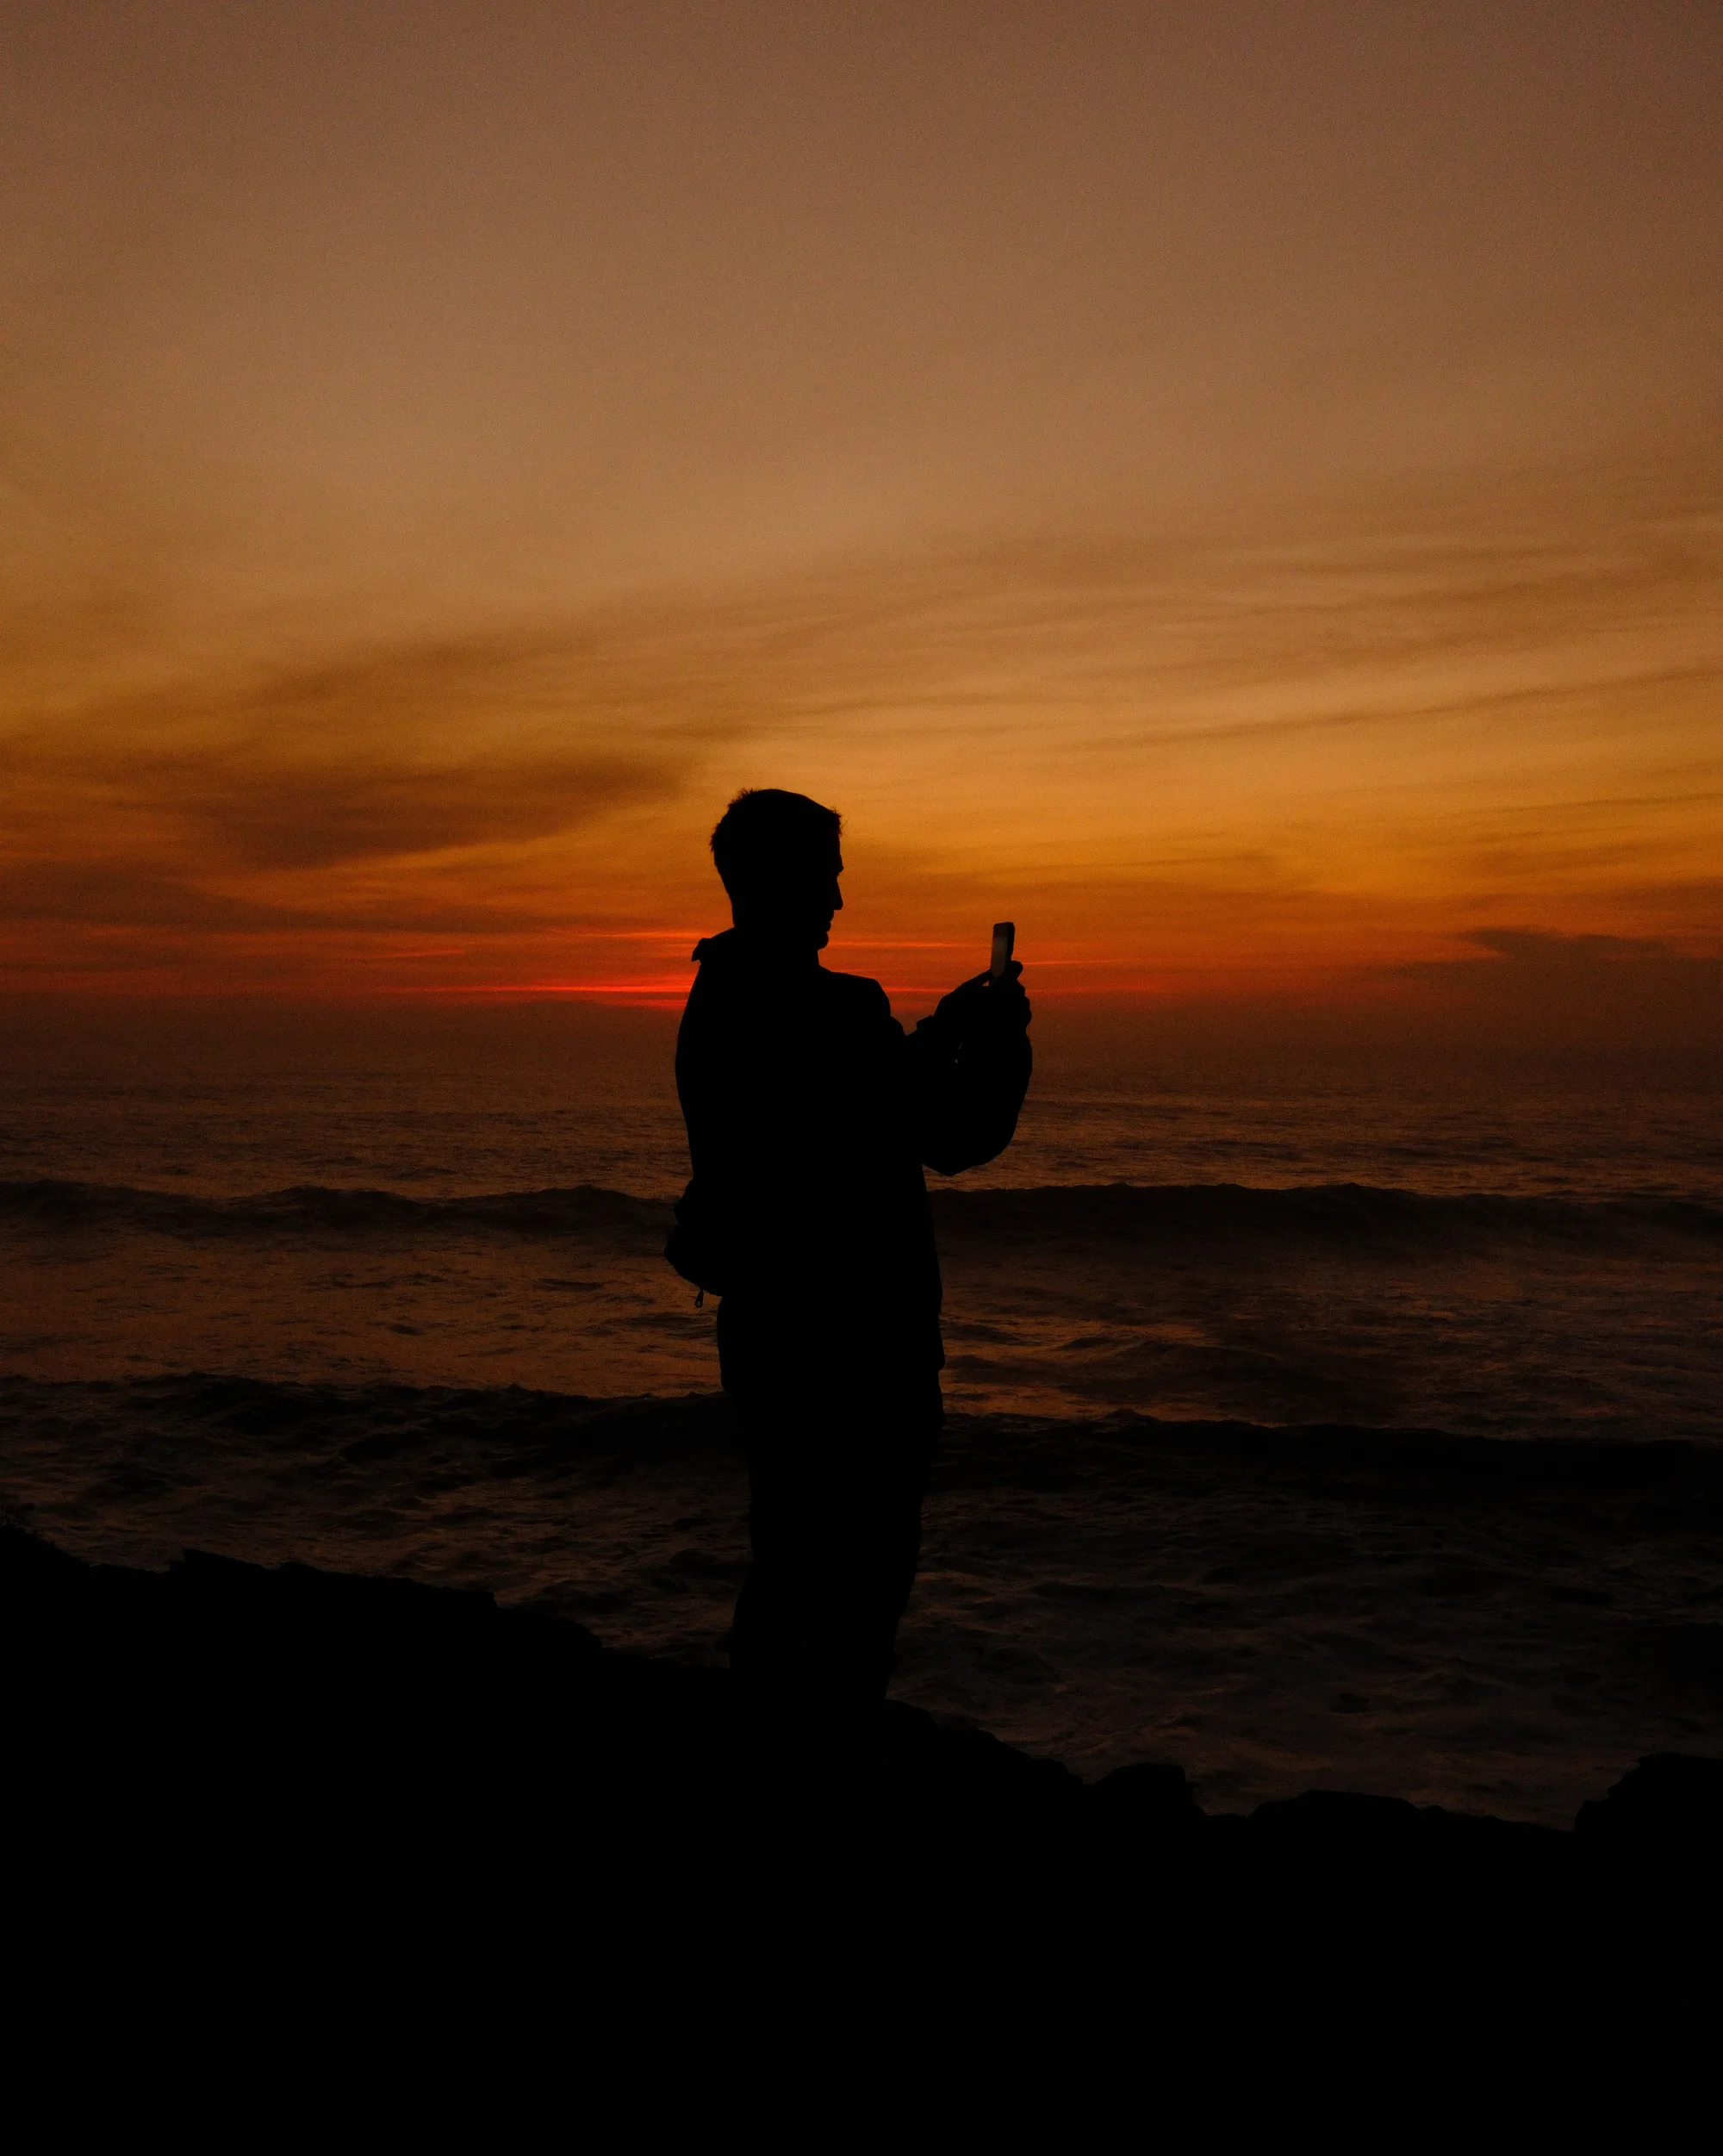
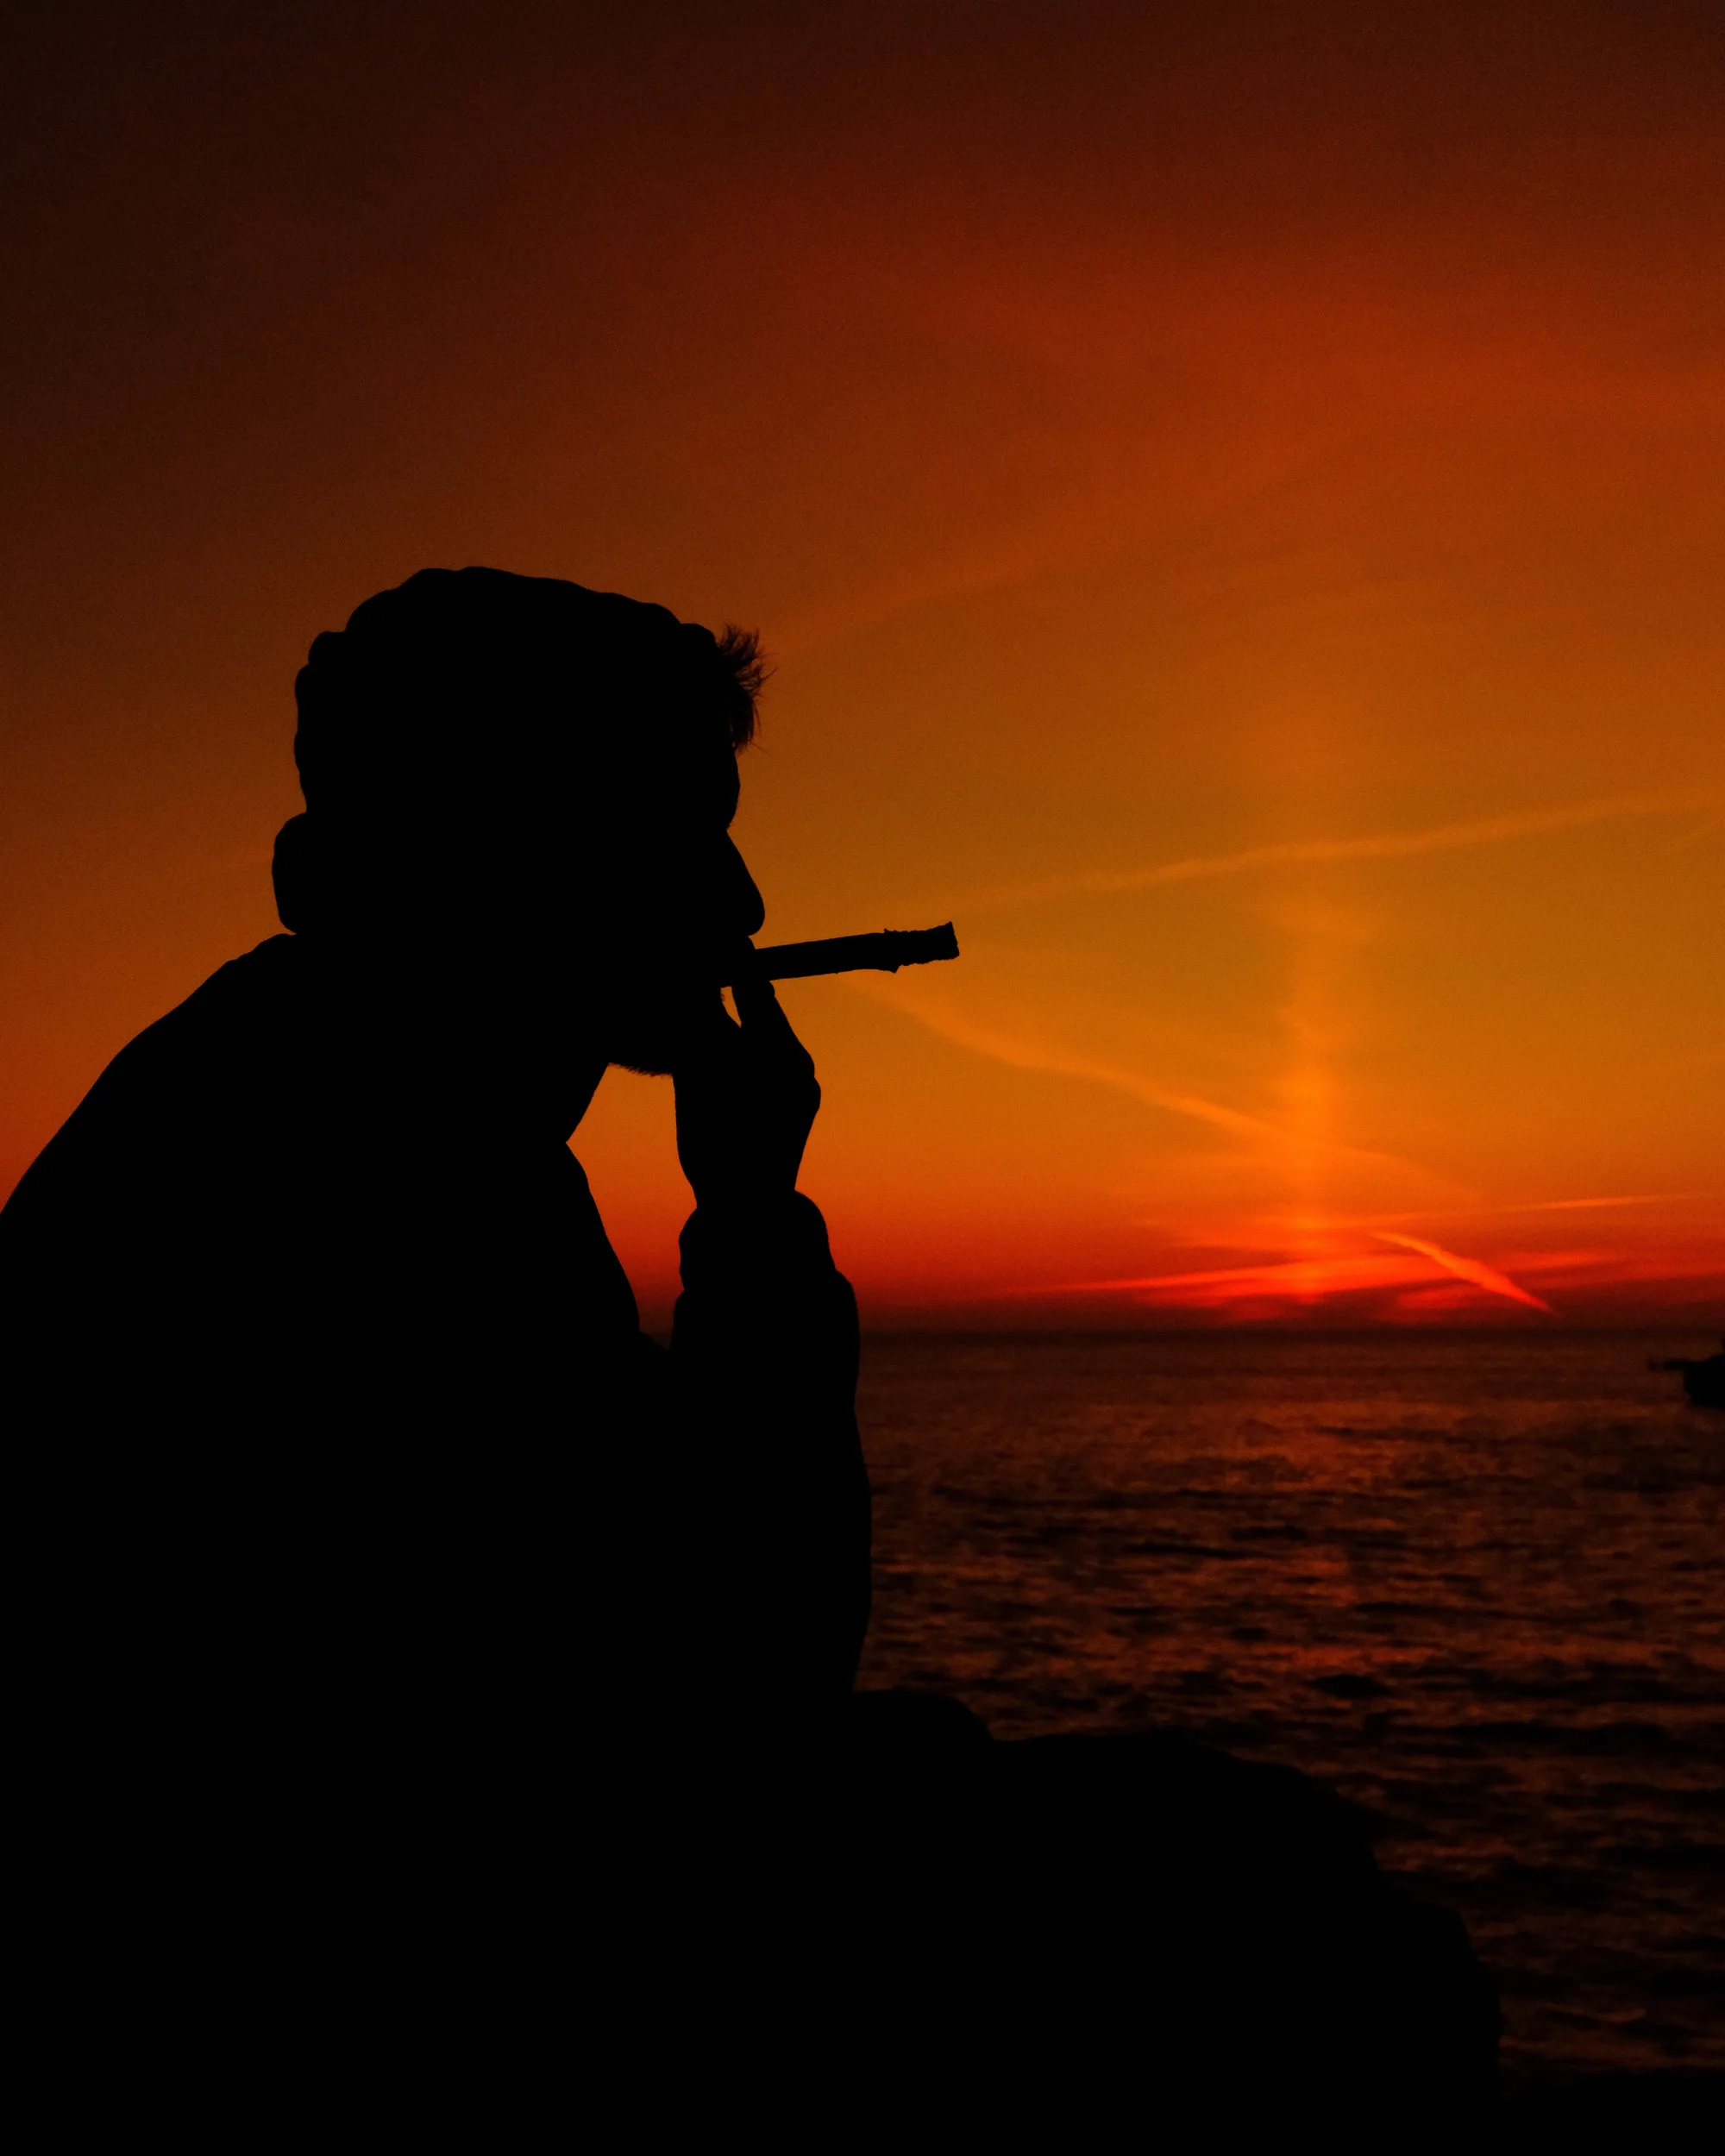
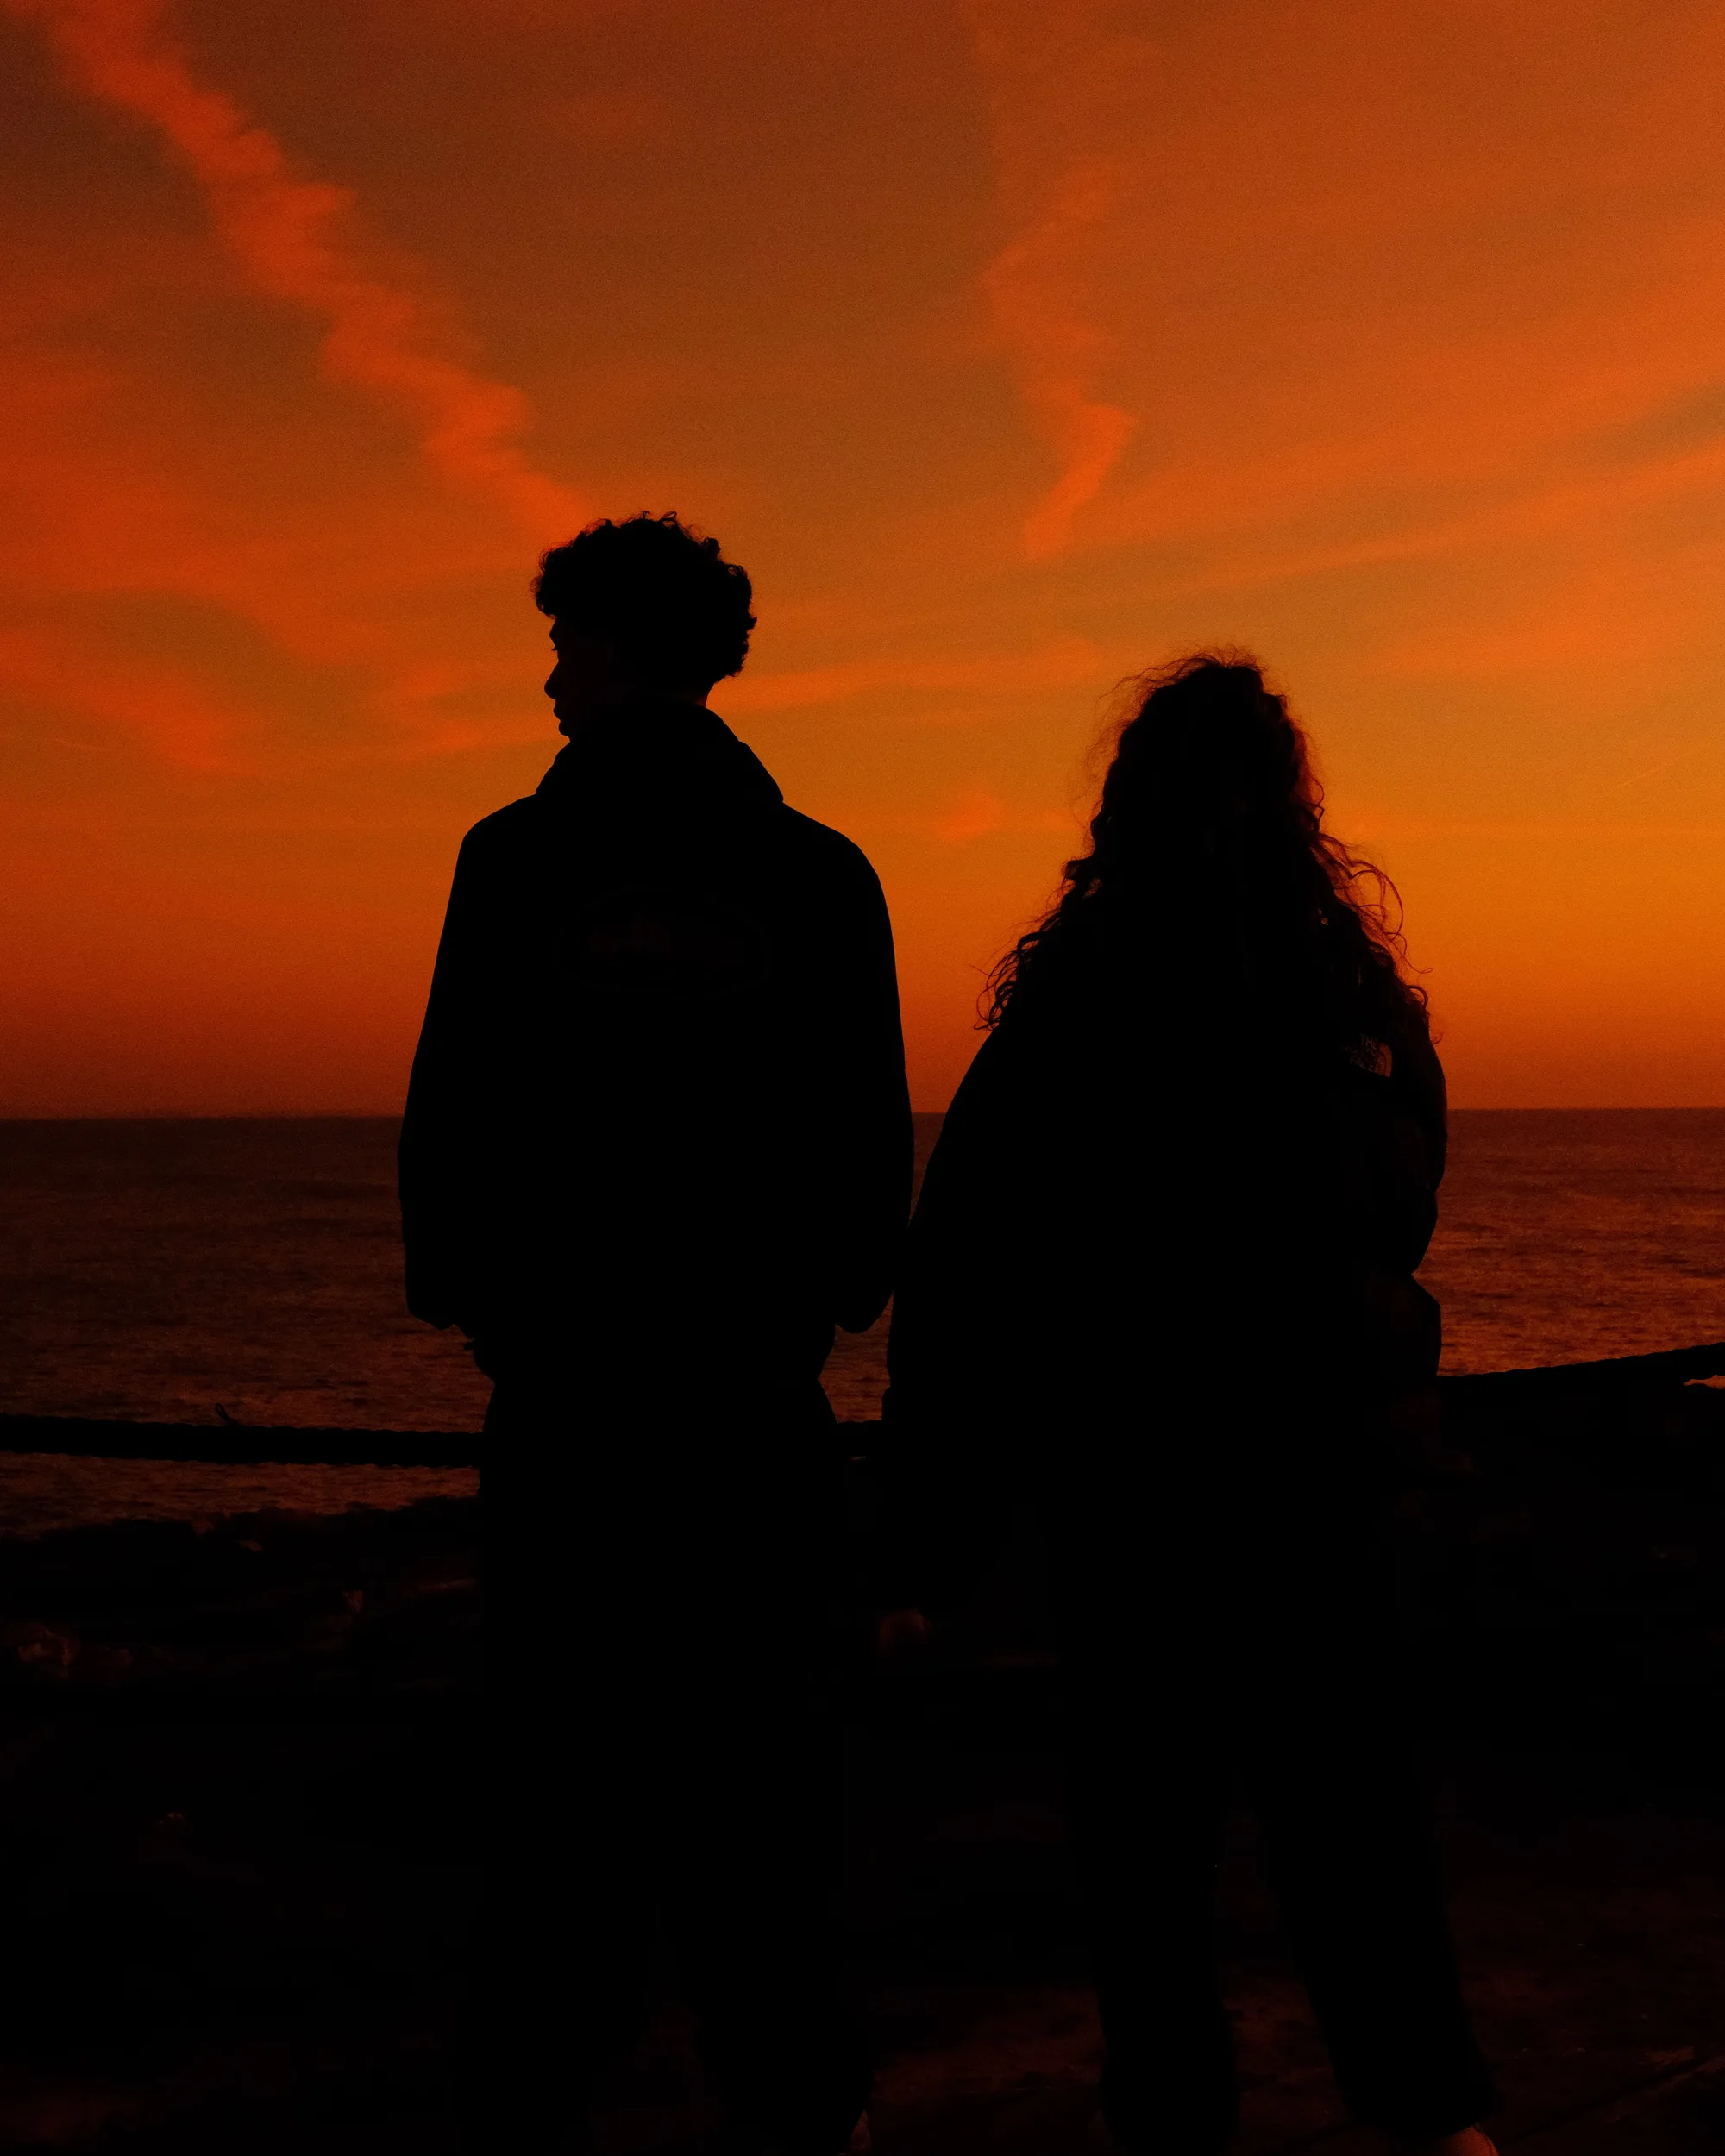
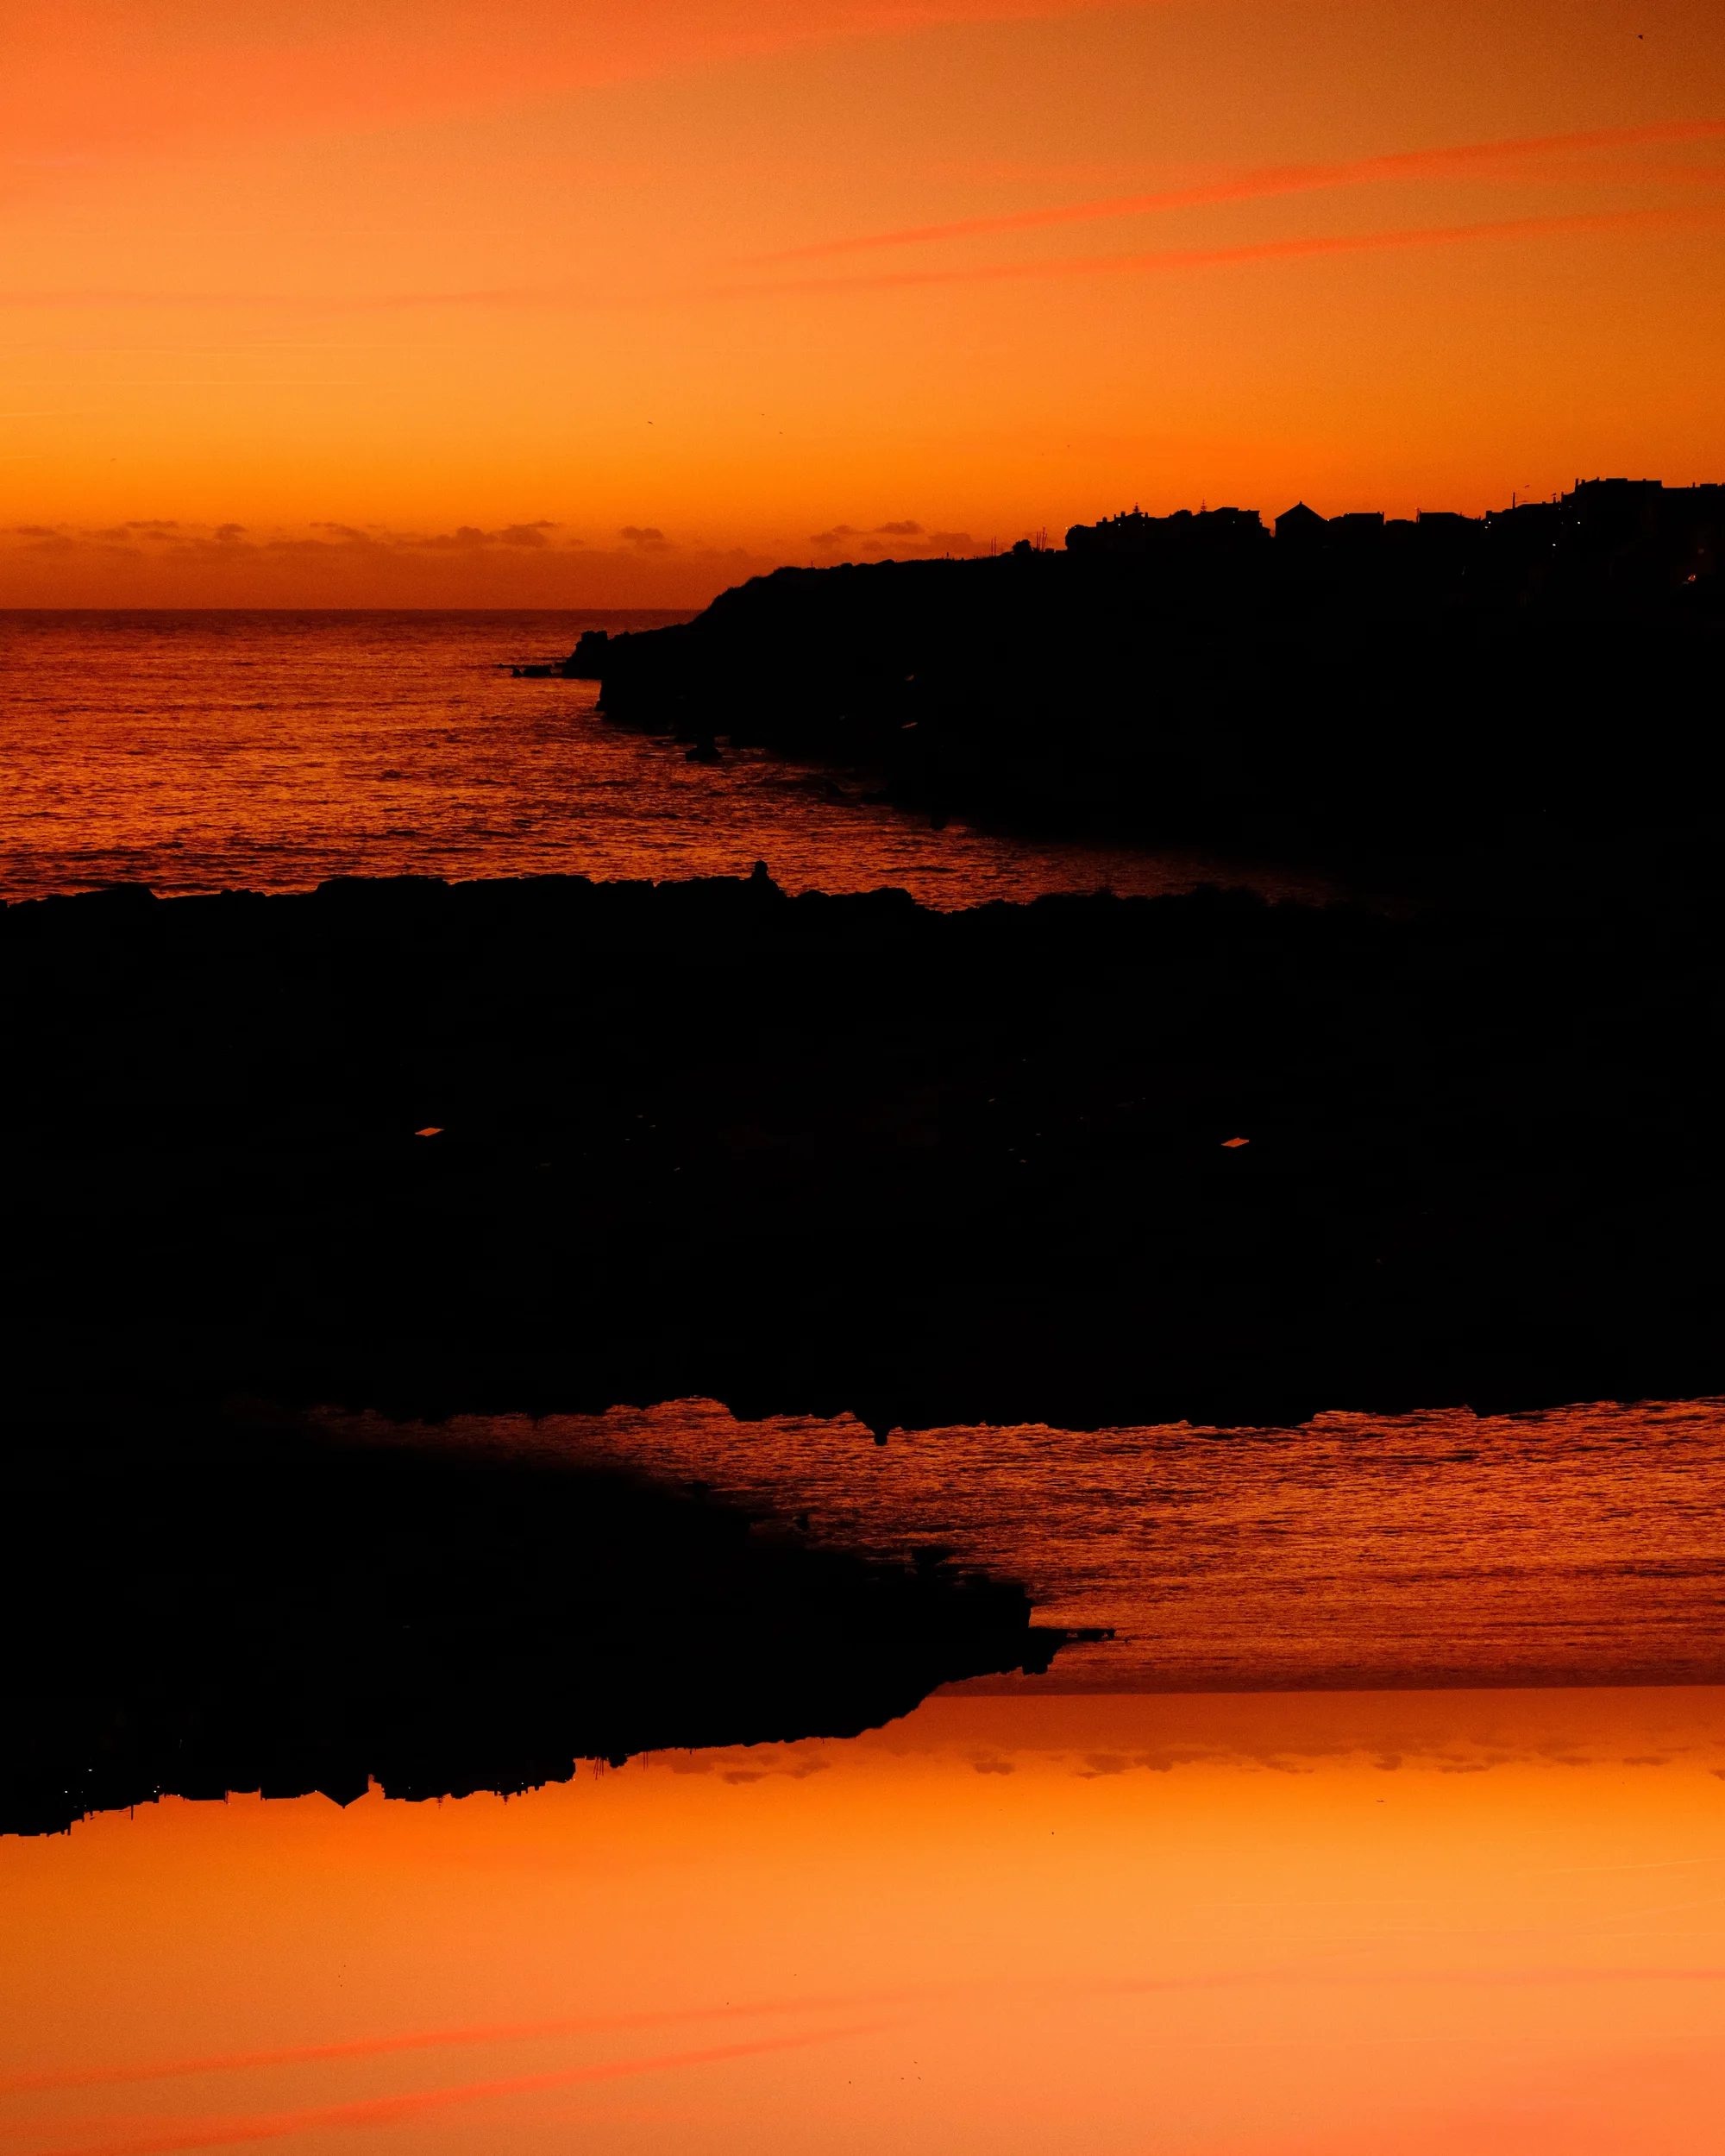
Video example with the Burning recipe
The recipe carries over to video. Fujifilm applies the film simulation and the white balance shift to footage the same way it does to stills, so the clip below came out of the camera already looking like this. No LUT, no grading pass, nothing done in post. The same conditions apply as for photos: shot after sunset, camera pointed at what is left of the light.
FAQ
Which Fujifilm cameras is this recipe compatible with?
Burning works on all Fujifilm X-series and GFX cameras that include the Velvia film simulation. This includes X-T5, X-T4, X-T30 III, X-T30 II, X-S20, X-E5, X-E4, X-M5, X-H2, X-H2S, X100VI, X100V, X-Pro3, and all GFX models.
What is the difference with Velvet Dreams?
Both run on Velvia and both are meant for the same time of day. What separates them is the white balance shift: Velvet Dreams uses Auto R+8 B+7, Burning uses Auto R+8 B-8. Going up on the blue axis pushes the sky toward purple and magenta, going down strips it out and leaves orange and red.
Do I need to edit photos after using this recipe?
No. Burning is a SOOC (Straight Out Of Camera) recipe. The JPEGs come out of the camera finished, no post-processing required.
Why keep Auto white balance instead of a fixed Kelvin value?
Auto lets the camera follow the light as it drops, and the R+8 B-8 shift is applied on top of whatever it picks. A fixed Kelvin value would need constant adjustment during the same 20 minutes.
Can I use it before the sun sets?
You can, but the sky is usually still bright enough that Velvia and the warm shift stack into something oversaturated. It gets interesting once the sun is below the horizon and the light softens.
What if there are clouds?
Thin high clouds catch the warm light and add texture to the sky, which usually helps. A thick overcast layer blocks it entirely and the recipe has nothing to work with.
Try it & Share
Feel free to use Burning for your own sunset photography. Before you post, you can frame your shots with a clean white border using the free Whiteborder Lab. For video projects, explore the xere.my store. If you catch a sky on fire with it, I'd love to see it! Tag me @xere.my onThreads,Instagram,Tiktok orBluesky.