How to Make a Pixel Sorting Video (Free, in Your Browser)
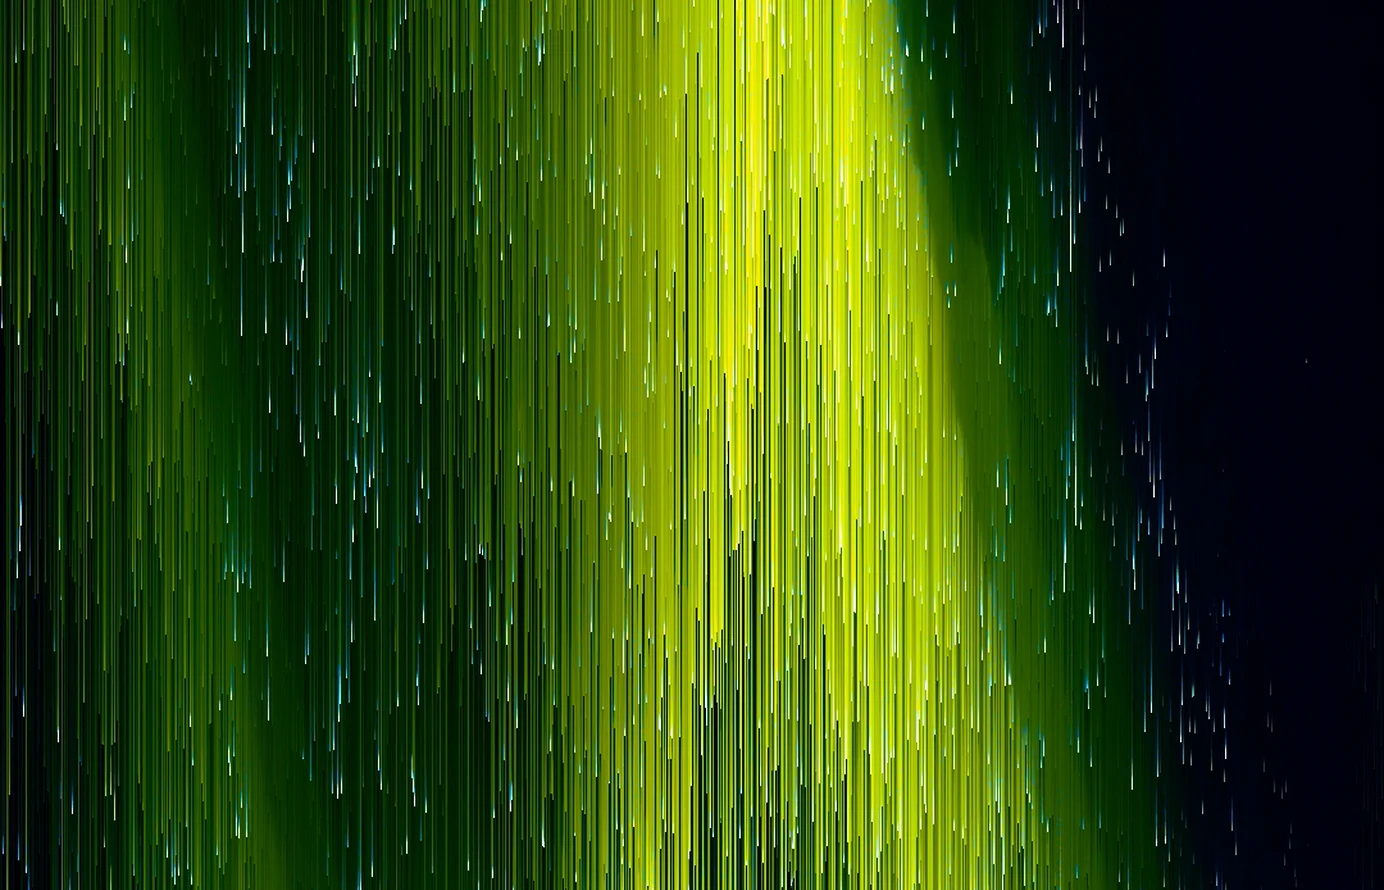
A pixel sorting video starts as a single photo. The pixels in each column are reordered by brightness, the picture melts into vertical streaks, and the streaks keep falling until the clip ends. I built Pixel Rain Lab to do exactly that: drop a photo in, shape the rain, export a vertical MP4. It is free, it runs in the browser, and the photo never leaves your computer.
These three clips came out of it. Each one opens on the untouched photo before the sort takes over.
What pixel sorting does to a photo
Pixel sorting is a glitch art technique that reorders the pixels of an image by a value such as brightness, hue or saturation. The sort runs along rows or columns, usually only inside spans picked by a threshold, so parts of the picture stay intact while others turn into hard streaks of graded color. The German artist Kim Asendorf published one of the first open-source tools for it, a Processing script called ASDFPixelSort.
One consequence is easy to miss. Sorting only moves pixels that differ from their neighbors. A clear sky that darkens smoothly from top to bottom is already sorted, so it barely changes when it melts. Bright points on a dark background are the opposite: every light is a run of pixels the sort can drag down the column.
A sorted photo is a still image. Pixel Rain Lab animates the sort instead. A mask grows across the photo during the first seconds of the clip, every pixel it reaches joins a sorted run, and once the whole frame has melted, the breaks between runs scroll down each column at its own speed. That last phase is the rain.
How to make a pixel sorting video, step by step
- Open Pixel Rain Lab and drop a photo on the preview. JPG, PNG and WebP work everywhere, HEIC only in Safari.
- Pick the frame: 9:16 for Reels, Stories and TikTok, 4:5 for an Instagram feed post, or 3:4. The photo is cropped to fill it.
- Pick the length: 10, 20 or 30 seconds. The first 1.2 seconds always show the untouched photo, so whoever watches knows what is about to melt.
- Choose where the melt starts: the top, the bottom, the center, or the brightest parts of the photo first.
- Shape the rain with three sliders. Streak length sets the average length of the sorted runs, rain speed sets how fast they fall, and coverage sets how much of the photo melts at all. Shuffle the rain draws a new random pattern and keeps everything else.
- Export at 1080 px wide. The video is encoded as H.264 at 30 frames per second, in Chrome, Edge or Safari on a computer, and a 30-second clip takes about a minute.
| Frame | 3:4 |
|---|---|
| Length | 30 s |
| Rain direction | Falls |
| Melt starts from | Top |
| Streak length | 17% |
| Rain speed | 1.0× |
| Coverage | 100% |
| Export | 1080 px wide, H.264, 30 fps |
The preview updates as you move the sliders, and changing where the melt starts replays the clip from the beginning, since that setting only shows while the photo is melting.
Which photos melt best
Night photos, almost every time. Street lights, neon signs, bokeh and reflections on water give the sort bright pixels to pull into long streaks, and the dark background around them keeps those streaks readable. Daylight scenes with large flat areas melt into something closer to a smear.
Layered photos work well for the same reason. The Corcovado frame above is eight exposures stacked in camera, so the defocused lights sit on top of the dusk sky and the silhouette of the mountain; I explain how I shoot those in my guide to in-camera multiple exposures with Fujifilm. The sparkling Eiffel Tower was shot moving the camera over several exposures, which is why the moon shows up three times before the rain dissolves it. Both photos are in my multiple exposure gallery.
With photos like these, lower the coverage. Below 100%, only the brighter parts of the image melt, so a silhouette or a dark street stays sharp while the lights above it rain.
Why pixel sorting videos are so hard to compress
These clips are heavy. The Corcovado clip came out of Pixel Rain Lab at 57 MB for 30 seconds, about 16 Mbit/s. The sparkling Eiffel Tower was 42 MB.
Video codecs save space in two ways. They predict each block of the image from the pixels around it, and they predict each frame from the one before, sending only what moved. Pixel rain defeats both. A streak one pixel wide has no smooth surroundings to be predicted from, and since every column falls at its own speed, between 0.55 and 1.45 times the rate set by the rain speed slider, a block of pixels never moves as one piece from frame to frame. The encoder ends up describing most of the image again on every frame.
To see which settings cost the most, I ran the Corcovado photo through the Pixel Rain engine with one setting changed at a time, then encoded every version the same way: H.264, 720 × 960 pixels, 30 frames per second, CRF 25. CRF holds the quality constant and lets the file size move, so the size says how hard each version is to encode.
| Version | Size (30 s) | Bitrate | vs default |
|---|---|---|---|
| Still photo, no effect | 0.38 MB | 0.11 Mbit/s | −92% |
| Default settings | 4.67 MB | 1.31 Mbit/s | baseline |
| Streak length 5% | 6.66 MB | 1.86 Mbit/s | +43% |
| Streak length 40% | 3.41 MB | 0.95 Mbit/s | −27% |
| Rain speed 0.5× | 3.44 MB | 0.96 Mbit/s | −26% |
| Rain speed 2.0× | 6.11 MB | 1.71 Mbit/s | +31% |
| Coverage 60% | 1.24 MB | 0.35 Mbit/s | −73% |
At default settings the effect costs twelve times as much as the still photo it starts from. Short streaks put more edges in every column, and fast rain changes more of the frame between two images, so both push the size up. Coverage is the strongest lever by far: at 60%, the dark sky and the silhouette never melt, they stay identical from one frame to the next, and identical pixels cost the encoder almost nothing.
I also tried AV1, which normally beats H.264 by a wide margin. On these clips it smoothed the one-pixel streaks into soft bands before it saved anything, and at the same visual quality it came out about 5% smaller. For the examples on the tool page I kept H.264 at 720 px wide, which took the three clips from 57, 42 and 20 MB down to 4.4, 6.0 and 5.1 MB.
This matters most once a clip leaves your hands. Instagram and TikTok re-encode every upload, and a clip that is cheap to encode should keep more of its streaks through that pass than one that is not. So for a clip meant to be posted, leave streak length at its default or longer, keep rain speed at 1.0× or below, and lower coverage whenever the photo has a dark background to protect.
Help me keep writing
If these articles are useful to you, have a look at what I make.
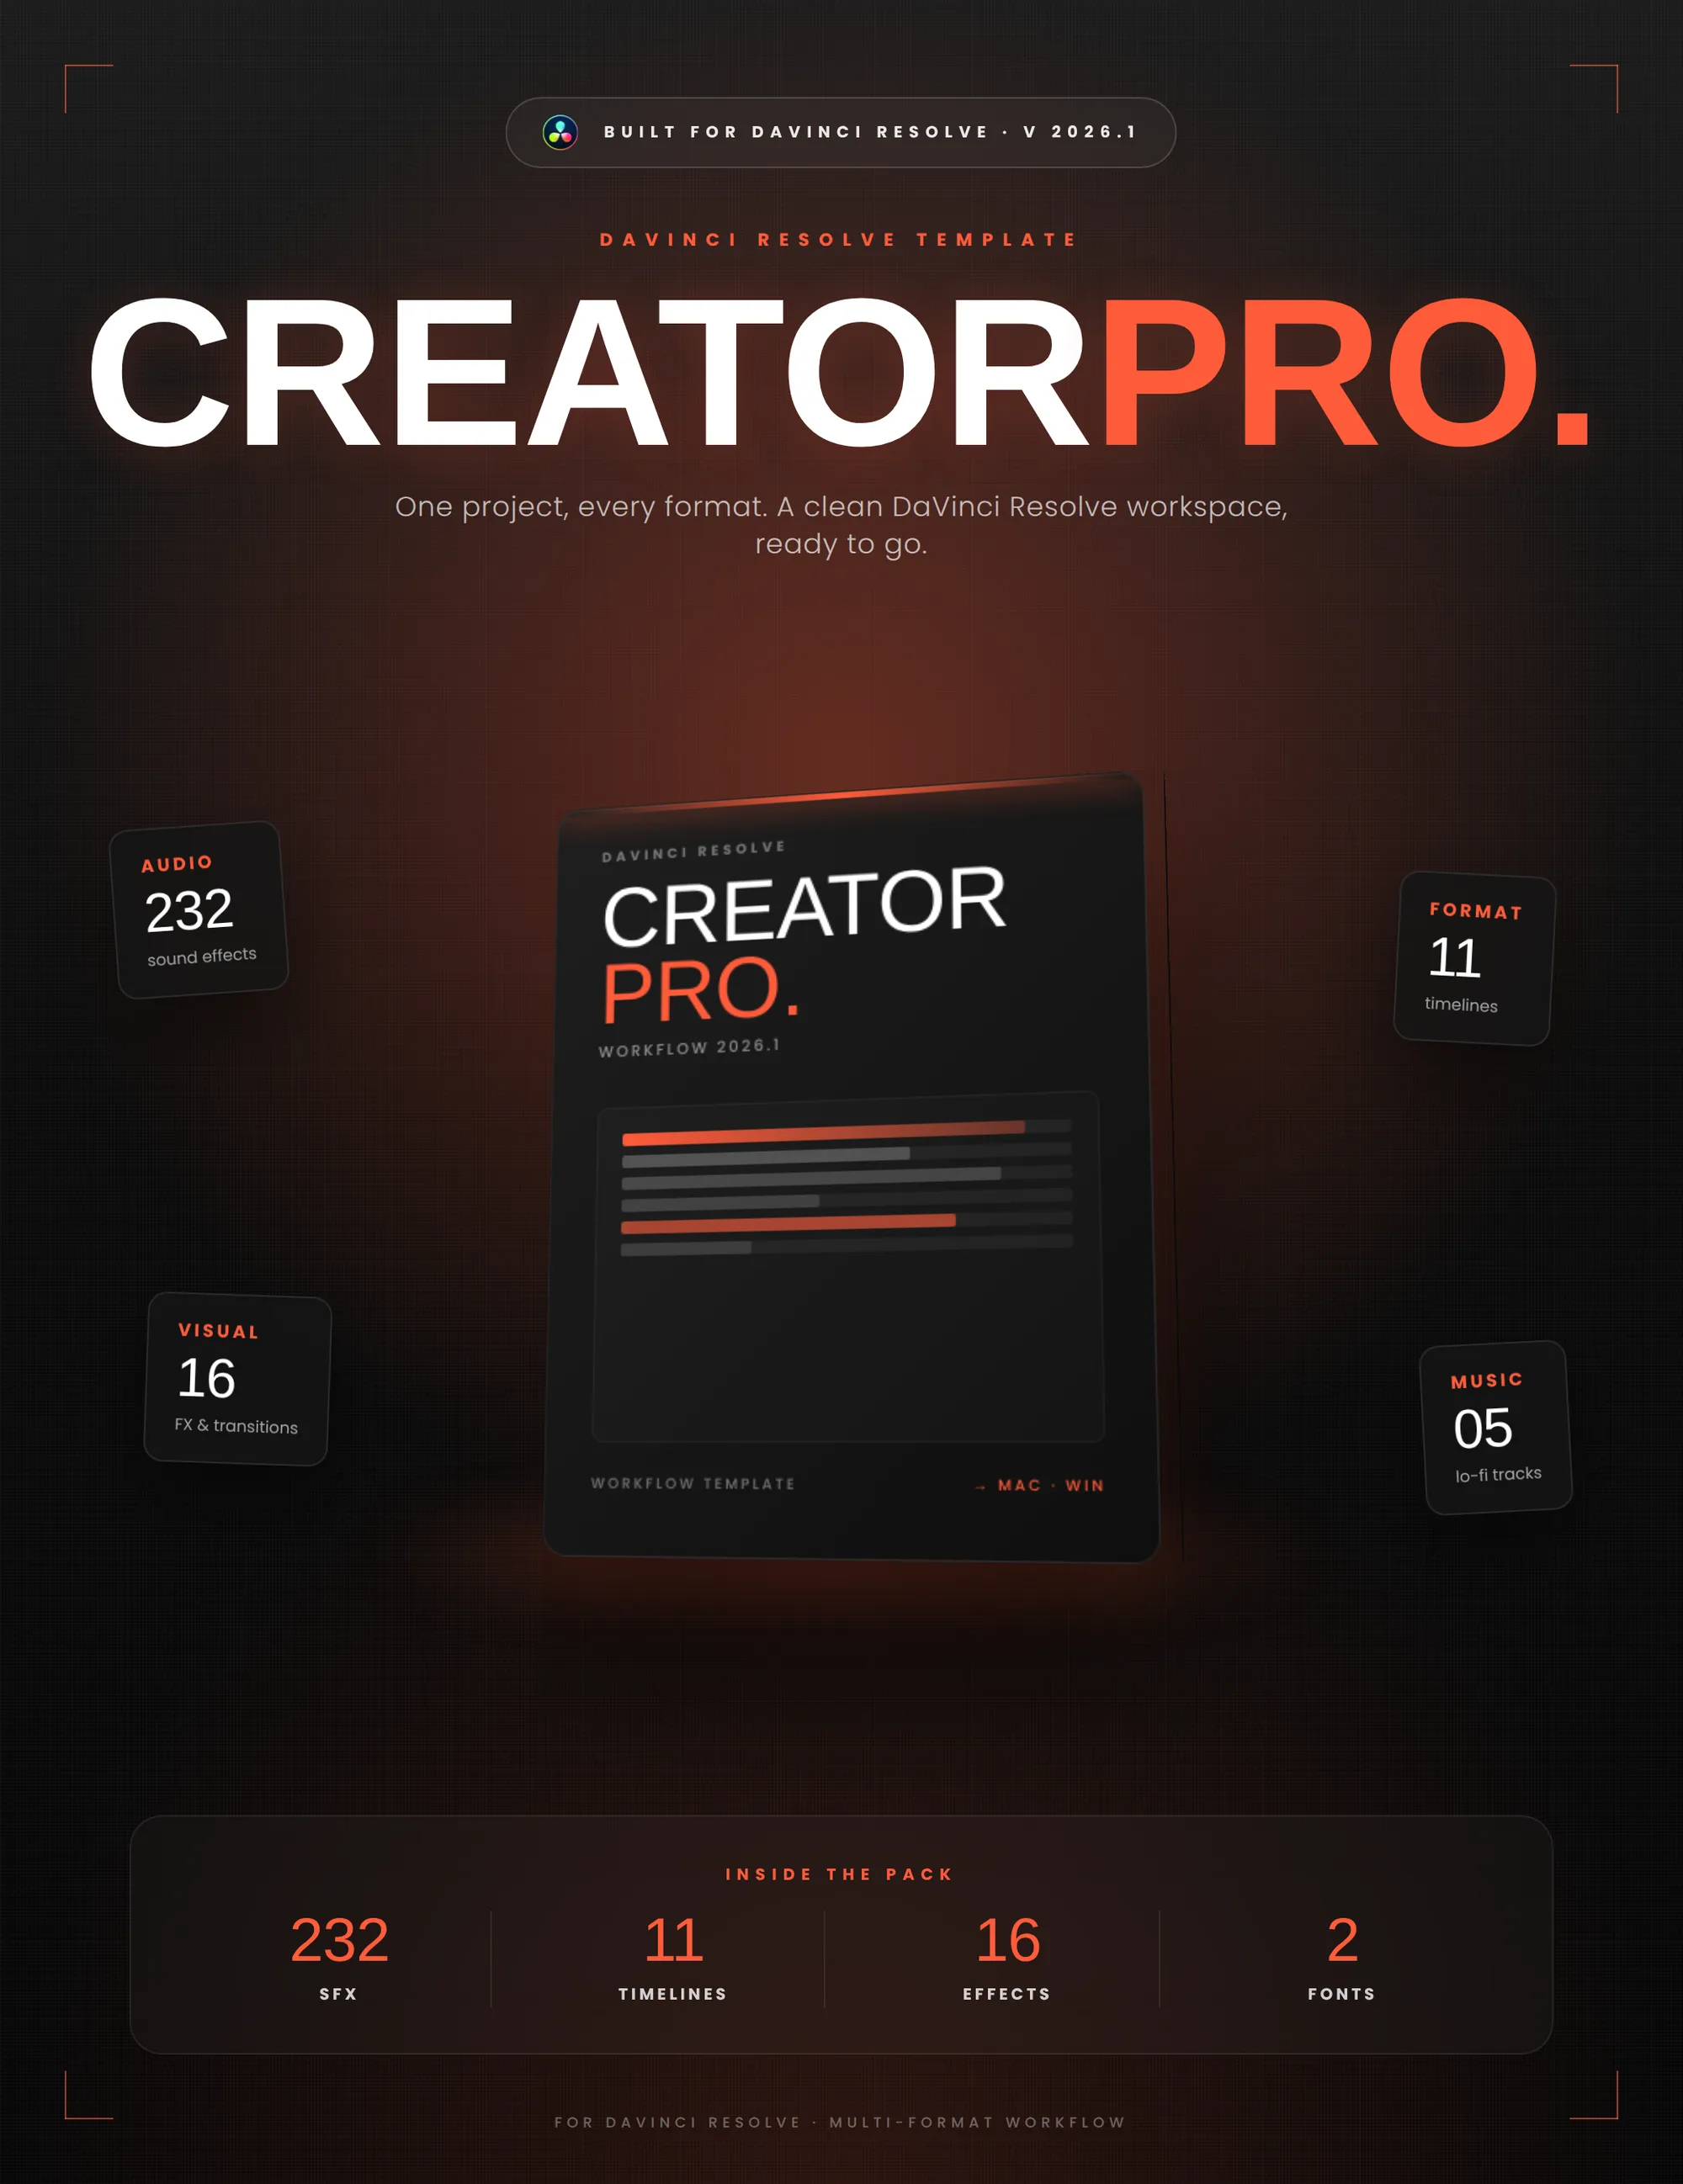
Creator Pro
The ultimate DaVinci Resolve workspace for creators
View plugin — €29.00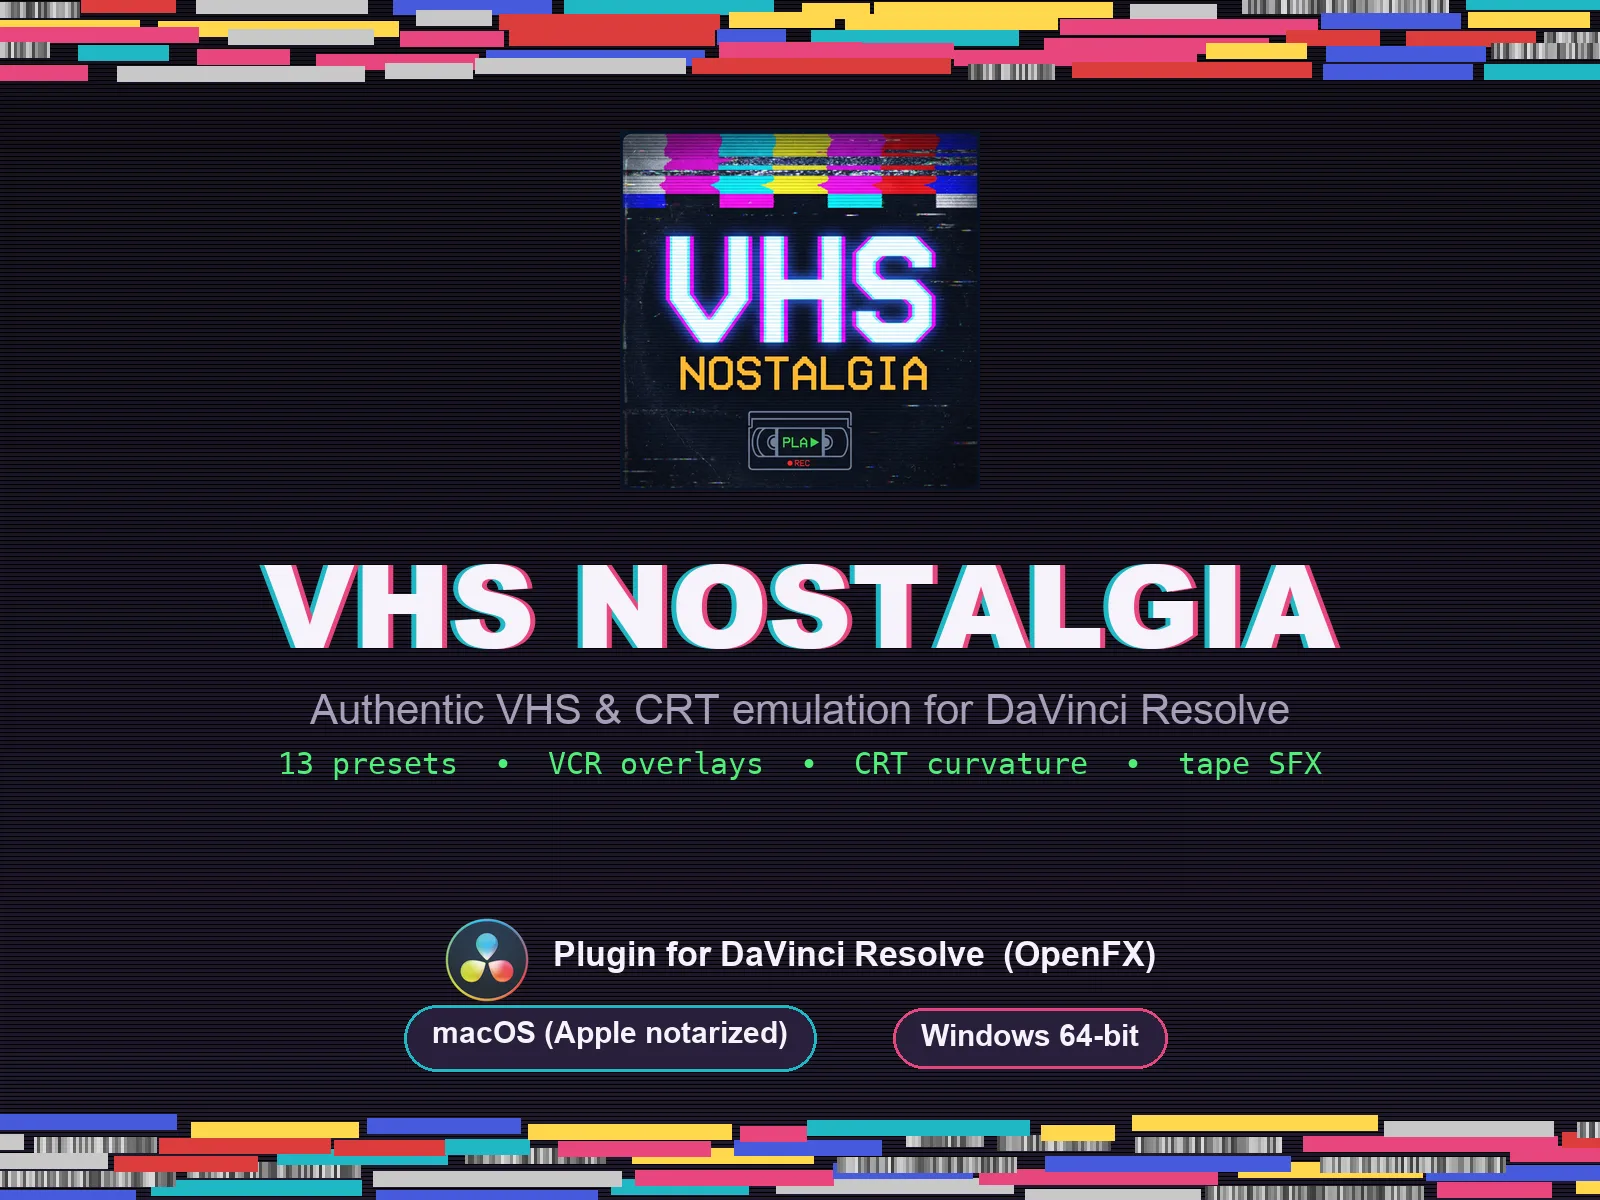
VHS Nostalgia
Real VHS & CRT emulation for DaVinci Resolve
View plugin — €49.00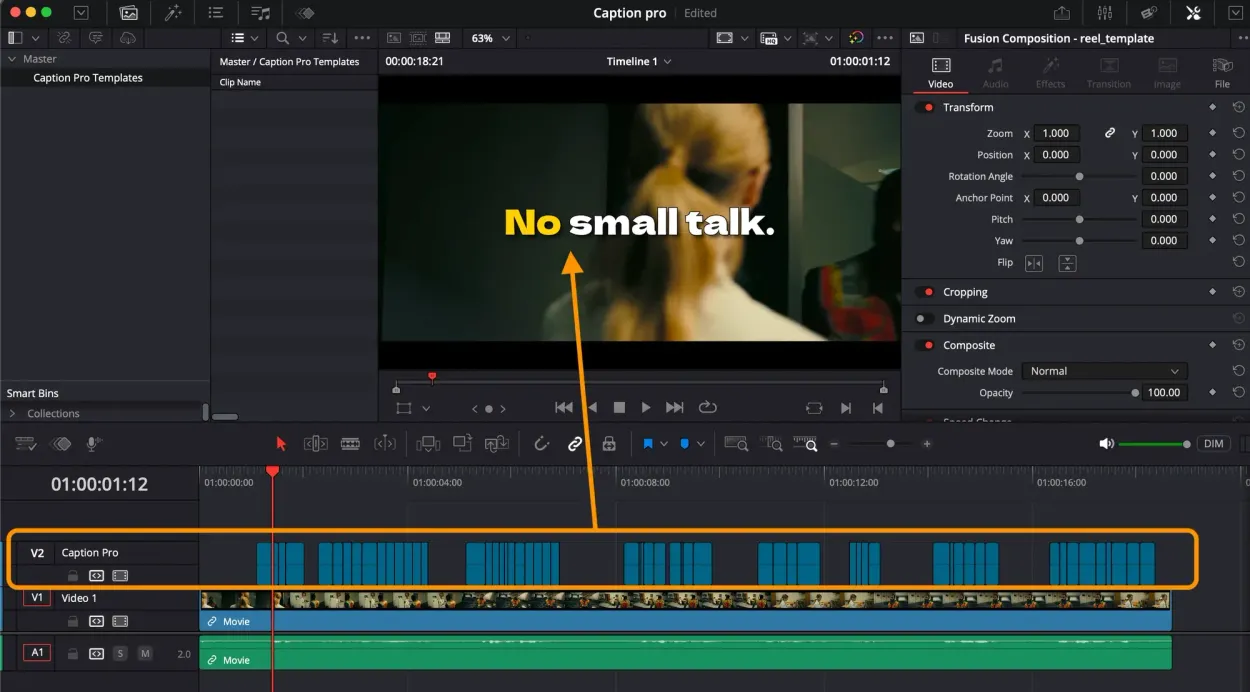
Caption Pro
Automatic word-by-word captions and translation for DaVinci Resolve
View plugin — €49.00
Get the zine
"Absorbed by the algorithm Vol. 1": 33 images shot in Paris, 28 pages, shipped worldwide.