VHS vs Super 8 vs 16mm: Choosing the Right Retro Look for Your Edit
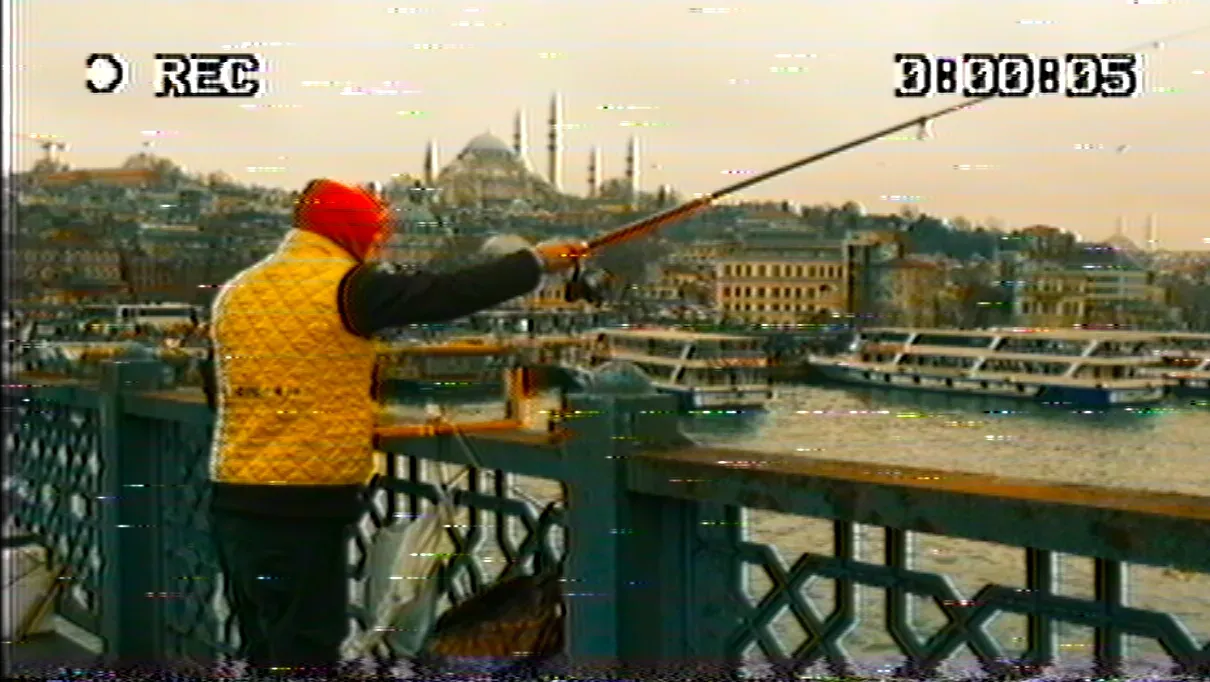
Someone asks for a vintage look and everyone nods, as if vintage were one thing. It is at least three. A 16mm documentary, a Super 8 home movie, and a VHS birthday tape all read as "old" to a modern viewer, but they fail in completely different ways, because they were built by completely different machines. Putting tape noise on a story set in 1968, or film grain on a 1992 wedding video, is a costume that does not fit the decade.
Here is how the three actually differ, and how I choose between them for an edit.
| Introduced | 16mm: 1923 · Super 8: 1965 · VHS: 1976 |
|---|---|
| Medium | 16mm and Super 8: photochemical film · VHS: magnetic tape |
| Texture | Film: grain, random per frame · VHS: electronic noise, crawls in the shadows |
| Structure | Film: frame lines, gate weave, dust · VHS: scan lines, head switching, tracking bands |
| Color failure | Film: fade, halation around highlights · VHS: chroma bleed, smeared reds |
| Motion | Film: 18 or 24 fps · VHS: 50 or 60 interlaced fields |
Grain is not noise
This is the distinction everything else hangs on. Film grain is physical: silver halide crystals in the emulsion, random and reshuffled on every frame, more visible in the midtones than anywhere else. Video noise is electronic: sensor and circuit interference that crawls through the shadows and stays put while the camera moves.
When a film look feels wrong, the usual reason is a grain overlay looping over the footage, the same pattern repeating like wallpaper. Real grain never repeats. When a tape look feels wrong, it is usually clean digital noise sprinkled on top of a clean digital image, sitting on the picture instead of inside it. I wrote a whole article about that second problem, because fixing it is the reason my VHS plugin exists.
The structure underneath
Film is a sequence of frames, and its flaws live at the frame level. Gate weave, the slight wobble of the film in the gate, makes the whole image drift a few pixels. Dust and hairs sit at the frame line. Super 8 adds a softer, lower-resolution image with its small negative, and that softness is part of its charm.
Tape has no frames at all, it has lines. The picture is a continuous signal written diagonally on a magnetic band, read by spinning heads. Its flaws are mechanical: the head-switching noise at the bottom of the image, the horizontal band when tracking slips, the way fine detail dissolves into dot crawl. The grid everything hangs on is the line count, 576 lines for PAL countries, 480 for NTSC, and I broke down what that changes in a separate article.
Color fails differently too
On film, color fails by chemistry. Reversal stocks like Kodachrome fade toward their surviving dyes over decades, and bright highlights bleed a red halo into the surrounding emulsion, the halation everyone knows from CineStill 800T night shots. Colors stay saturated but separate, distinct.
On tape, color fails by bandwidth. VHS reserved so little room for chroma that color smears horizontally past the edges of objects, reds most of all. A red jumper on VHS glows past its owner. That smear is not a defect you add for style; it is what the format did to every single recording, which is why it reads as authentic when it is done at the signal level.
How I choose
One question settles it: what machine would have recorded this scene in the year it claims to be?
A fake 90s birthday, a found-footage horror short, a retro vlog intro: VHS. It is the only format consumers actually pointed at their lives between 1980 and 2000. For that I use VHS Nostalgia, which rebuilds the signal line by line rather than decorating the image.
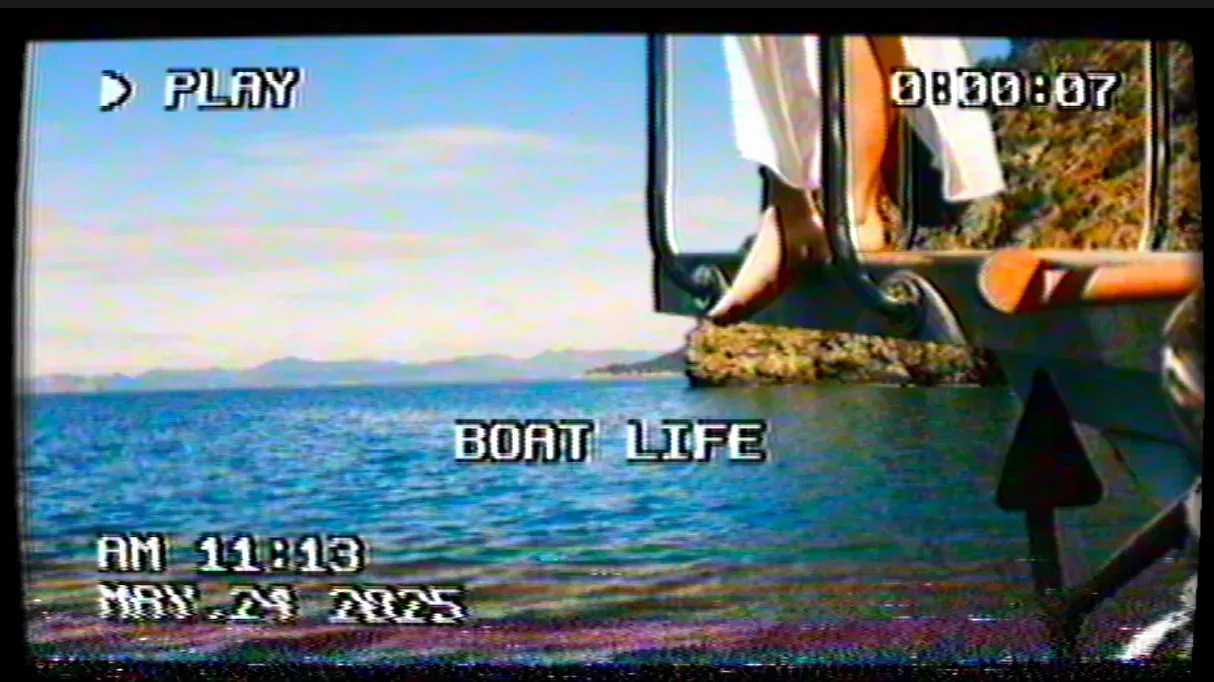
A sunlit memory, a travel sequence meant to feel like a 70s summer, a wedding flashback: Super 8. The small frame, the warmth, the weave. A documentary texture, archival material, a music video that wants weight: 16mm. For film emulation inside Resolve, the serious options are graded in my comparison of color grading plugins, Dehancer and FilmConvert included, with what each one costs.
And for stills, the same logic applies at one frame at a time. When a night photo needs that film glow, I run it through Halation Lab rather than faking grain over it.
Get the format right and nobody notices anything, which is the point. Get it wrong and nobody can say why it bothers them, but it does.
Help me keep writing
If these articles are useful to you, have a look at what I make.

Creator Pro
The ultimate DaVinci Resolve workspace for creators
View plugin — €29.00
VHS Nostalgia
Real VHS & CRT emulation for DaVinci Resolve
View plugin — €49.00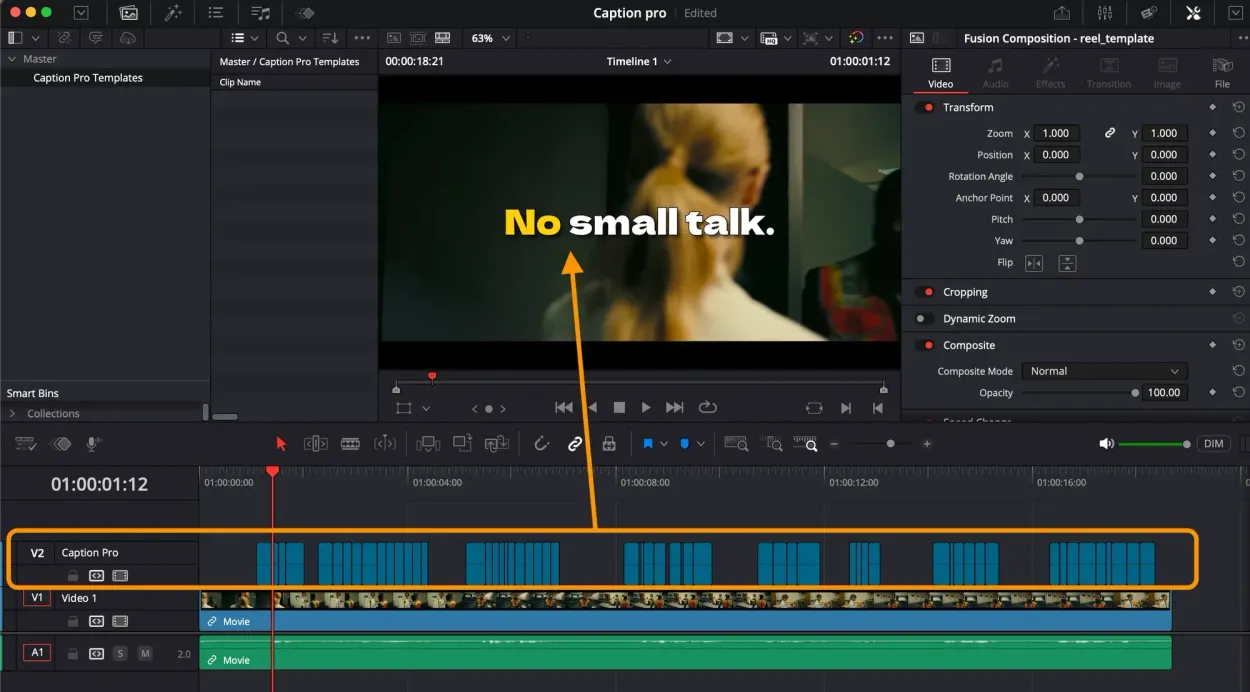
Caption Pro
Automatic word-by-word captions and translation for DaVinci Resolve
View plugin — €49.00
Get the zine
"Absorbed by the algorithm Vol. 1": 33 images shot in Paris, 28 pages, shipped worldwide.