Halation Lab: how I built a free online halation tool
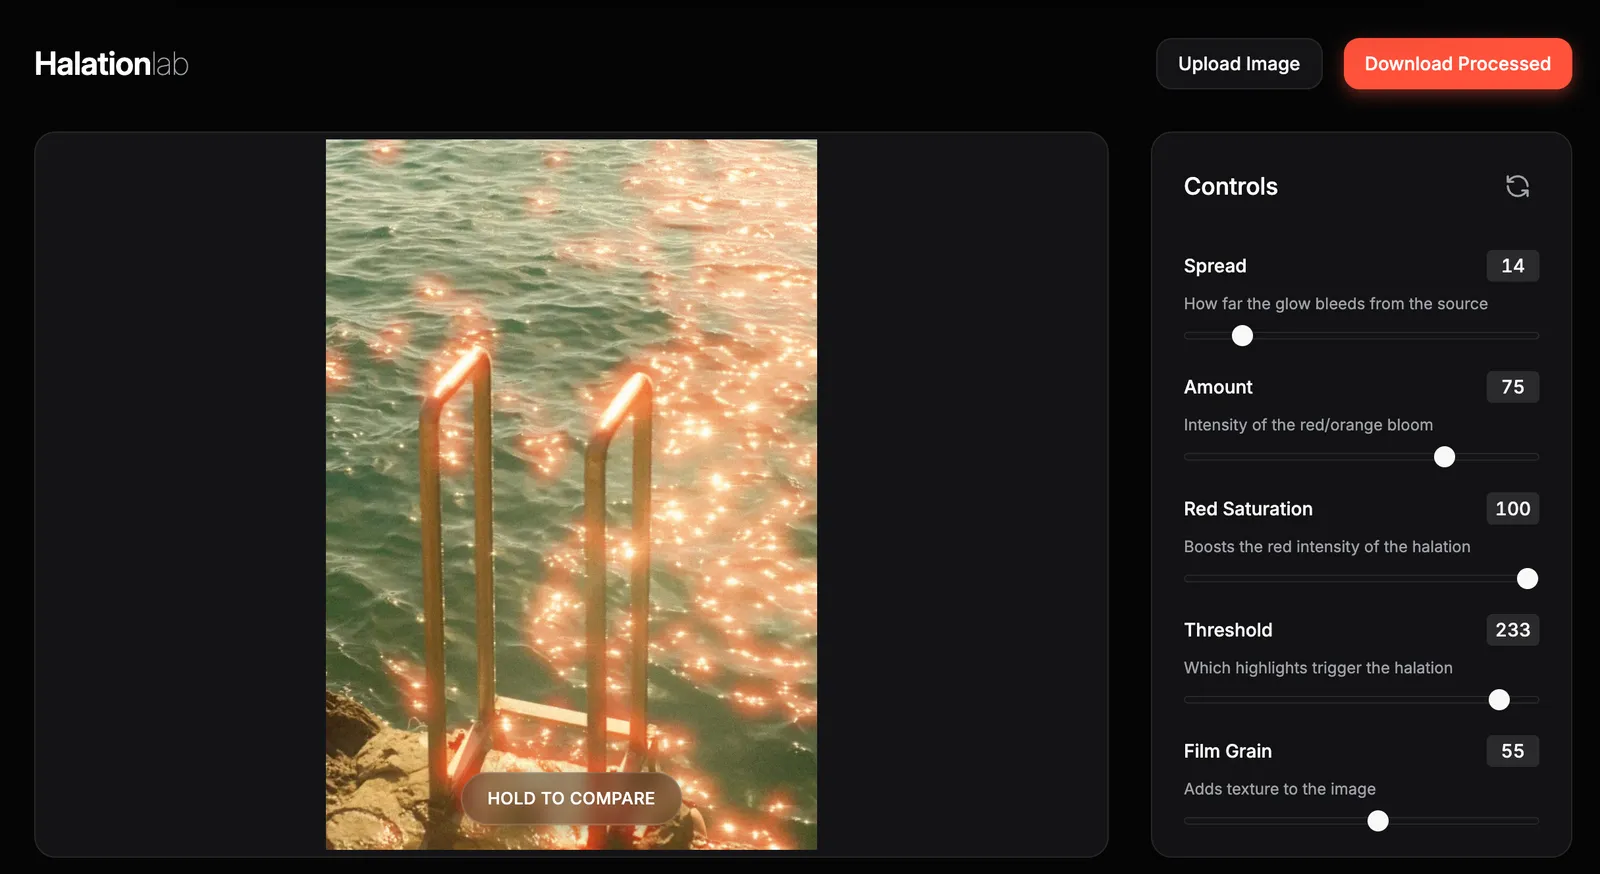
Digital photography has come a long way, and it has real advantages. But some characteristics of film remain out of reach.
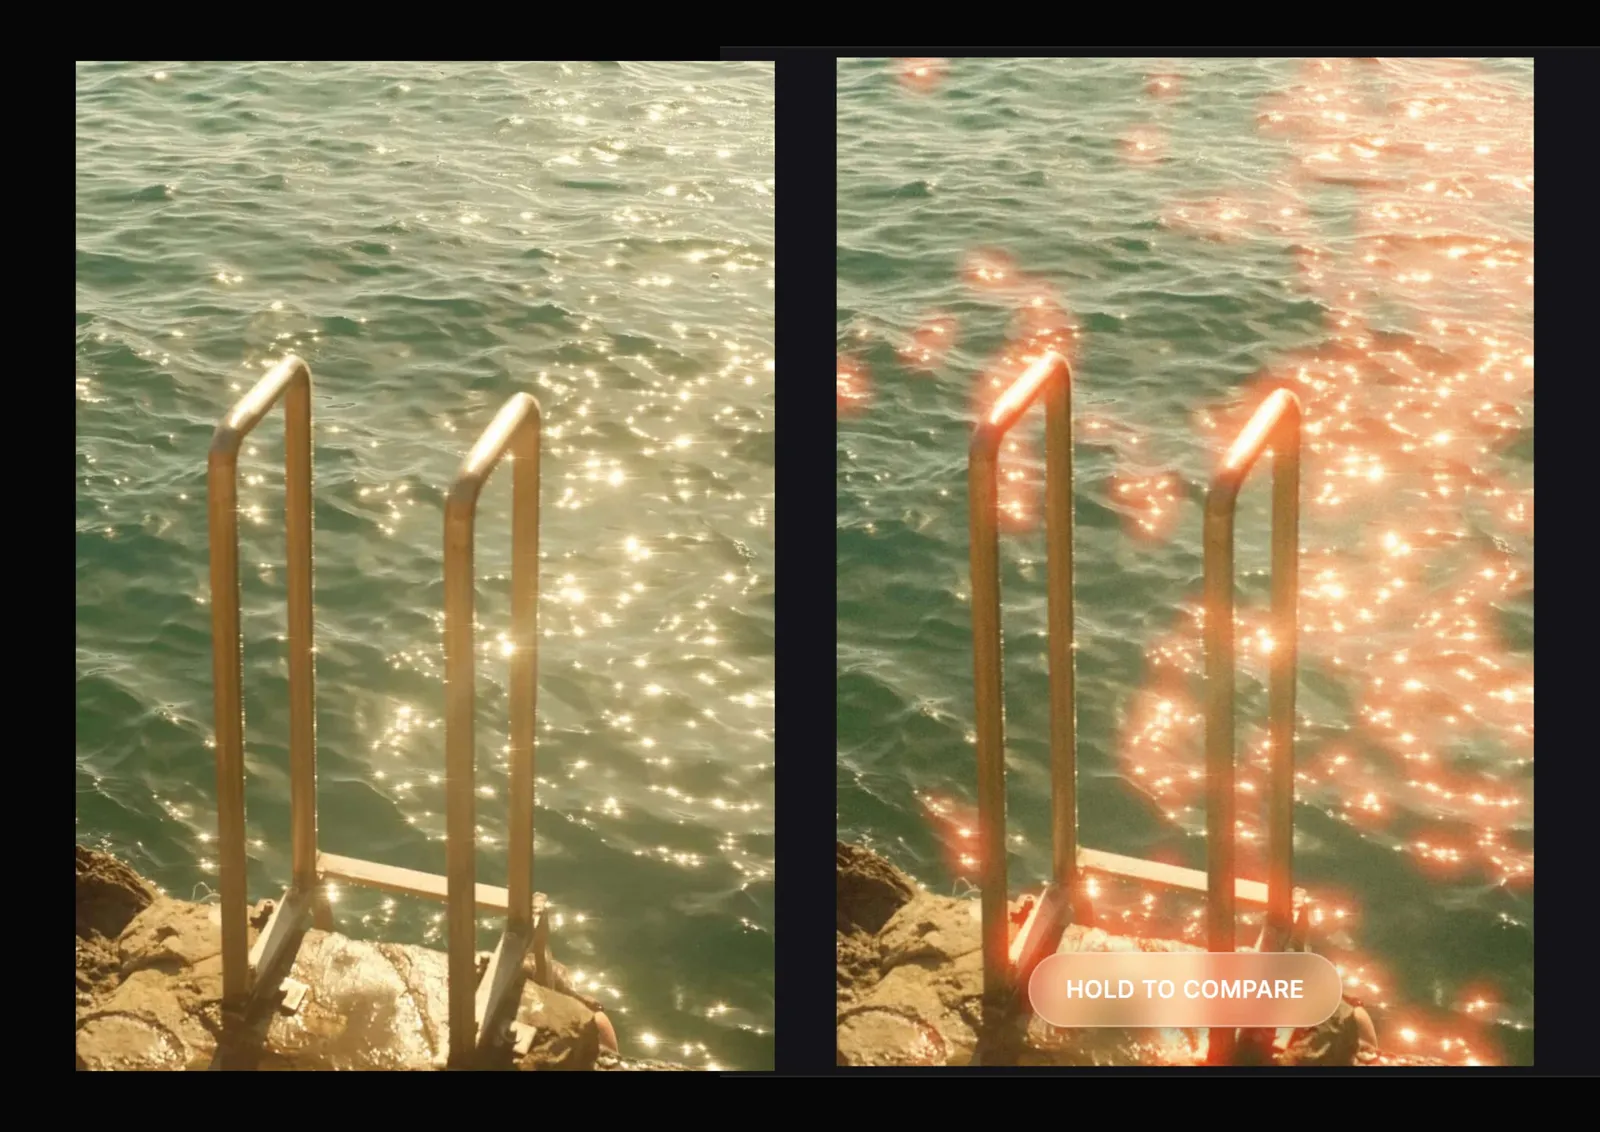
One of those is halation: the soft red or orange halo that forms around bright light sources, the thing you have seen in CineStill 800T shots. If you want the physics, I wrote a separate piece on what halation is and why it is red. The short version is that light punches through the emulsion, reflects off the film base and exposes the emulsion a second time in a ring around the highlight.
Digital sensors don't do this. They're too precise. Too clean.
I built this tool mostly for fun, to experiment, to learn, and to see if I could make it work.
So Halation Lab was born.
It runs entirely in your browser. No installation. No subscriptions. Just drag in a photo, adjust the sliders, and download your result.
This post is about how I made it, the challenges, and what might come next.
The goal
I had a few non-negotiables from the start:
- Accessible : Works in any modern browser, on any device
- Fast : Handles high-resolution images without lag
- Private : Everything happens locally. Your photos never leave your computer
- Free : No paywalls, no accounts, no tracking
These constraints shaped every technical decision.
The tech stack
To hit those goals, I needed performance without complexity. Here's what I landed on:
Vite : A fast, modern frontend build tool. Quick to set up, quick to iterate.
TypeScript : For cleaner, more maintainable code. Type safety helps when you're experimenting and breaking things constantly.
Photon : This is the core engine. Photon is a high-performance image processing library written in Rust and compiled to WebAssembly.
Web Workers : Image processing can be intensive. By offloading it to a separate thread via Web Workers, the UI stays responsive.
The core image processing relies on Photon, an open-source library created by Silvia O'Dwyer. Photon is written in Rust and compiled to WebAssembly, which means it runs at near-native speed directly in the browser. It handles common operations like filtering, color manipulation, and effects. Exactly what I needed for the threshold and blur stages of the halation pipeline. The library is lightweight, well-documented, and designed specifically for high-performance image processing on the web.
How the effect works
Halation isn't a simple Instagram filter. It's a pipeline of mathematical operations, each building on the last.
Step 1: Extract the Highlights
First, we isolate the brightest parts of the image, the pixels that would cause halation on real film. This is done by calculating luminance and thresholding: anything above a certain brightness passes through, everything else becomes black.
Step 2: Blur the Highlights
Next, we blur those extracted highlights to create the soft glow. The blur radius is adjustable, what I call "Spread" in the interface. This controls how far the halation bleeds from the light source.
Step 3: Colorize and Composite
Now we tint that blurry glow with the characteristic red-orange of film halation. A "Red Saturation" control lets you boost the intensity of the red channel for a more dramatic effect. Then we blend this colored glow back onto the original image using a "Screen" blending mode, concentrated around the highlight areas.
Step 4: Add Grain
Finally, we break up the digital smoothness with film grain. This part uses a custom, optimized JavaScript algorithm rather than WebAssembly. For simple per-pixel operations like noise, pure JS is actually faster because it avoids the overhead of crossing the WASM boundary.
Using it
On your end, it's simple:
Drag and drop (or click to upload) any image. The FileReader API loads it directly into your browser. Nothing gets sent to a server.
Adjust the sliders : intensity, blur radius, color bias, grain amount. Each slider is wired directly to the shader parameters, so changes render in real-time.
Compare before/after : A split-view slider lets you see the original and processed versions side by side.
Download : One click captures the WebGL canvas and generates a PNG.
The whole interaction takes seconds. That was the point.
What's next
Halation Lab is functional, but it's still early. Here's what I'm considering for future versions:
- Film burn
- Film presets : One-click emulations of specific stocks: CineStill 800T, Kodak Gold, Portra 400
These are ambitious, but the foundation is solid.
Why I built it
I love the look of analog film, especially CineStill 800T. There are incredible photographers on Instagram shooting it, and every time I see those glowing streetlights bleeding red into the night, I feel something.
But I don't shoot film myself. I'm a digital photographer, shooting straight out of camera, no Lightroom, no post-processing. And while you can get close to halation using diffusion filters at night, it's never quite the same. The glow doesn't bleed the same way. The color doesn't wrap around light sources like it does on real film.
Let's be honest: digital film simulations have gotten really good. Fujifilm's ACROS replicates black and white beautifully. You can get close to Portra tones. But halation? That red halo is something apart. It's tied to the physical structure of films, light bouncing through emulsion layers, and digital sensors simply don't do it.
Now that I have my own website where I can host whatever I want, I decided to have some fun. Build something, experiment, see if I could create a tool that brings that effect to digital photos, and make it accessible to anyone who wants to try.
Try It Yourself. I'd love to hear what you think
Help me keep writing
If these articles are useful to you, have a look at what I make.
Creator Pro
The ultimate DaVinci Resolve workspace for creators
View plugin — €29.00
VHS Nostalgia
Real VHS & CRT emulation for DaVinci Resolve
View plugin — €49.00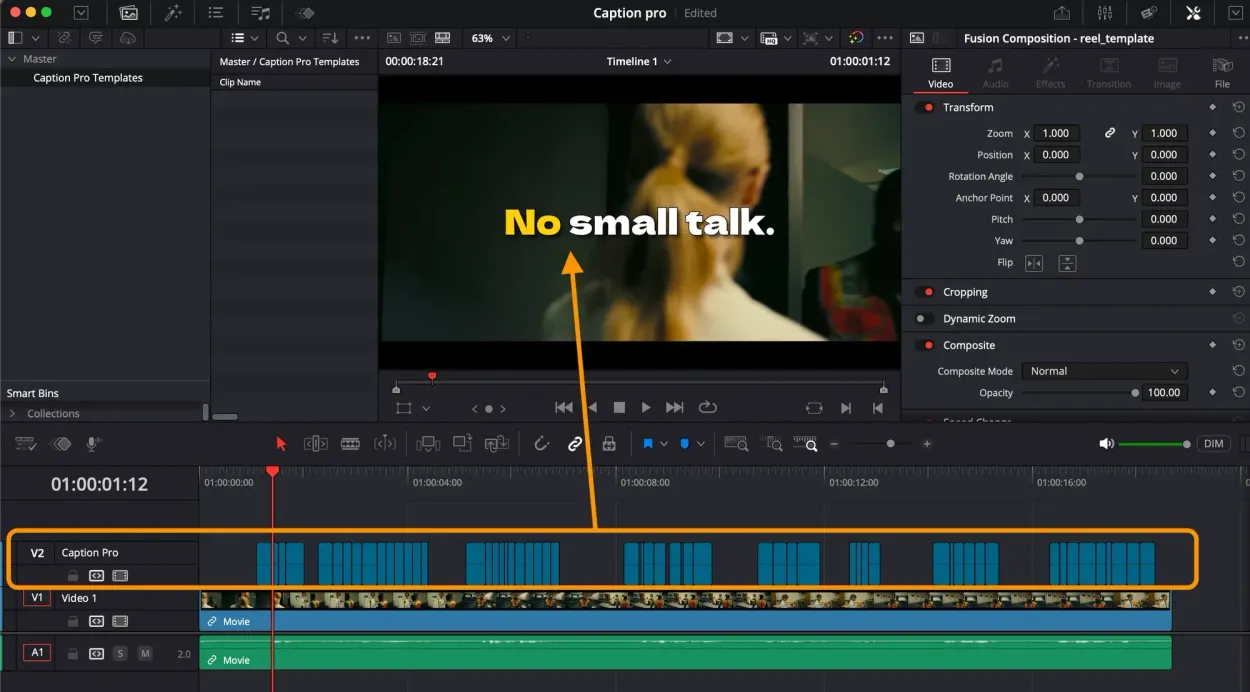
Caption Pro
Automatic word-by-word captions and translation for DaVinci Resolve
View plugin — €49.00
Get the zine
"Absorbed by the algorithm Vol. 1": 33 images shot in Paris, 28 pages, shipped worldwide.