How to Add an Outline to Your Photos
Add a professional double outline to any photo in seconds. White outer border, crisp black inner line, gallery-ready look. Free browser tool, no upload required.
Watch Whiteborder Lab in action: upload, outline, and download.
What Is Whiteborder Lab?
Whiteborder Lab is a free, browser-based photo framing tool. It lets you add clean, customizable borders to your images, including the classic gallery double outline: a generous white outer margin paired with a thin black inner line. All processing happens locally in your browser using the HTML5 Canvas API. Your photos never leave your device.
Unlike Photoshop or paid mobile apps, Whiteborder Lab costs nothing. No subscription, no watermarks, no limits. Open the page, upload a photo, adjust a few sliders, and download the result at full resolution. It is the fastest way to give your photos a professional, gallery-ready outline.
Try the Outline Preset
Pre-loaded with white outer + black inner line.
Open Whiteborder Lab
Start from defaults and build your own look.
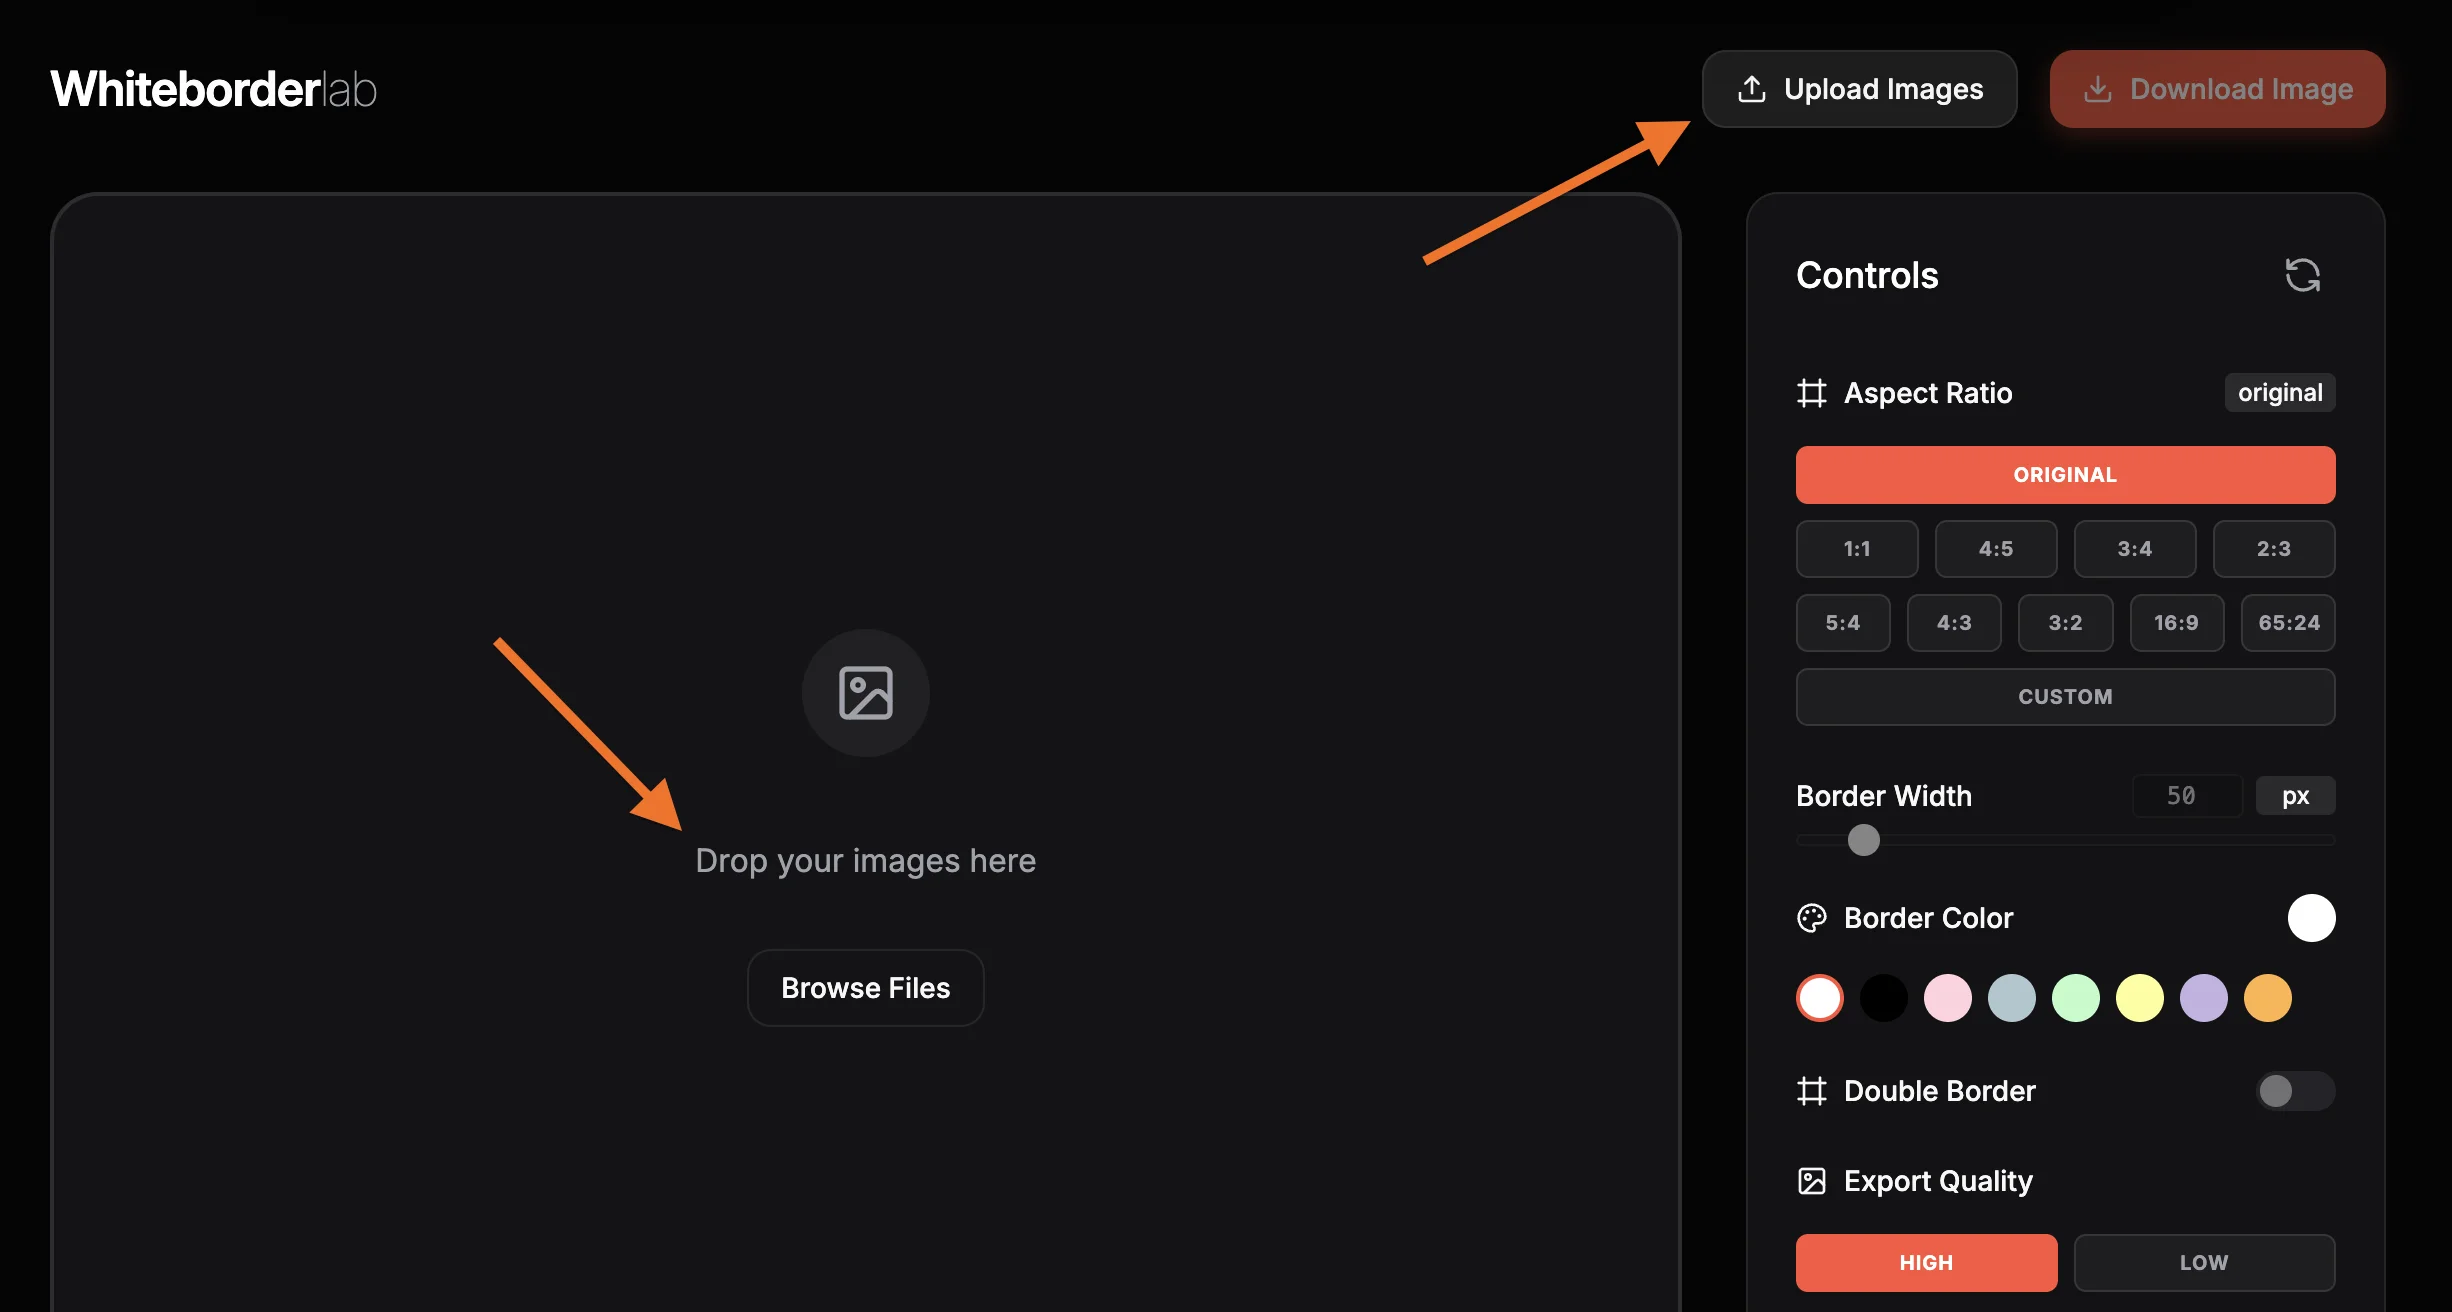
Upload Your Photo
Open Whiteborder Lab and drag your photo onto the canvas, or click "Browse Files" to pick one from your computer. JPEG, PNG, and WebP are all supported. You can upload multiple photos at once if you want the same outline style applied to a whole series. All processing happens locally in your browser.
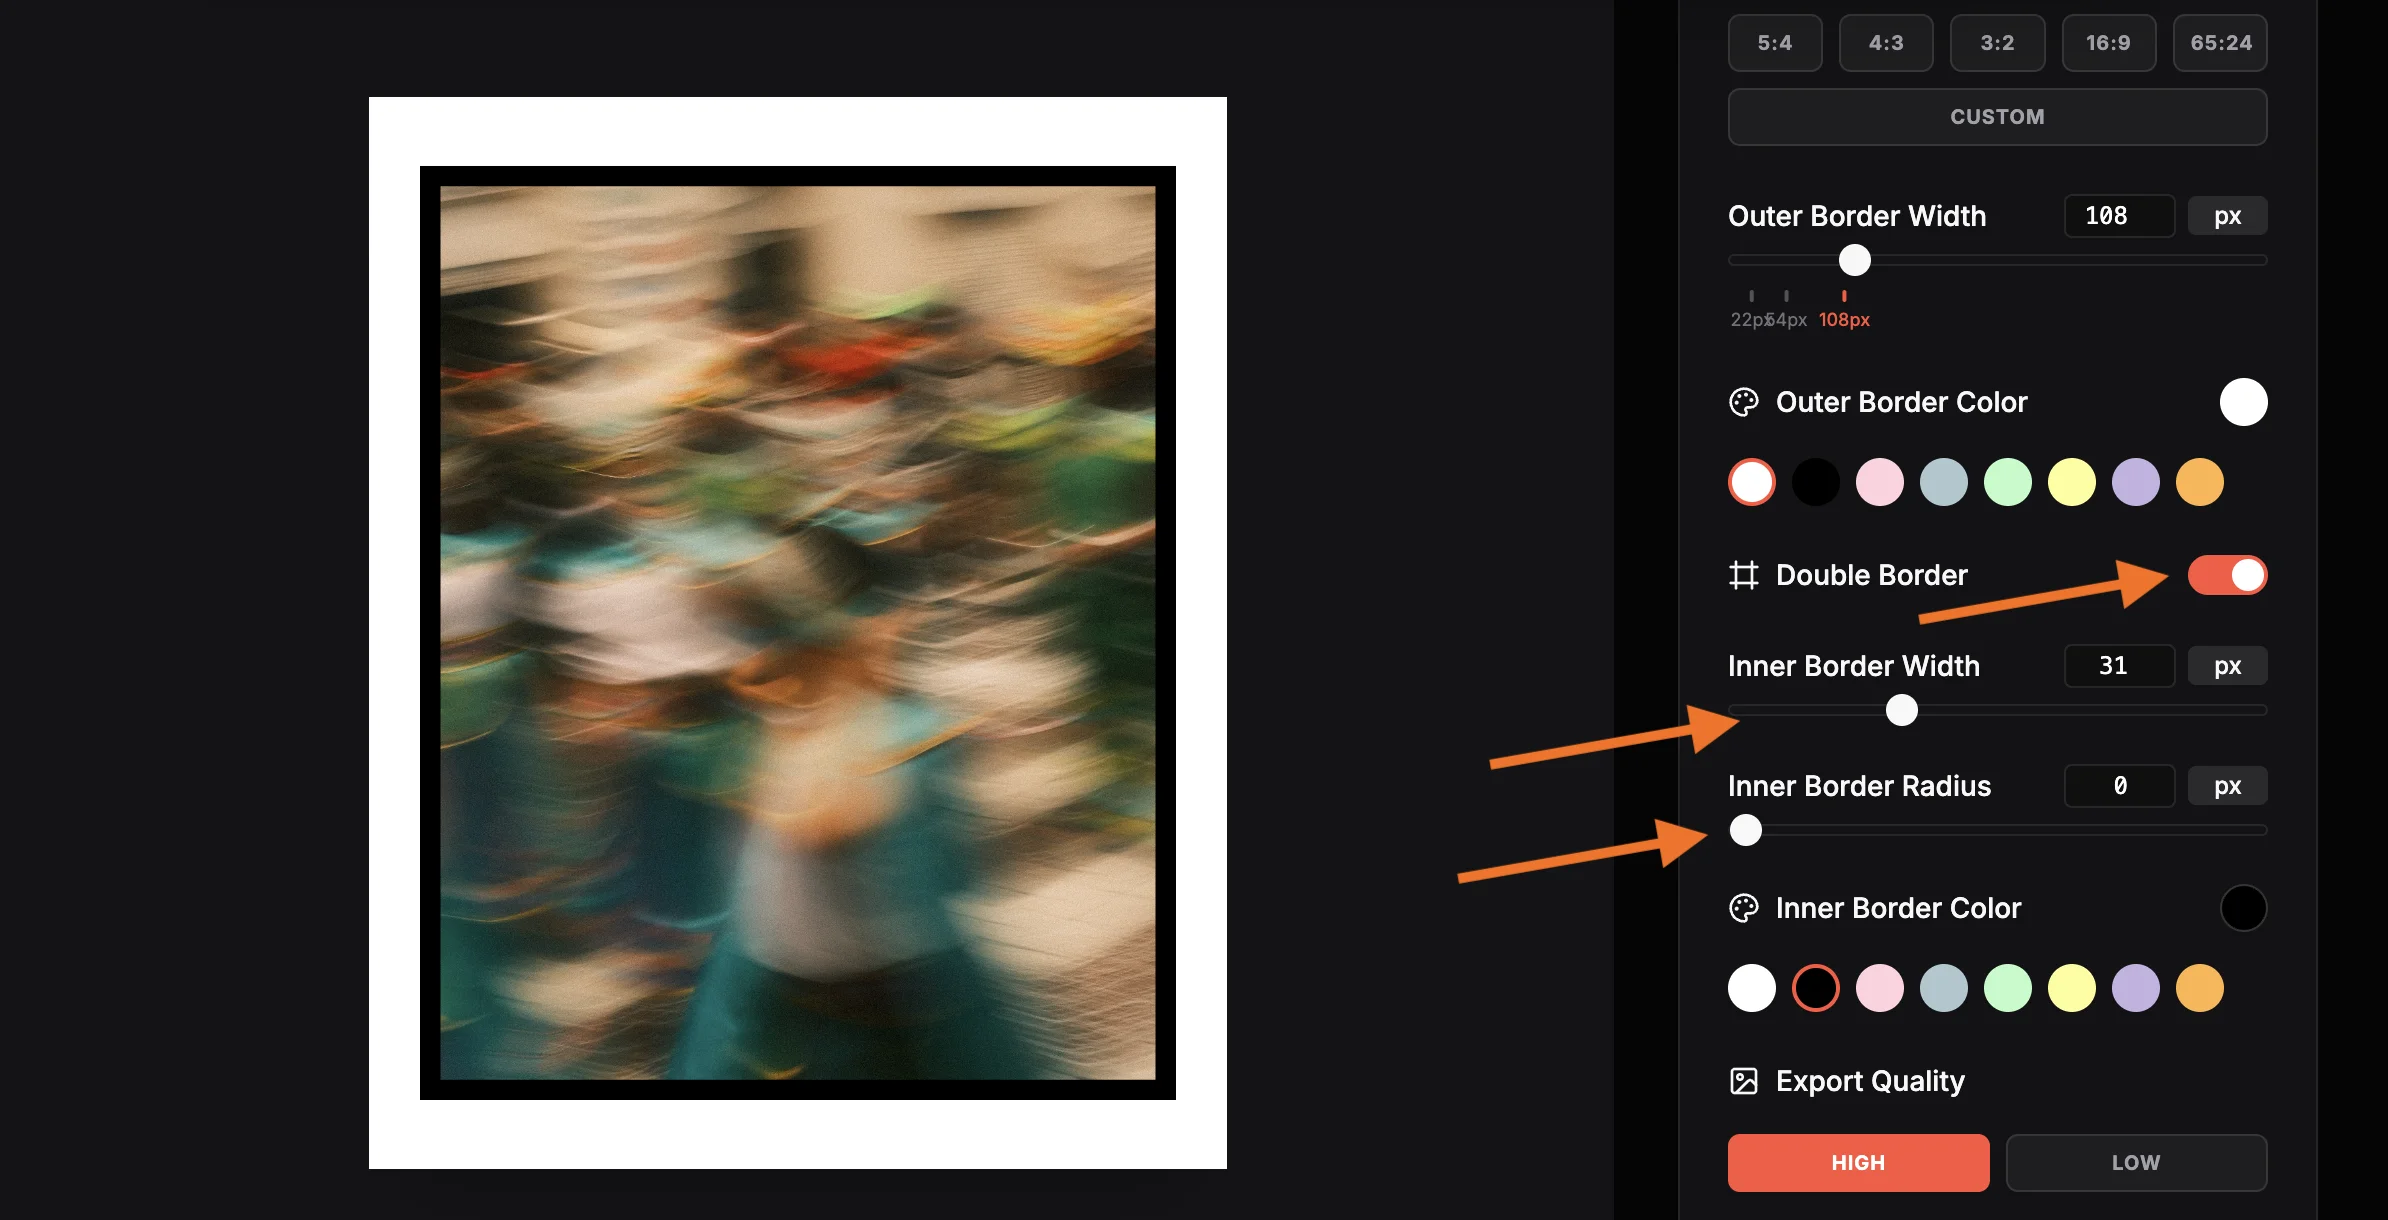
Enable the Double Border
Toggle the "Double Border" switch in the Controls panel. This adds a second inner line between your photo and the outer border, which is what creates the clean outline effect. Without it, you would only get a solid single-color border. The double border is what separates the outline style from a basic frame.
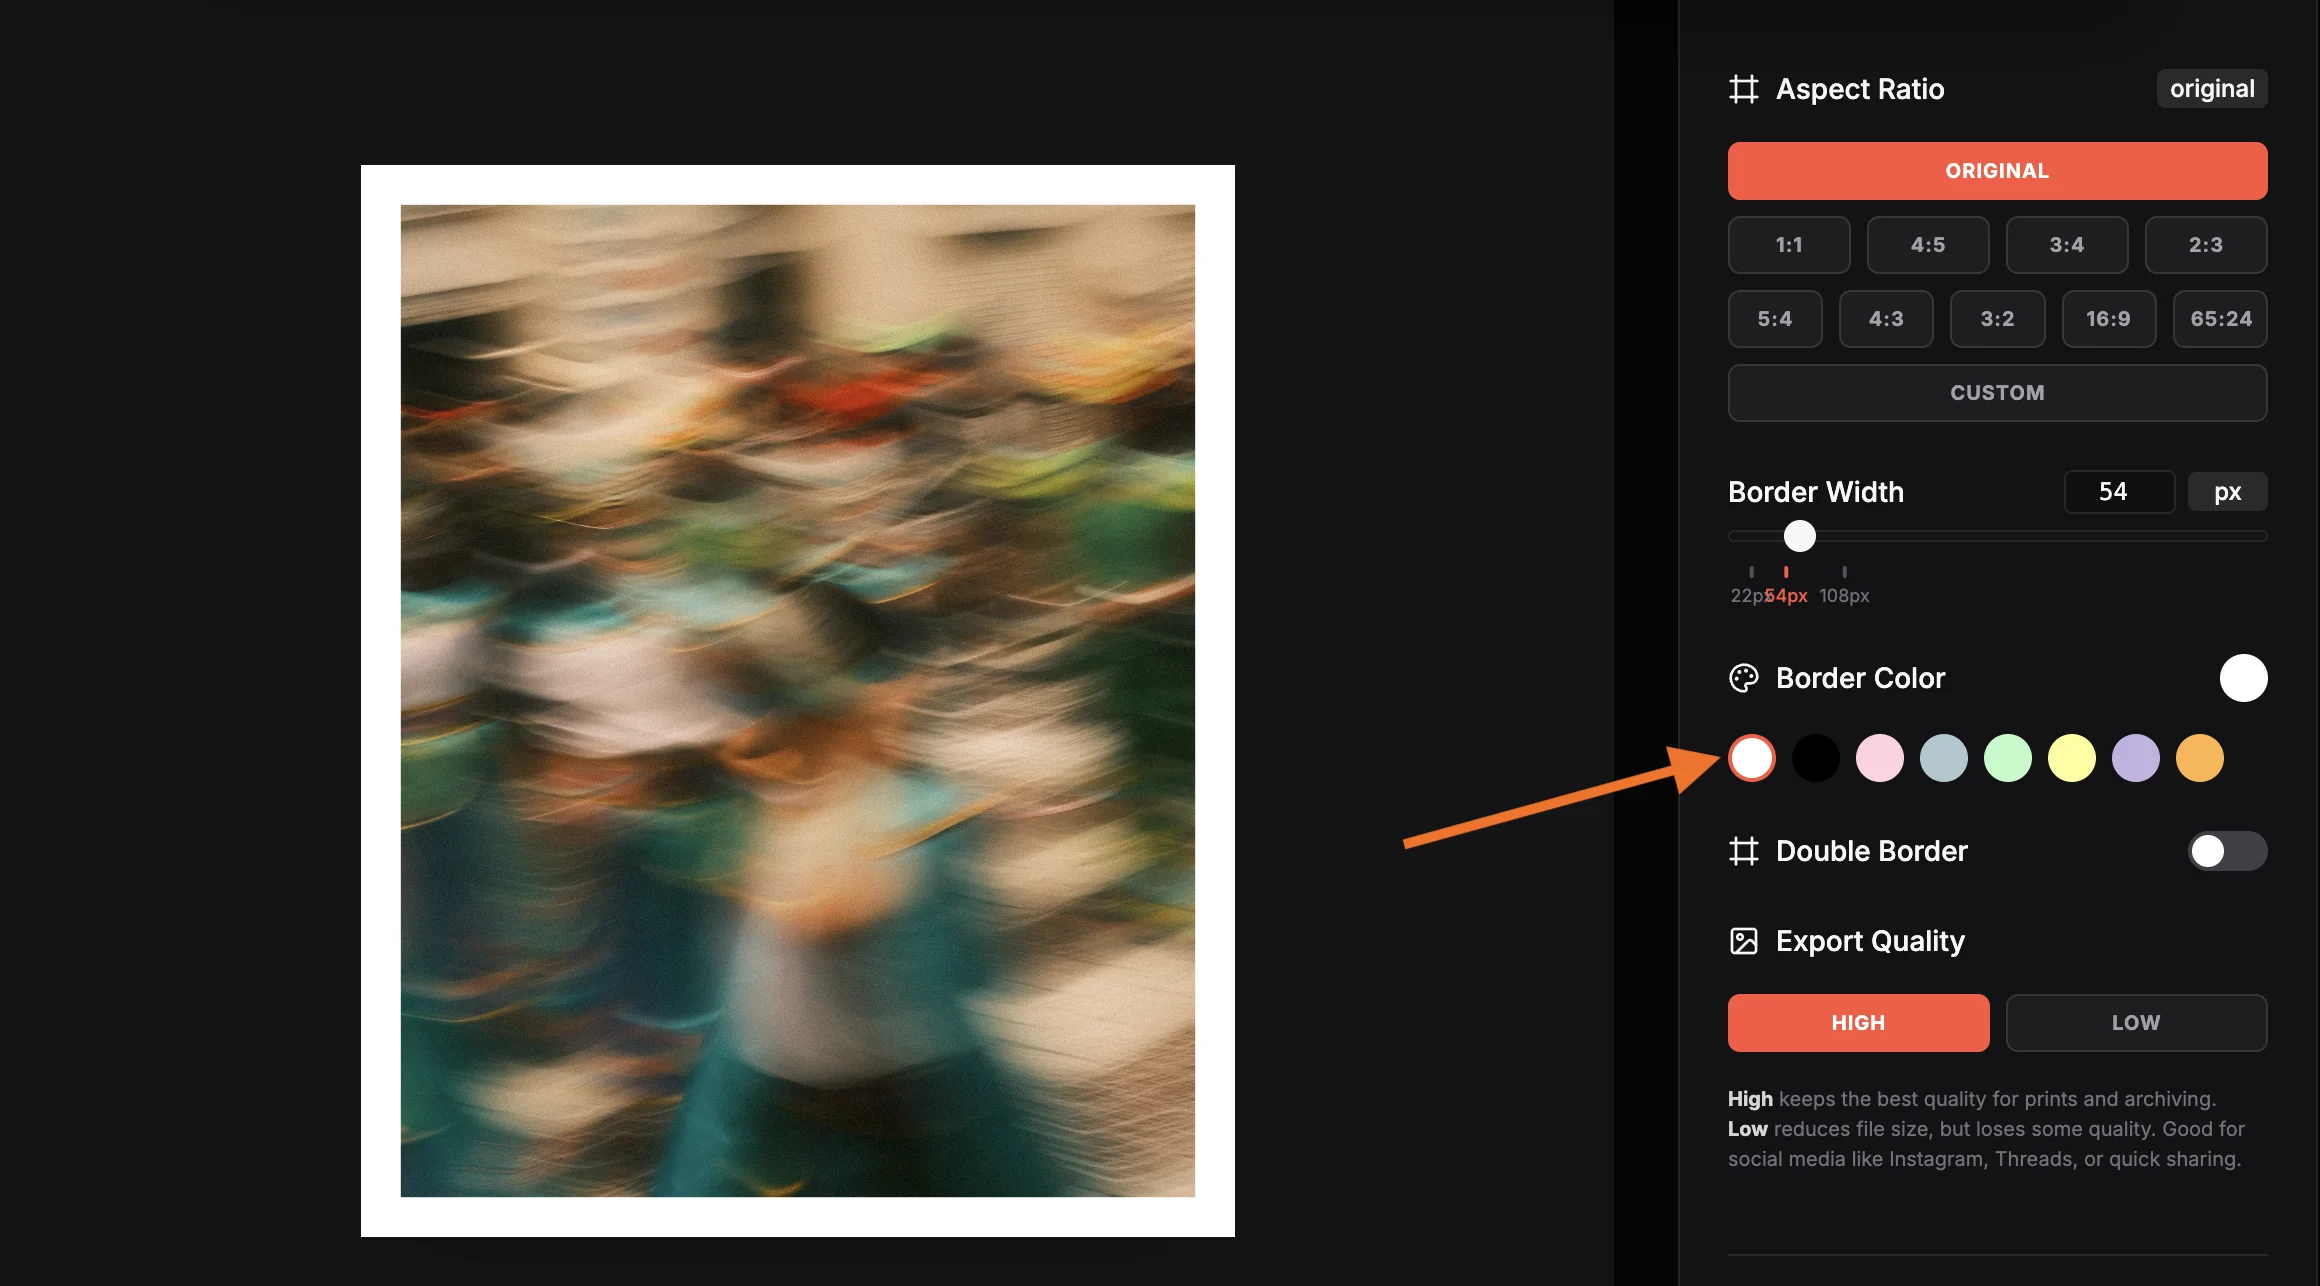
Set the Outer Border to White
Set the Border Color to white (#ffffff) and the Border Width to 54px. This creates a generous, clean outer margin that acts like a gallery mat around your image. The white background gives the outline a professional, museum-ready feel. If you prefer a different aesthetic, you can use any color here. Black, off-white, or even a color that matches your brand all work well.
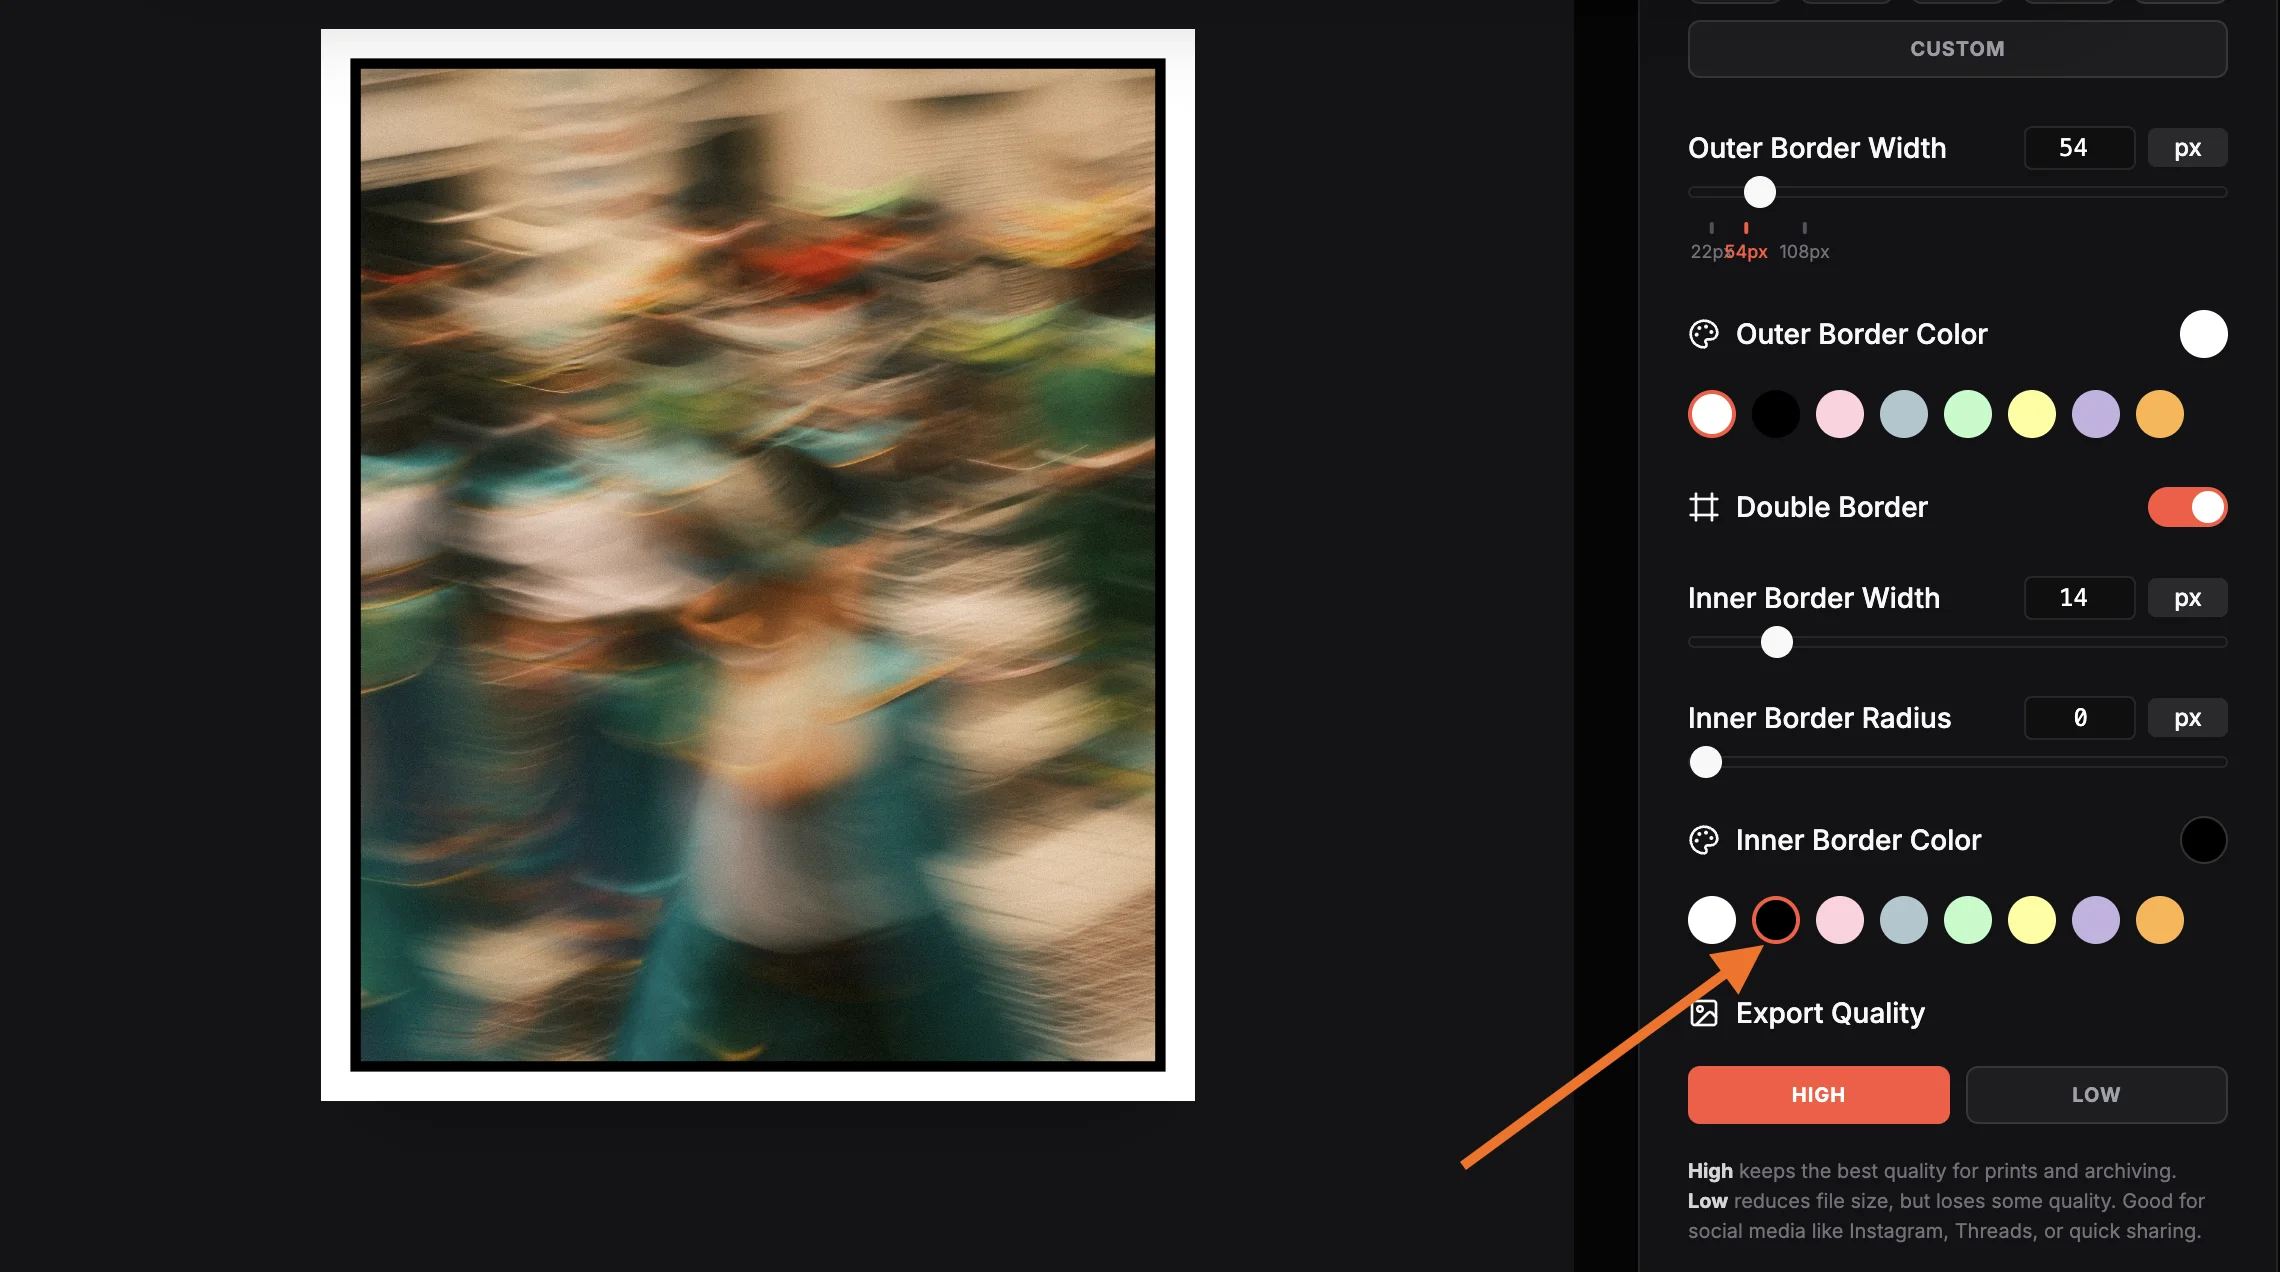
Set the Inner Border to Black
Set the Inner Border Color to black (#000000) and the Inner Border Width to 13px. This thin black line is what forms the actual outline, creating a sharp separation between your photo and the outer white border. This combination of white outer + black inner is the classic outline style used in galleries, exhibitions, and editorial photography worldwide.
Choose Sharp or Rounded Corners
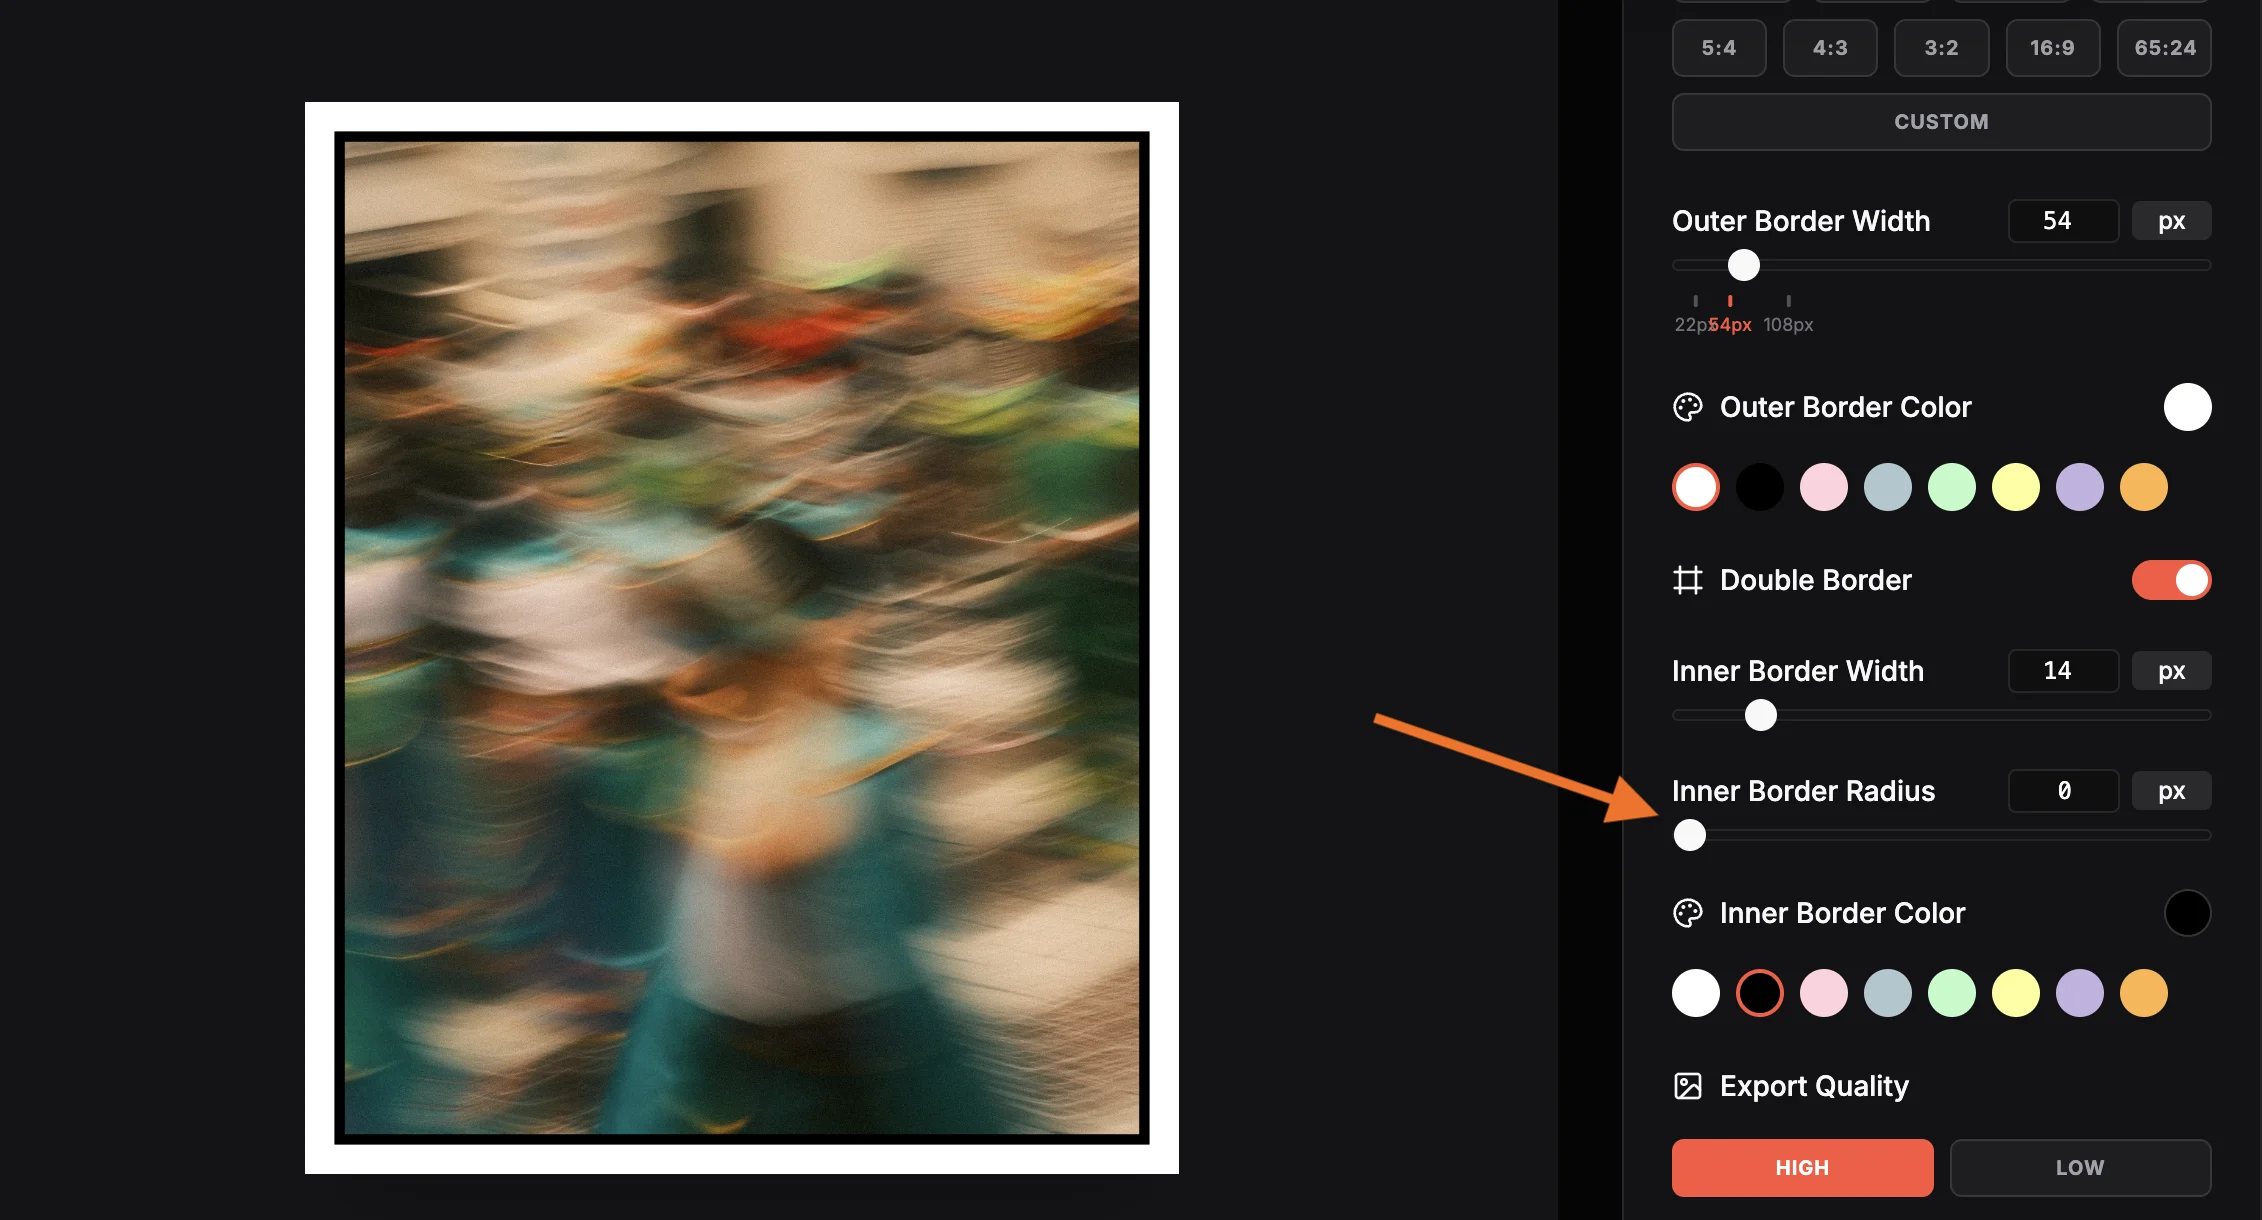
Set the Inner Border Radius to 0 for sharp, crisp corners. This gives a modern, editorial look. If you prefer a softer feel, increase the radius to 25px for rounded corners. The Film Border preset uses rounded corners for a vintage instant-film aesthetic, while the Double Border preset uses sharp corners for a clean gallery look.
Export Your Outlined Photo
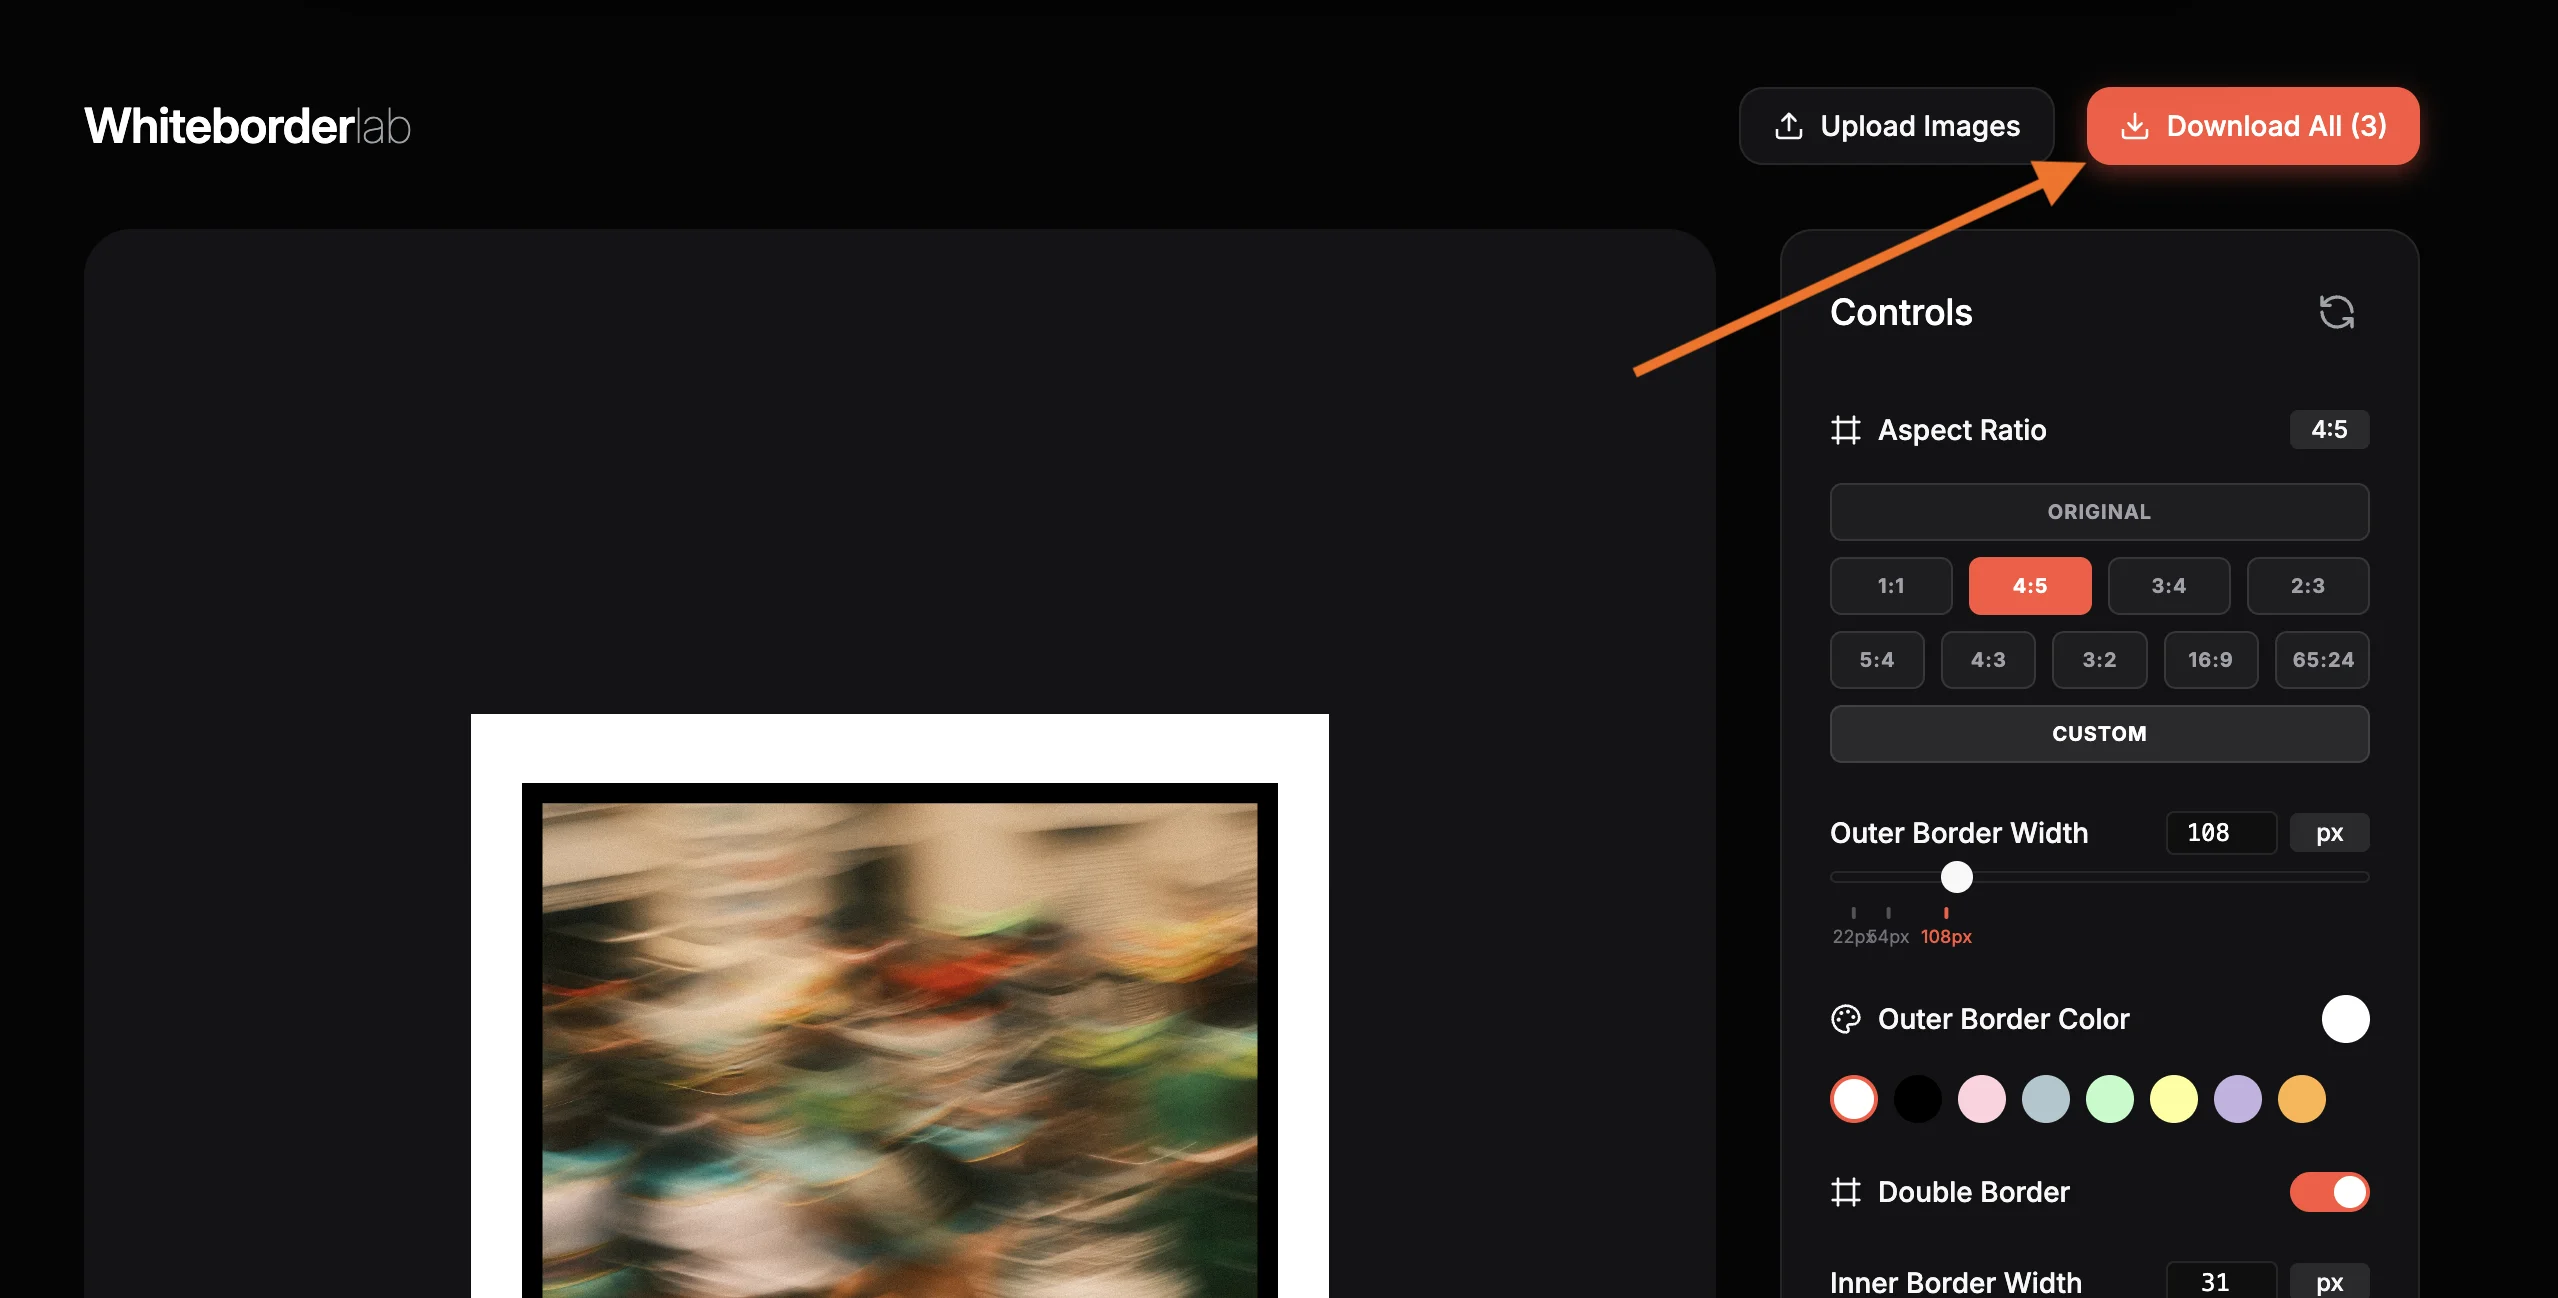
Click "Download Image" to save the outlined photo as a JPEG at full resolution. The file is named with a "-border" suffix so you can tell it apart from the original. If you uploaded multiple images, use "Download All" to get a ZIP archive with every outlined photo. Your photo now has a professional double outline, ready for Instagram, portfolios, prints, or gallery submissions.
Outline Cheat Sheet
| Setting | Value | Why this value |
|---|---|---|
| Double Border | On | Enables the second inner line that creates the outline effect |
| Border Color | #ffffff | White outer margin for a clean gallery-mat look |
| Border Width | 54px | Generous outer margin that frames the photo elegantly |
| Inner Border Color | #000000 | Black inner line creates sharp definition between photo and border |
| Inner Border Width | 13px | Thin enough to be subtle, thick enough to be visible |
| Inner Border Radius | 0px | Sharp corners for a modern editorial look. Use 25px for soft vintage |
Frequently Asked Questions
Guides & Tutorials
Whiteborder Lab Guide
Add professional frames, customize border widths, and export in batch.
Add Border to Photo
Add a clean border online for free. Choose width, color, and aspect ratio.
Halation Lab Guide
Add film halation effects. Adjust spread, amount, and red saturation.
Other Tools
Halation Lab
CineStill 800T film halation effect
CineStill 800T Preset
Preloaded iconic red glow settings
Whiteborder Lab
Custom borders & aspect ratios
Film Border Generator
Classic film look border
Double Border Generator
Sharp double frame border
InstantCard Lab
Photo cards with camera metadata
Carousel Lab
Seamless Instagram carousels
Grading Lab
Color palette extractor
FotoZine Lab
Create printable photo zines
Camera Finder
Find your perfect Fujifilm