How to Use Whiteborder Lab: Complete Tutorial
Step-by-step guide to adding professional photo borders with Whiteborder Lab. Learn how to upload, customize borders, add double frames, and export in high quality.
Watch Whiteborder Lab in action: upload, customize, and download.
What Is Whiteborder Lab?
Whiteborder Lab is a free, browser-based photo framing tool built for photographers, creators, and visual artists. It allows you to add clean, customizable white borders and frames to your images, with full control over dimensions, aspect ratios, colors, and corners. All image processing happens locally in your browser using the HTML5 Canvas API, meaning your photos never leave your device.
Unlike complex desktop software or ad-supported mobile apps, Whiteborder Lab is completely free, requires no signup, and leaves no watermarks. Whether you need a simple white margin for Instagram, a dramatic black frame, or a cinematic crop like the 65:24 Hasselblad XPan ratio, this tool is the fastest way to get your photos ready for web, print, or portfolio display.
Open Whiteborder Lab
Start from defaults and build your own look.
Try the Film Preset
Pre-loaded with white outer + black inner line.
Upload Your Photos
Start by dragging and dropping your images onto the canvas zone, or click "Browse Files" to select them from your computer. Whiteborder Lab supports batch uploads, so you can process multiple photos at once. All images are handled locally in your browser. Nothing is ever uploaded to a server.
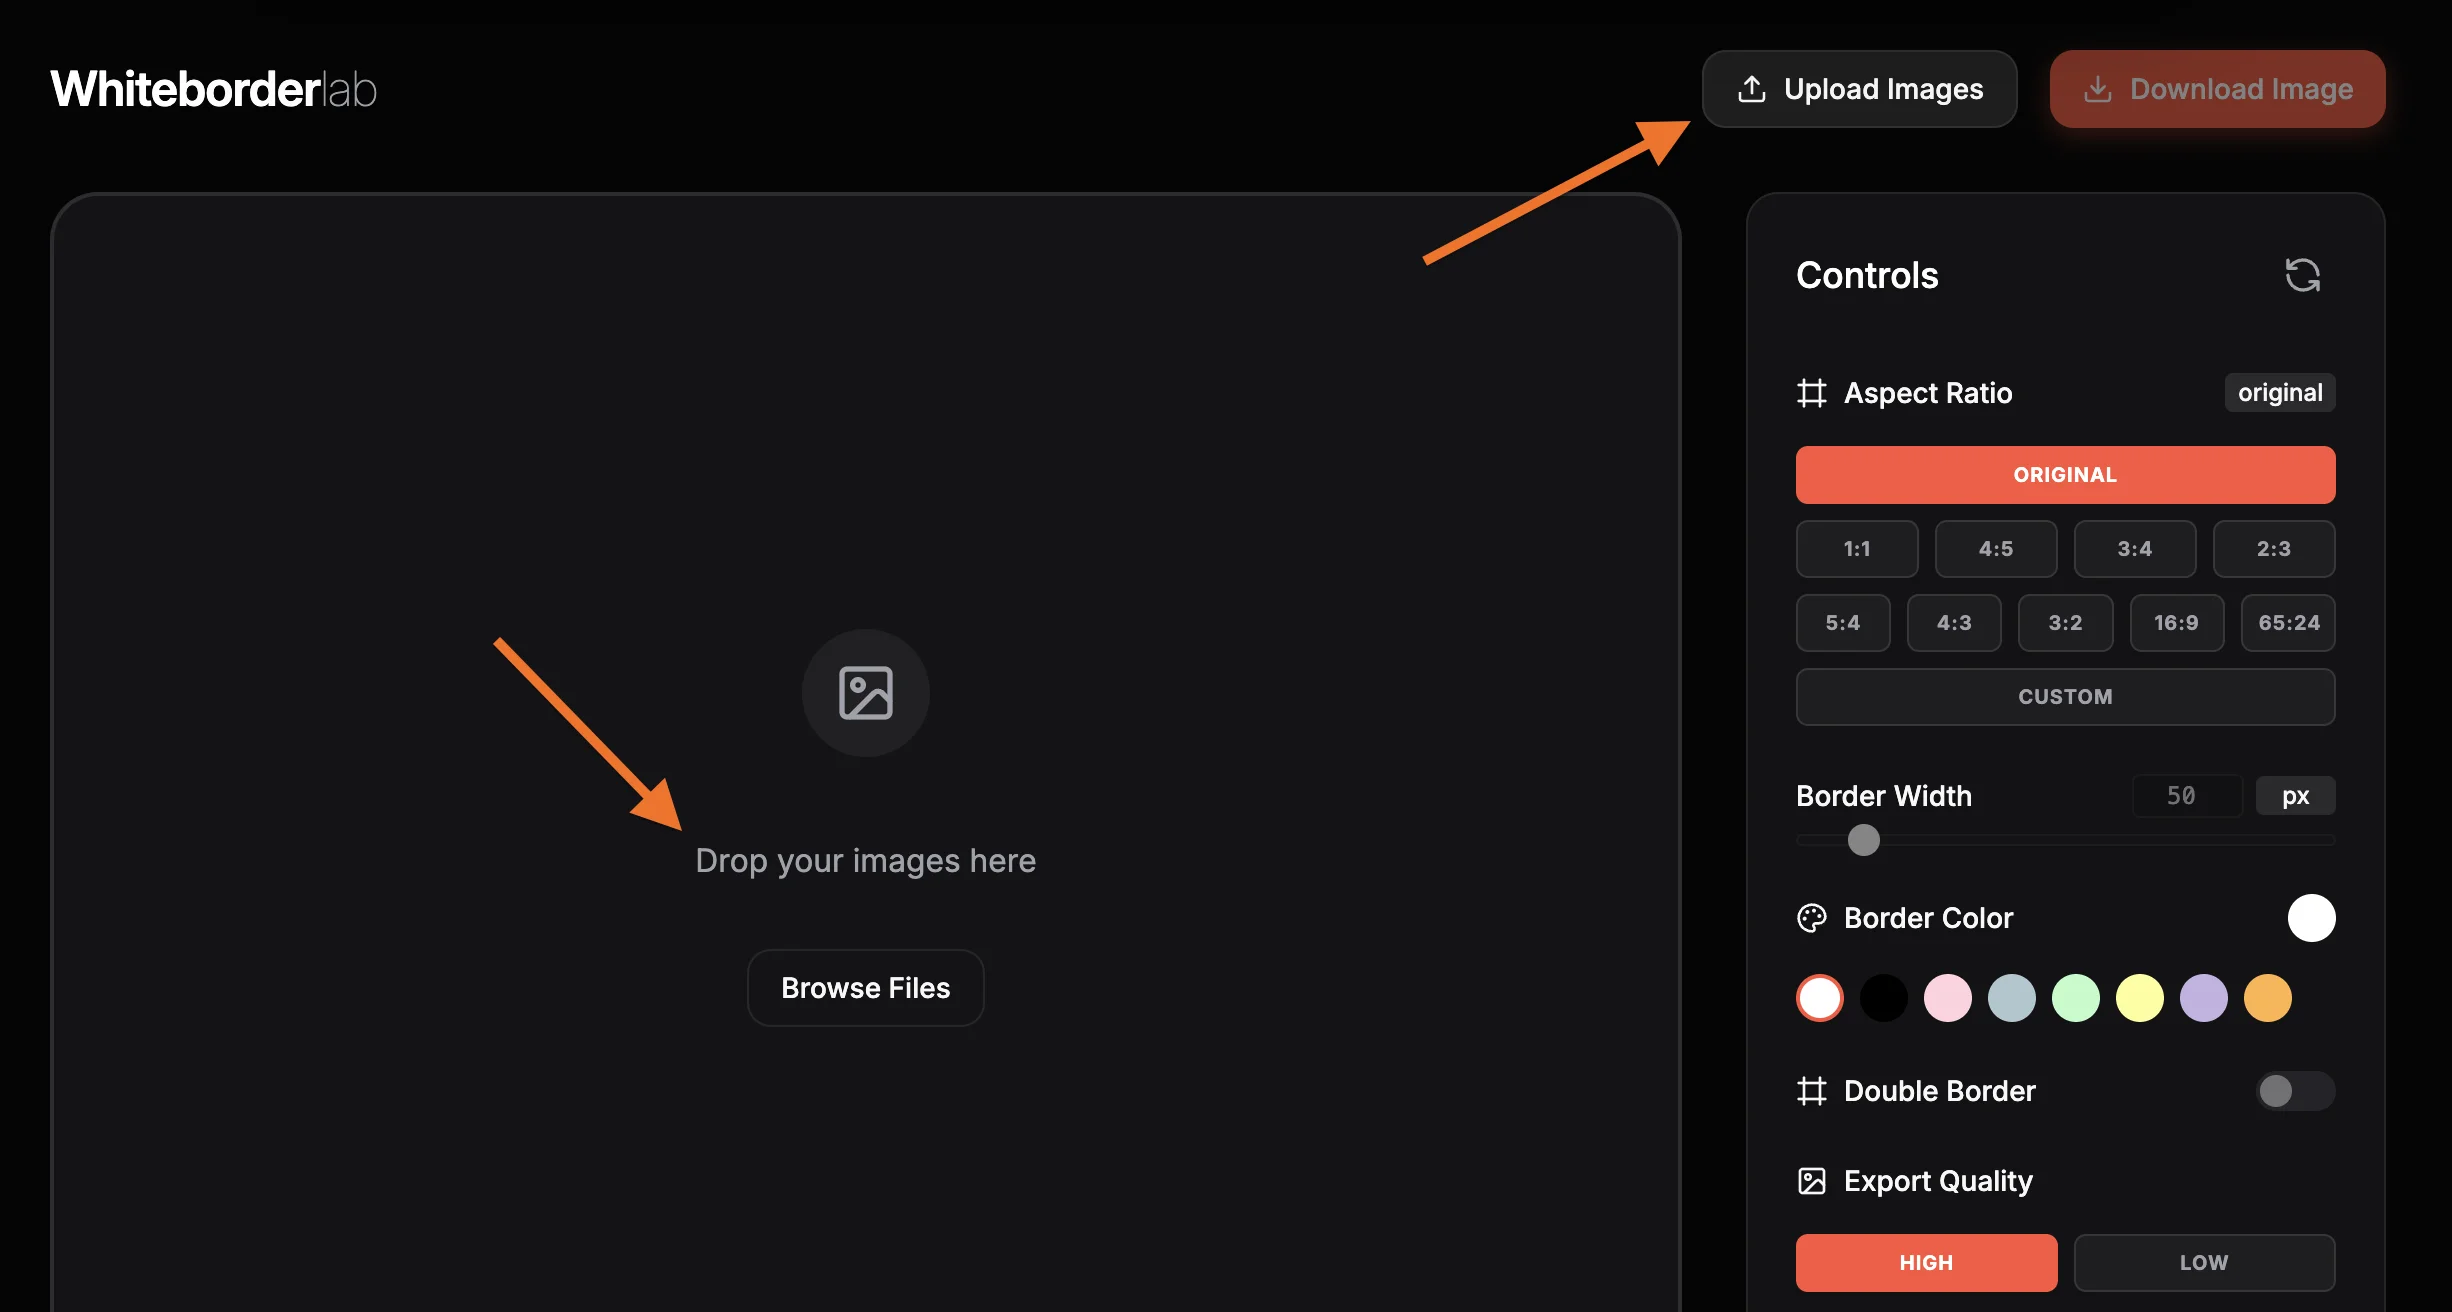
Choose an Aspect Ratio
Pick the canvas shape that fits your destination. Use "Original" to keep your photo's native ratio, or select a preset like 1:1, 4:5, 3:2, 16:9, or the iconic 65:24 XPan panoramic ratio. You can also enter a custom ratio (e.g., 7:5) for full creative control. The canvas expands automatically to match your chosen ratio while keeping the image centered.
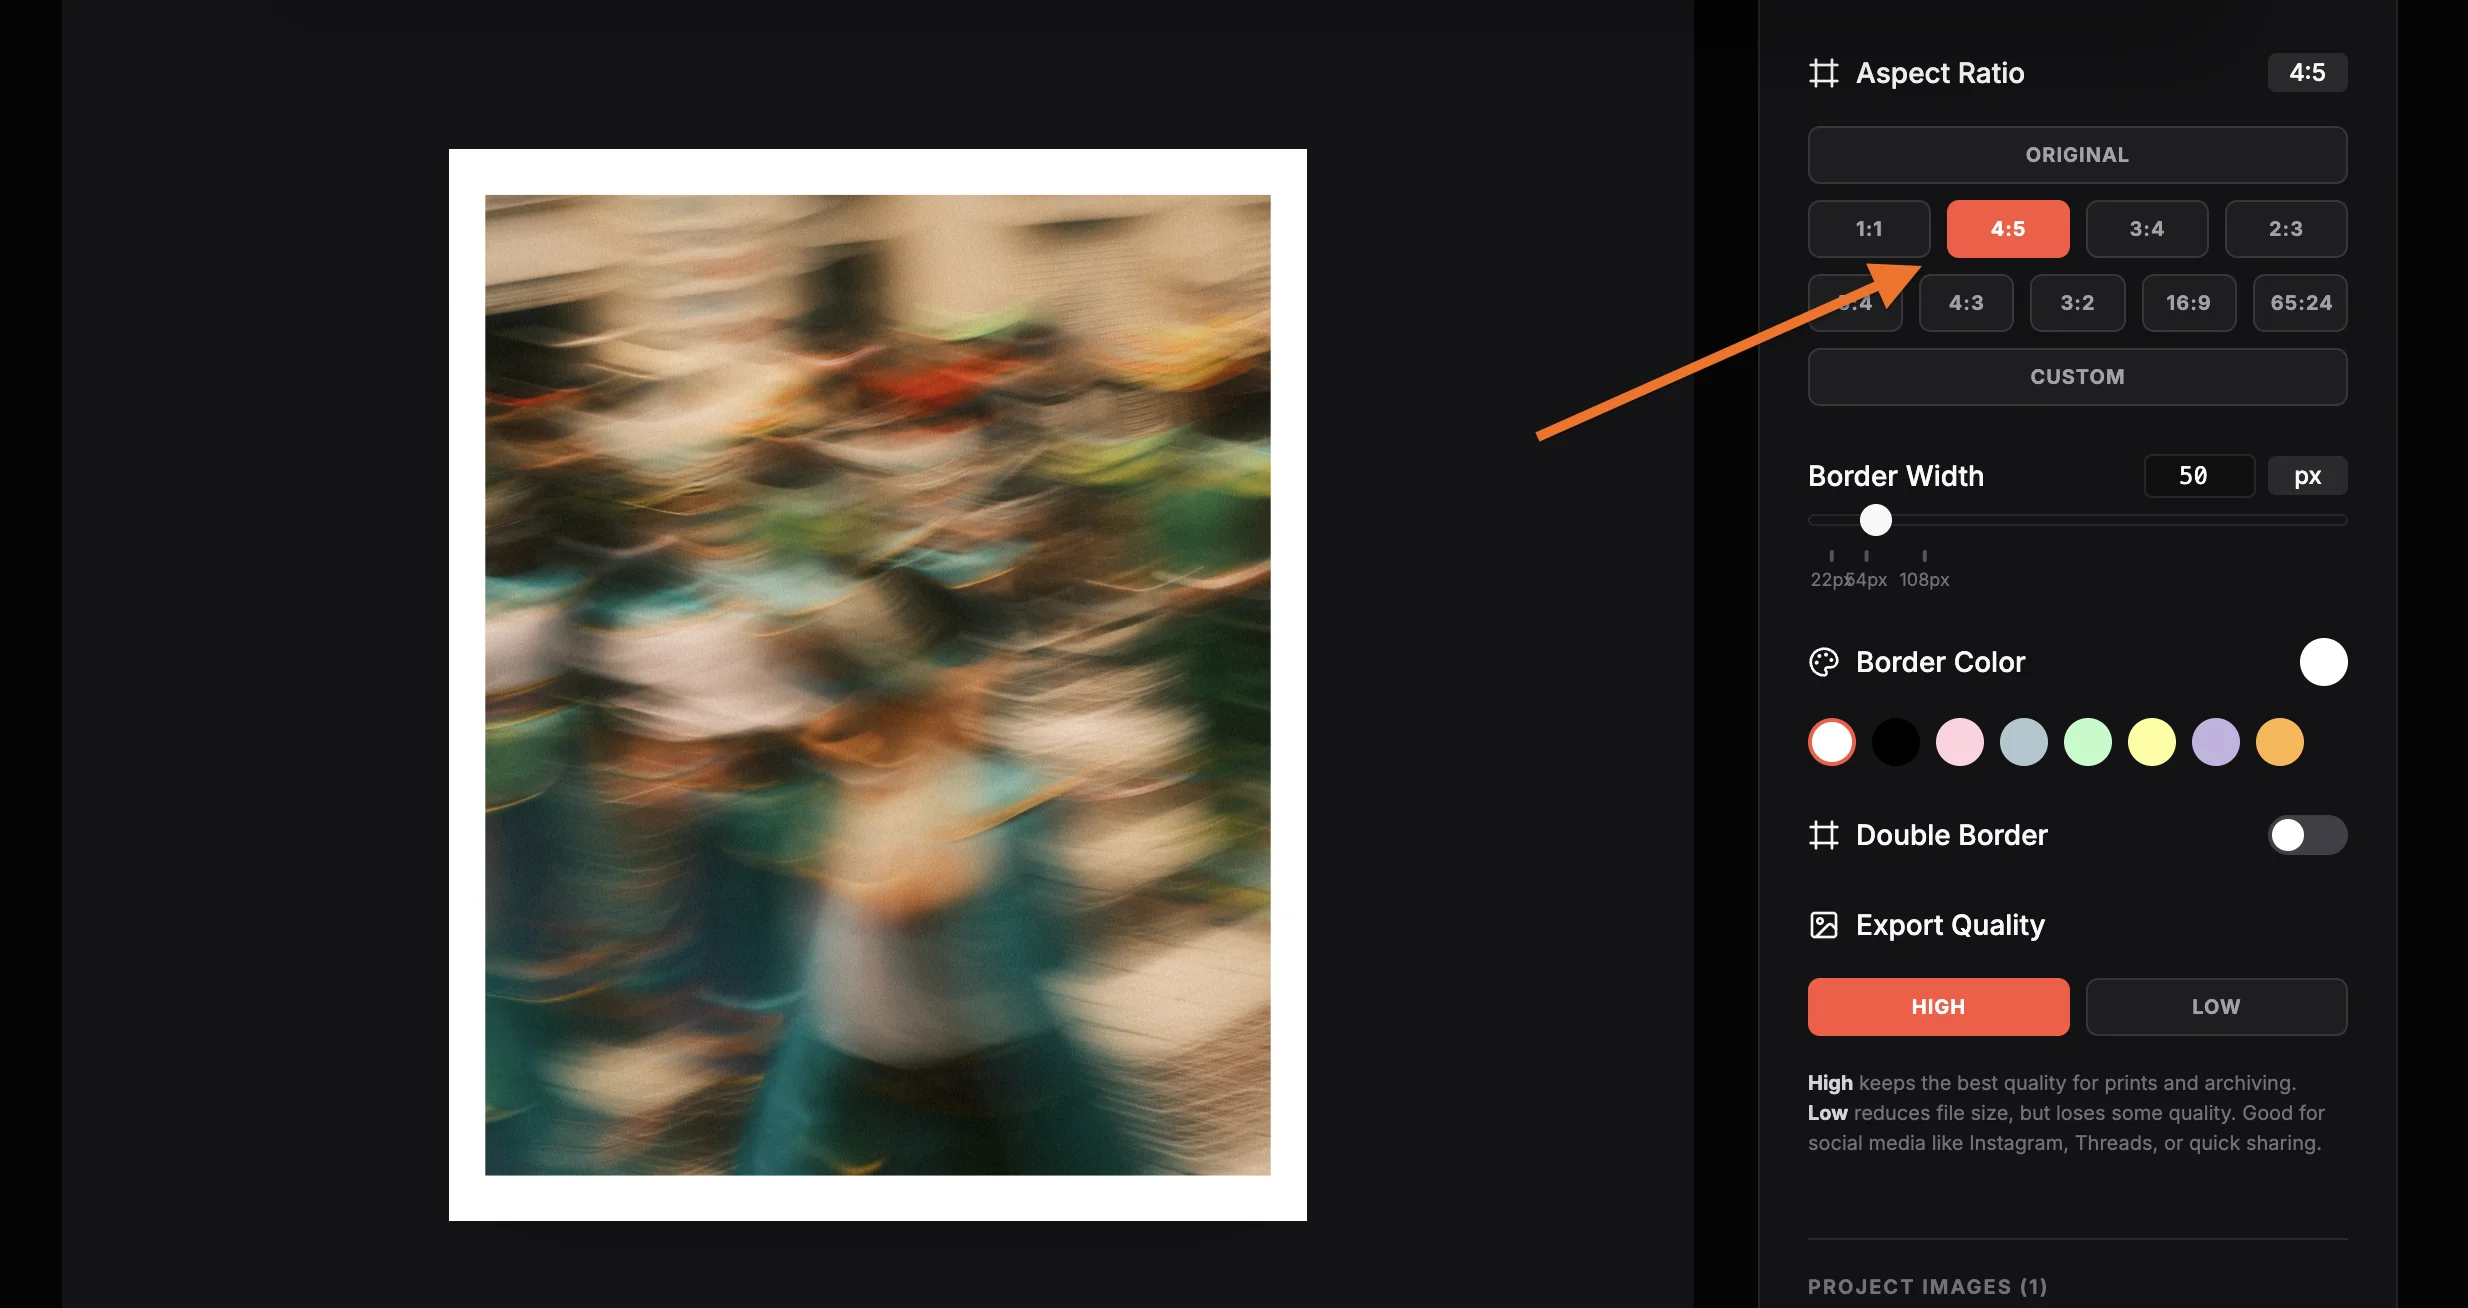
Adjust the Outer Border
Use the Border Width slider to control the thickness of the outer frame. The slider features smart "sticky points" that snap to 2%, 5%, and 10% of your image's smallest dimension, making it easy to hit common proportions. Pick any border color with the color picker, or use one of the quick swatches for fast styling.
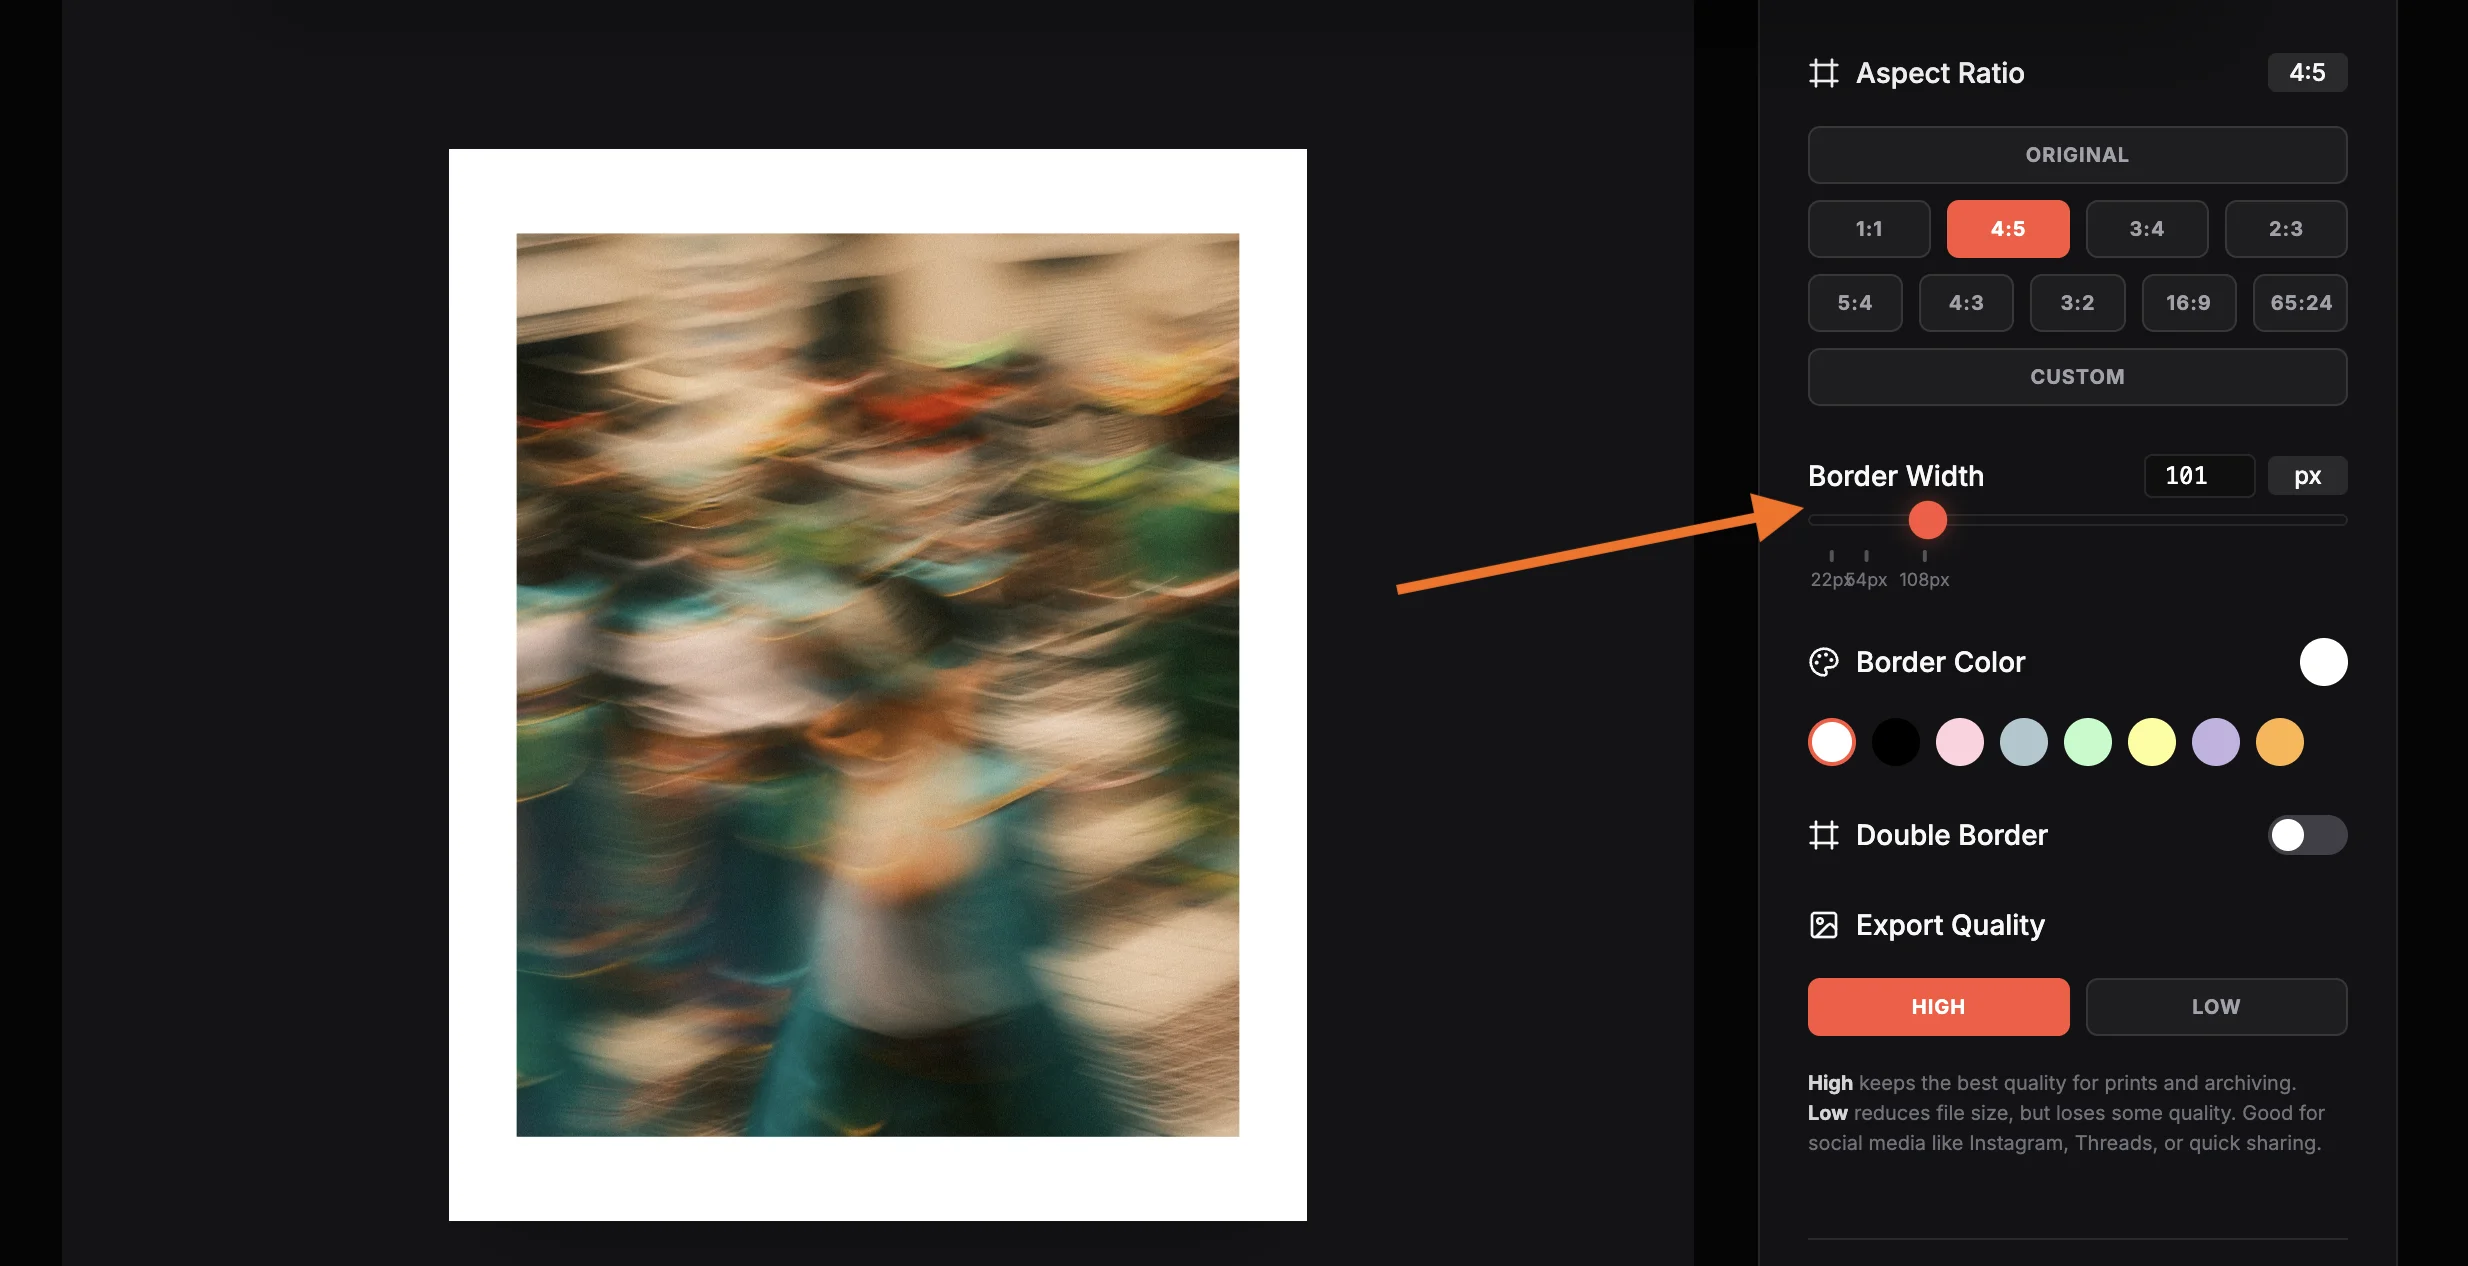
Add a Double Border / Inner Frame
Toggle "Double Border" to add a second inner line between your photo and the outer border. This creates a refined, gallery-ready frame effect. You can independently control the inner line's width, color, and corner radius. Increase the Inner Border Radius to round both the inner frame and the photo itself for a softer, vintage look; leave it at 0 for sharp, modern corners.
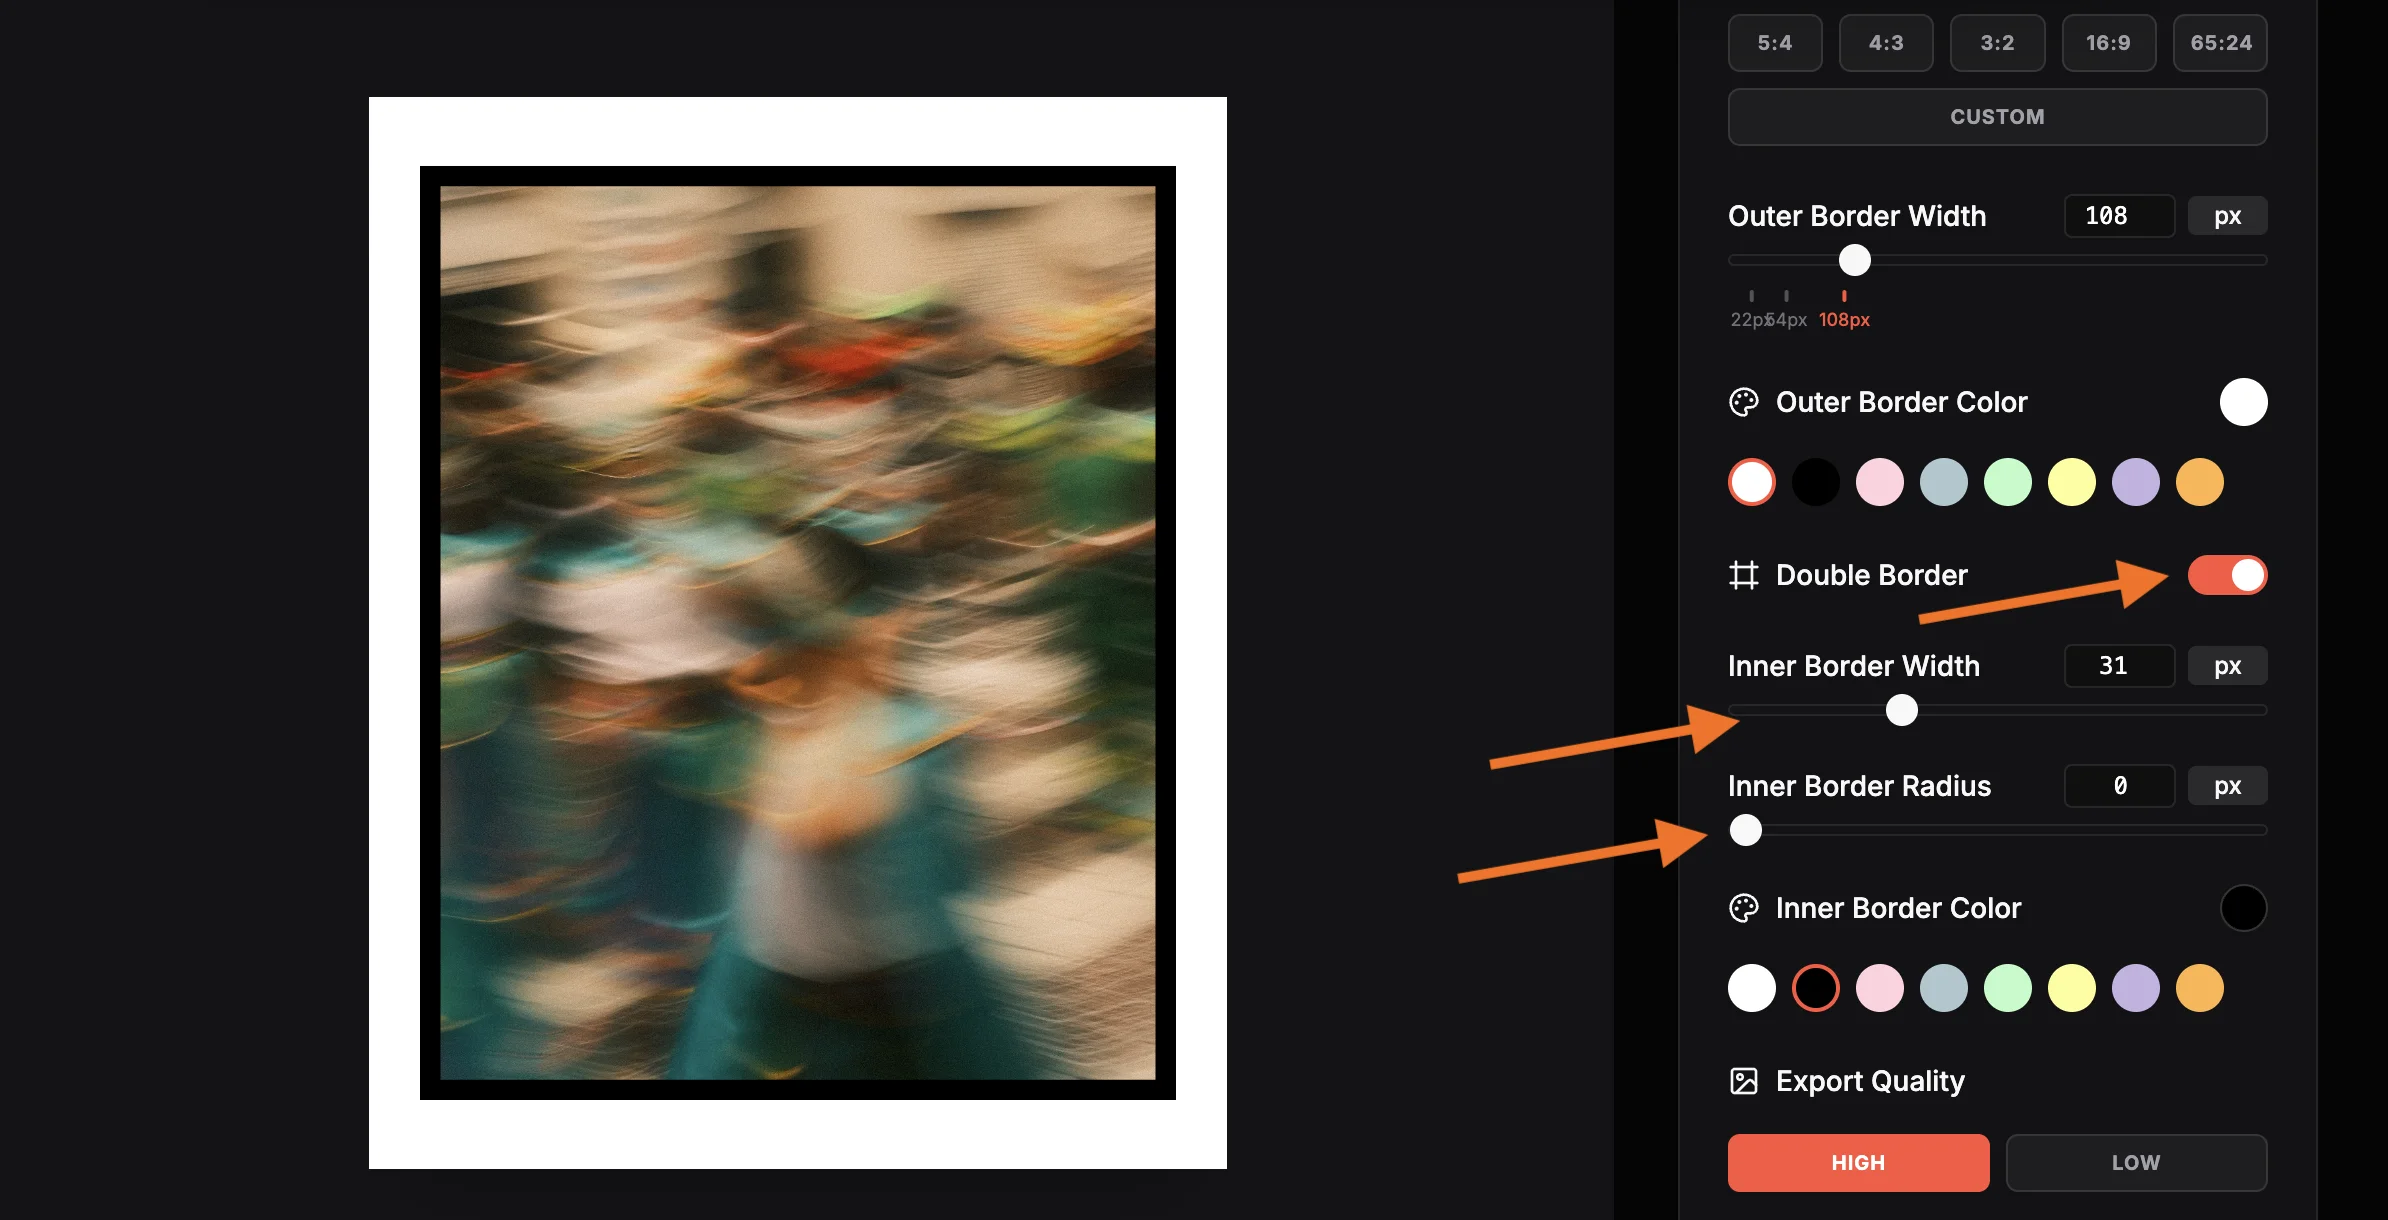
Preview & Switch Between Images
When working with multiple uploads, a thumbnail strip appears below the preview. Click any thumbnail to switch the live preview and verify that your settings look great on every photo. All settings are applied uniformly across the entire batch, ensuring a perfectly consistent look.
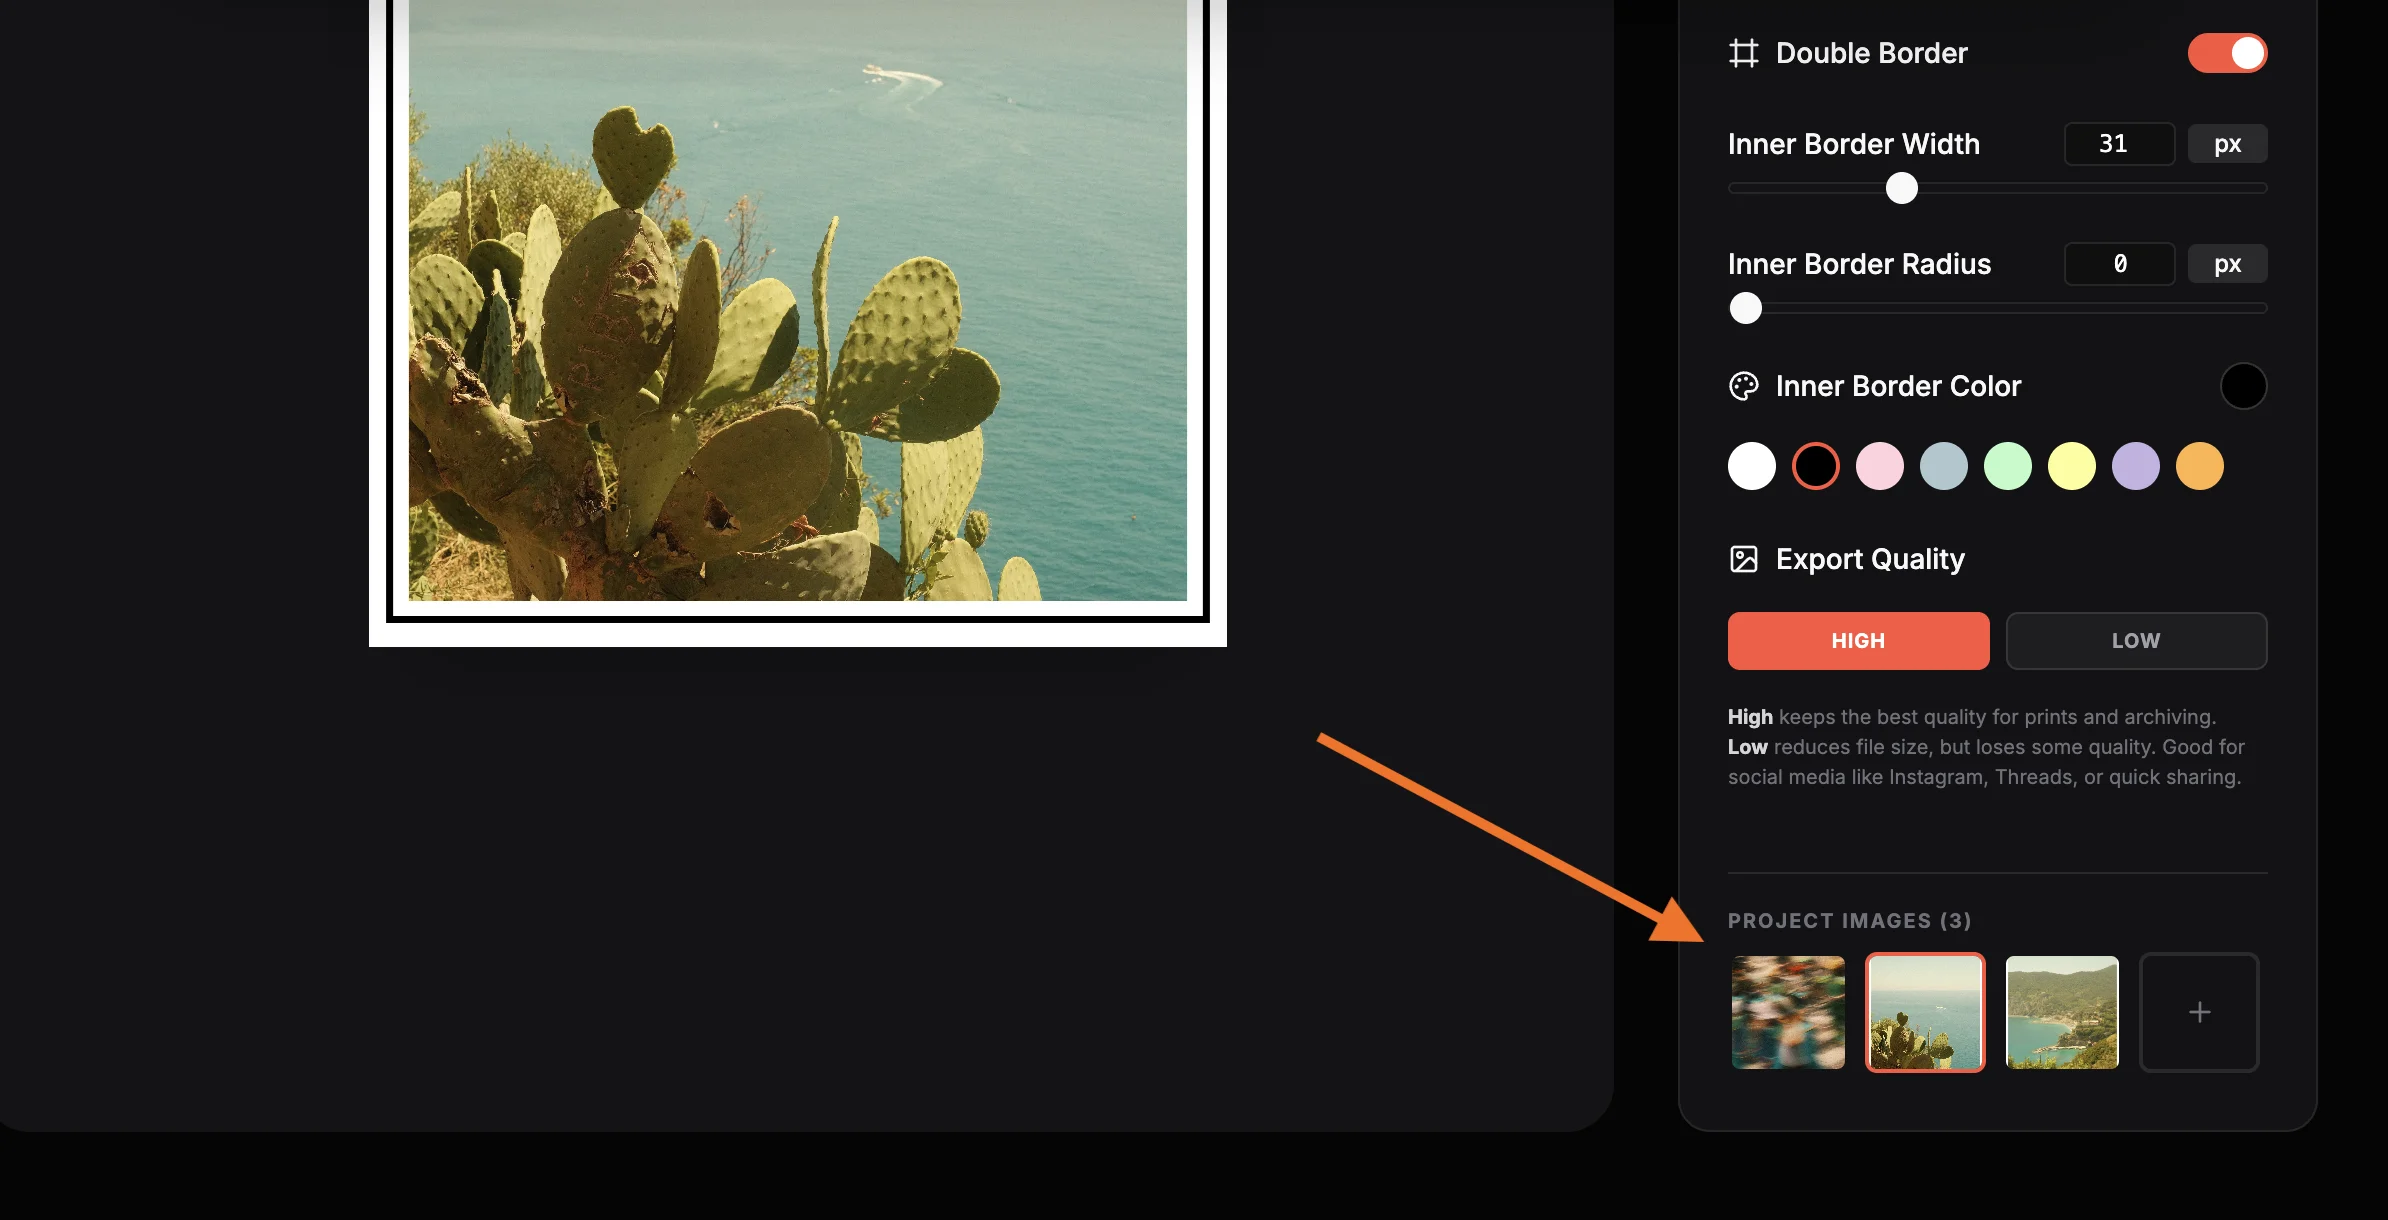
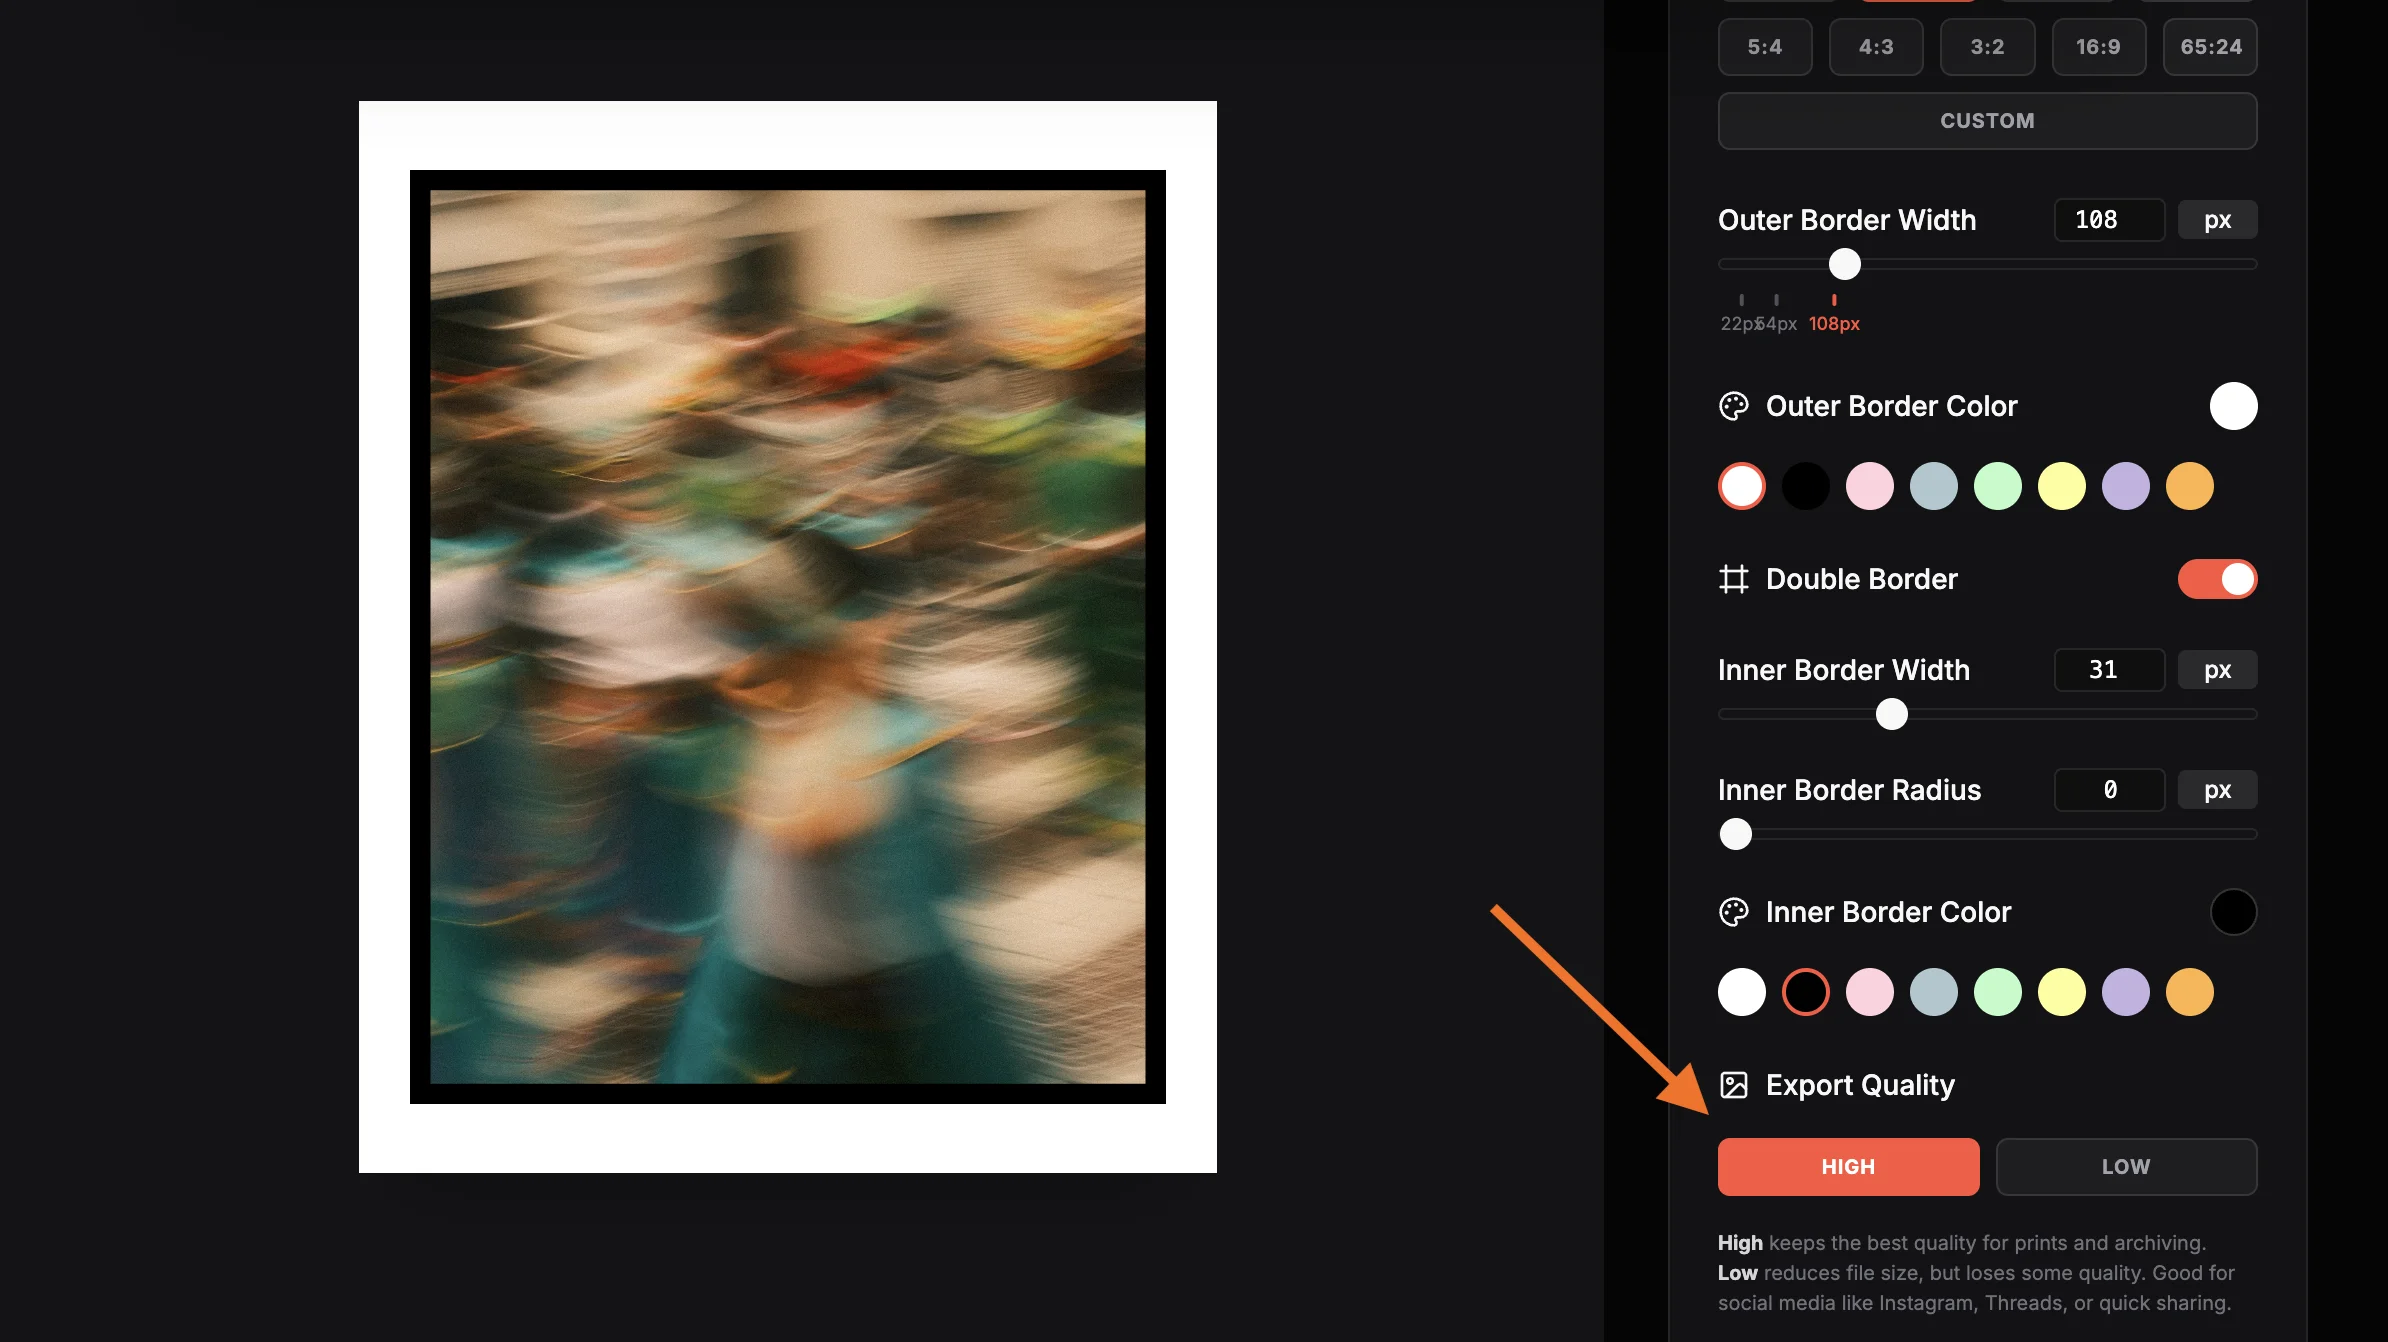
Choose Export Quality
Before downloading, select your export mode. "High Quality" exports at the full canvas resolution, ideal for prints, portfolios, and gallery submissions. "Low" limits the longest edge to 2048px, producing smaller files optimized for Instagram, Threads, TikTok, and other social platforms.
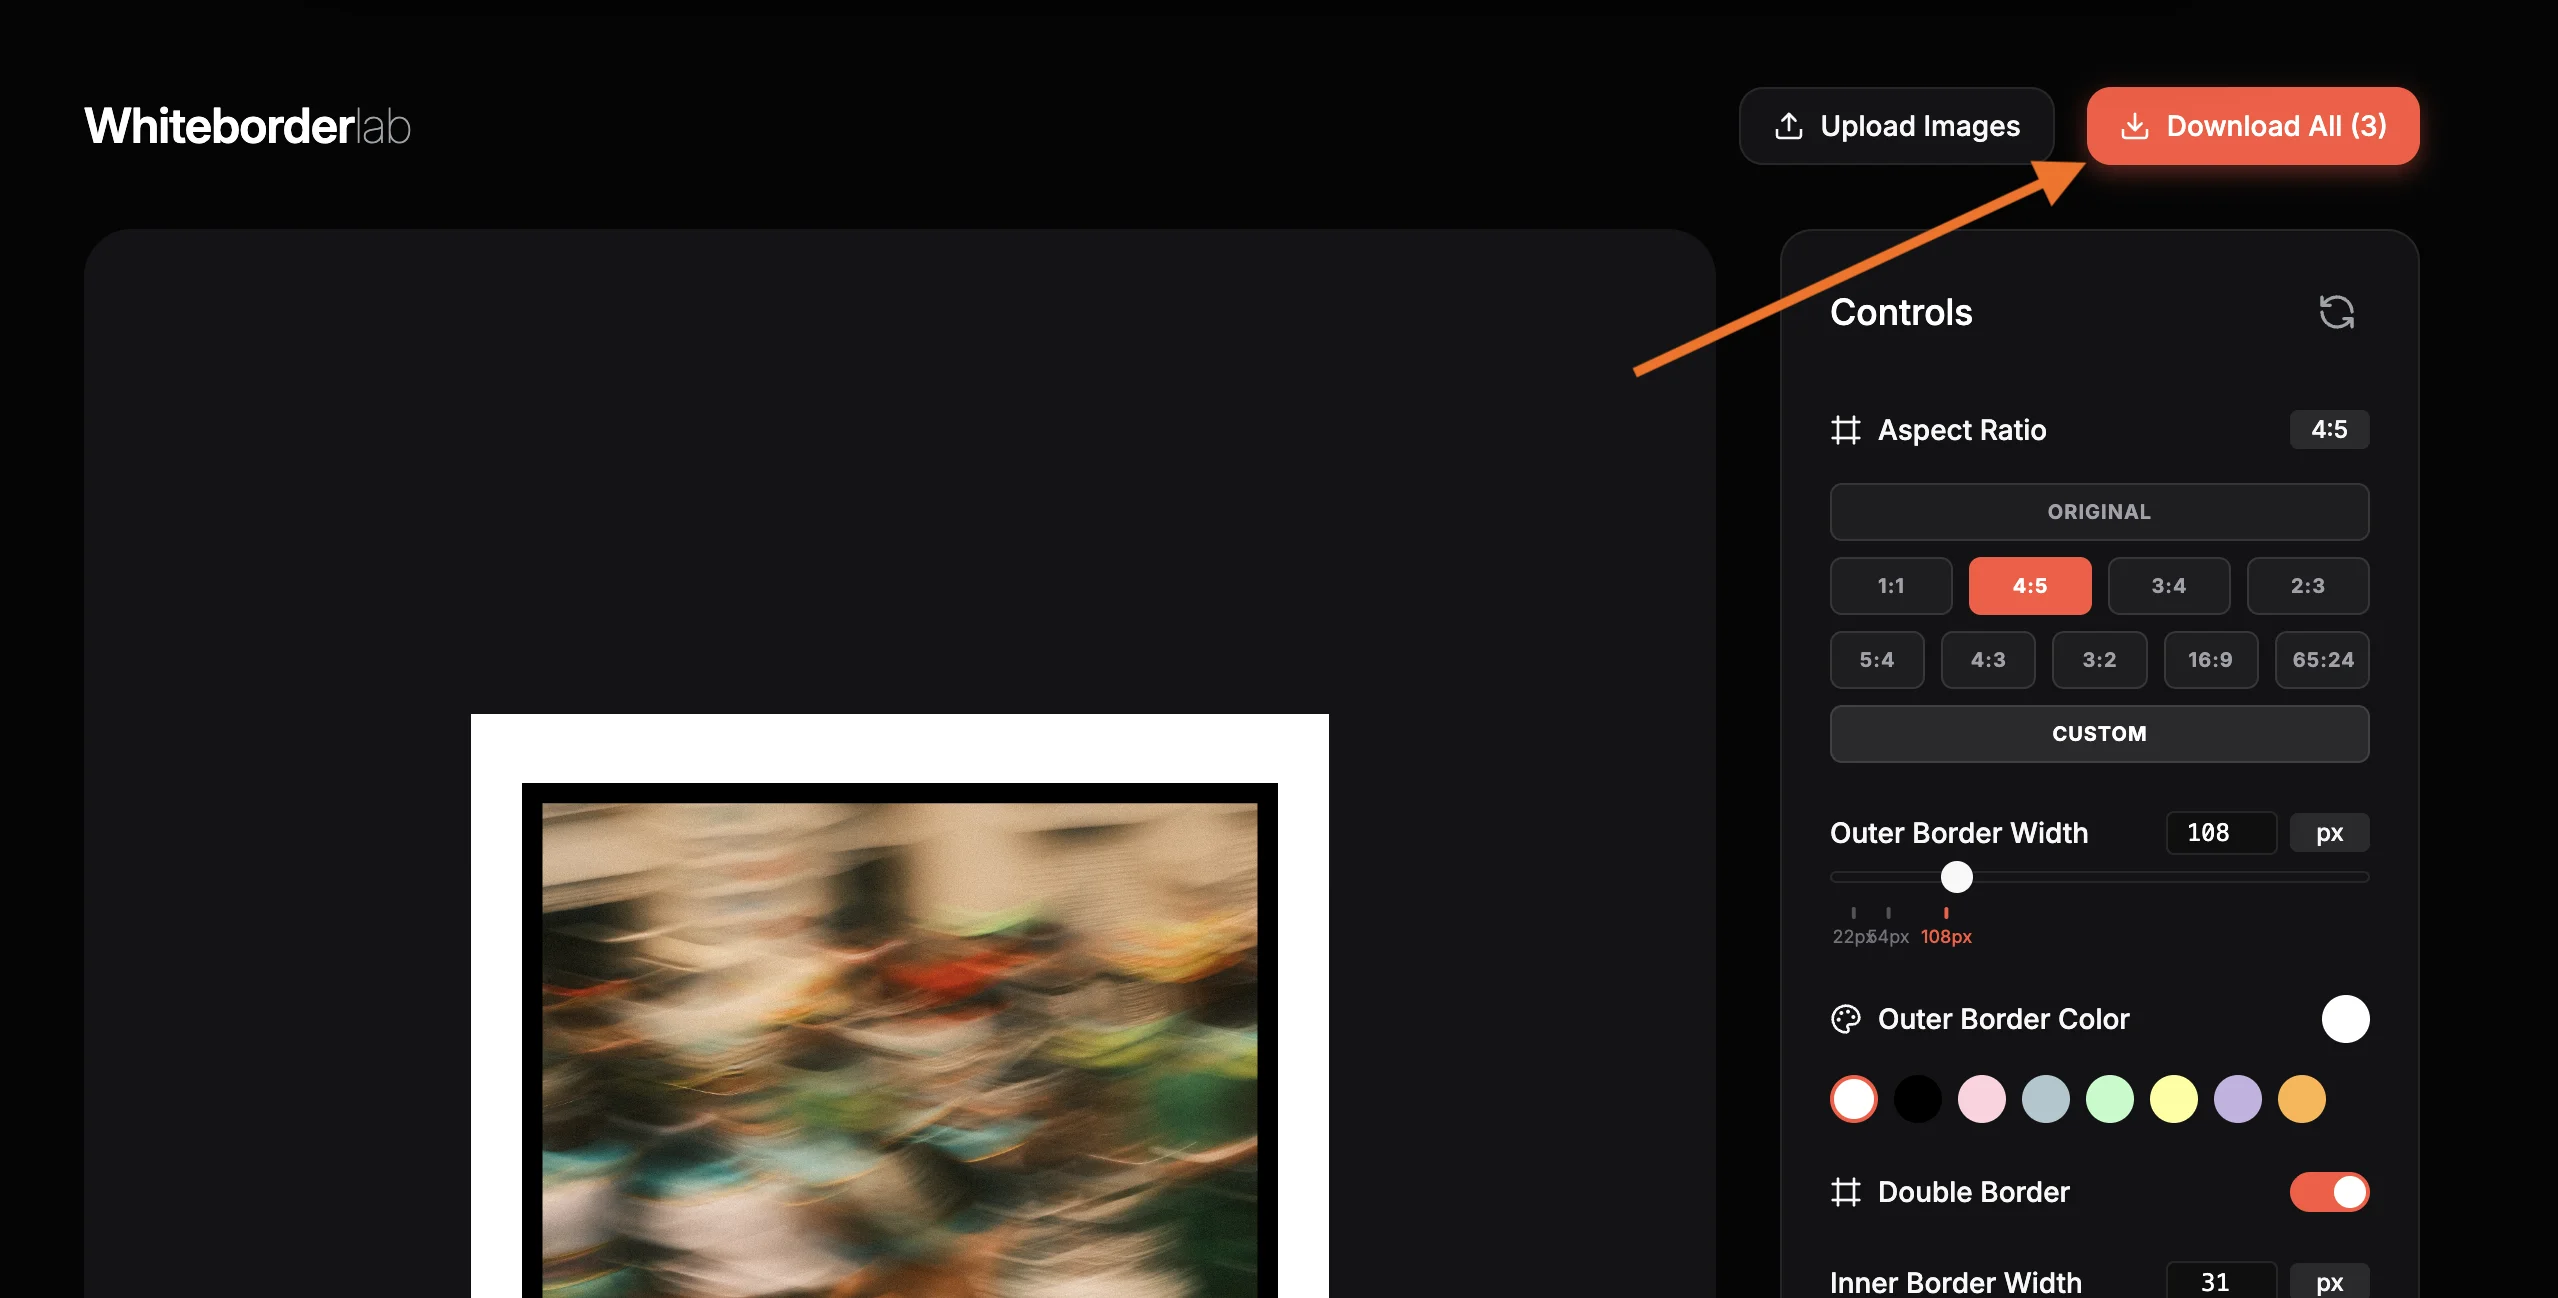
Download Your Images
Click "Download Image" to save the currently previewed photo as a JPEG. If you uploaded multiple images, use "Download All" to receive a ZIP archive containing every processed photo. Each file is named with a "-border" suffix so you can easily distinguish the originals from the framed versions.
Frequently Asked Questions
Guides & Tutorials
Other Tools
Halation Lab
CineStill 800T film halation effect
CineStill 800T Preset
Preloaded iconic red glow settings
Whiteborder Lab
Custom borders & aspect ratios
Film Border Generator
Classic film look border
Double Border Generator
Sharp double frame border
InstantCard Lab
Photo cards with camera metadata
Carousel Lab
Seamless Instagram carousels
Grading Lab
Color palette extractor
FotoZine Lab
Create printable photo zines
Camera Finder
Find your perfect Fujifilm