How to Replicate the CineStill 800T Halation Preset
Get the iconic red glow and highlight bloom of CineStill 800T on any digital photo. Exact slider values, free browser tool, no film camera required.
Watch Halation Lab in action: upload, adjust, and download the CineStill look.
What Is Halation Lab?
Halation Lab is a free, browser-based film halation simulator. It recreates the red glow and highlight bloom that characterizes analog film stocks like CineStill 800T, Kodak Vision3, and Harman Phoenix 200. All processing happens locally on your device using Rust WebAssembly. Your photos never leave your browser.
Unlike Dehancer ($99+) or FilmConvert, Halation Lab costs nothing. No subscription, no plugin, no installation. Open the page, upload a photo, move five sliders, and download the result at full resolution. It is the fastest way to get the CineStill look on digital photos.
Try the Preset Now
Sliders pre-loaded with CineStill 800T values.
Open Halation Lab
Start from defaults and build your own look.
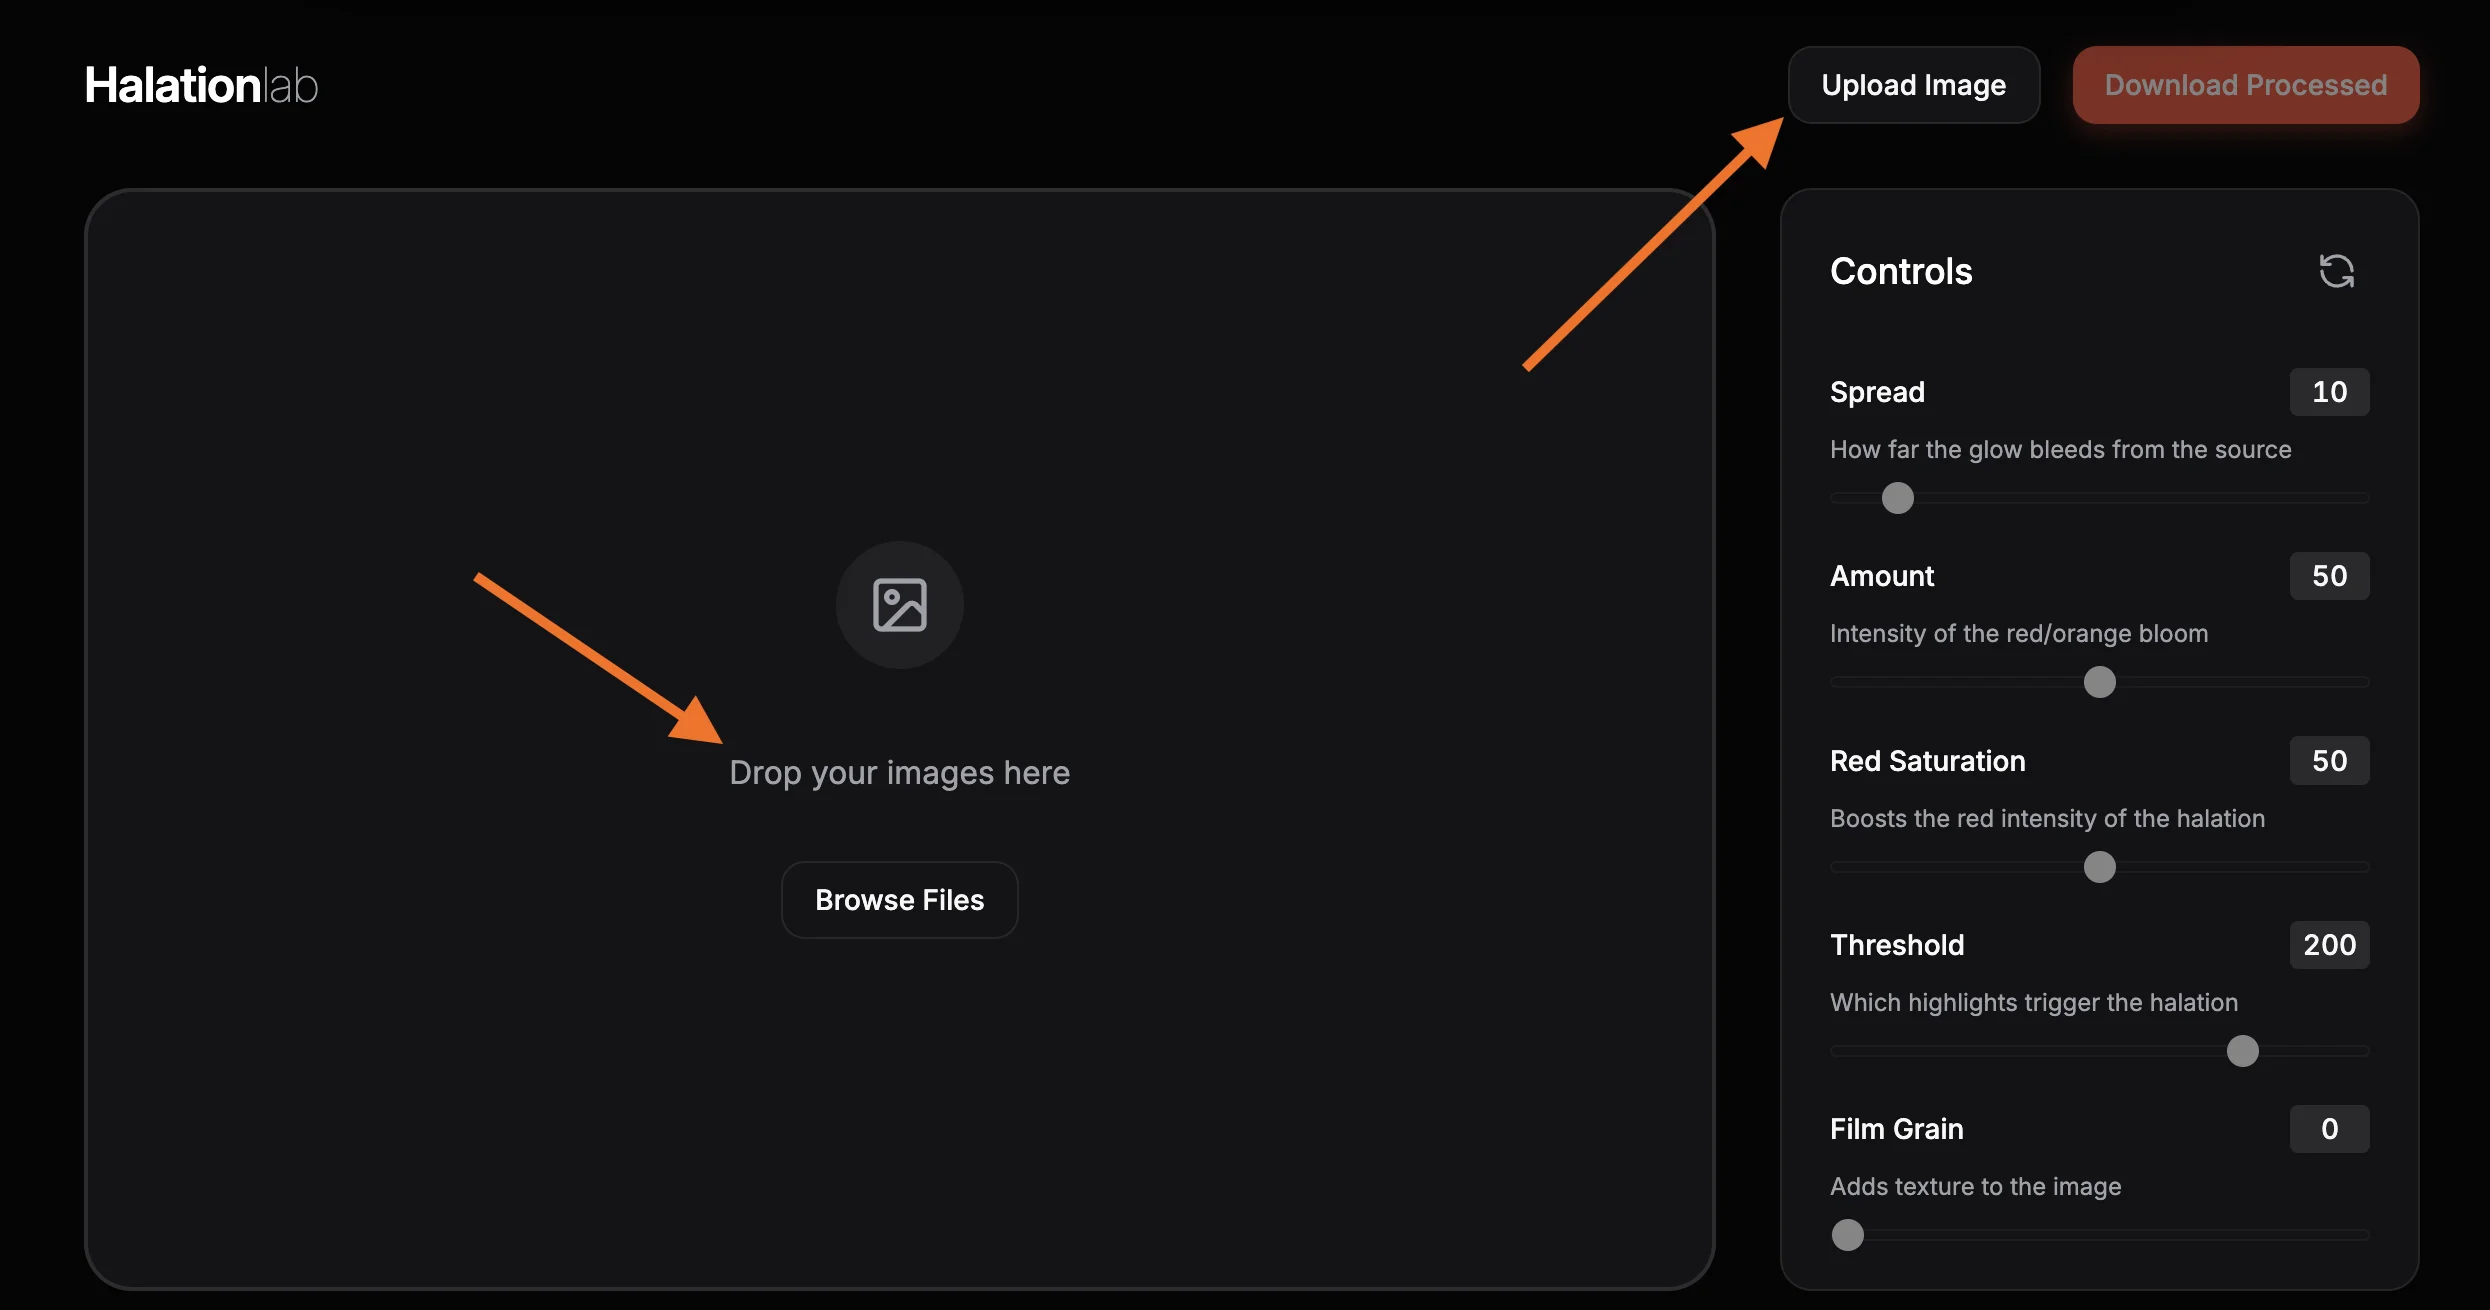
Upload Your Photo
Open Halation Lab and drag your photo onto the canvas, or click "Browse Files" to pick one from your computer. JPEG, PNG, and WebP are all supported. For the most dramatic result, choose a night photo with bright point light sources: streetlights, neon signs, car headlights, or candles. Daytime images work too, but the effect will be much more subtle.
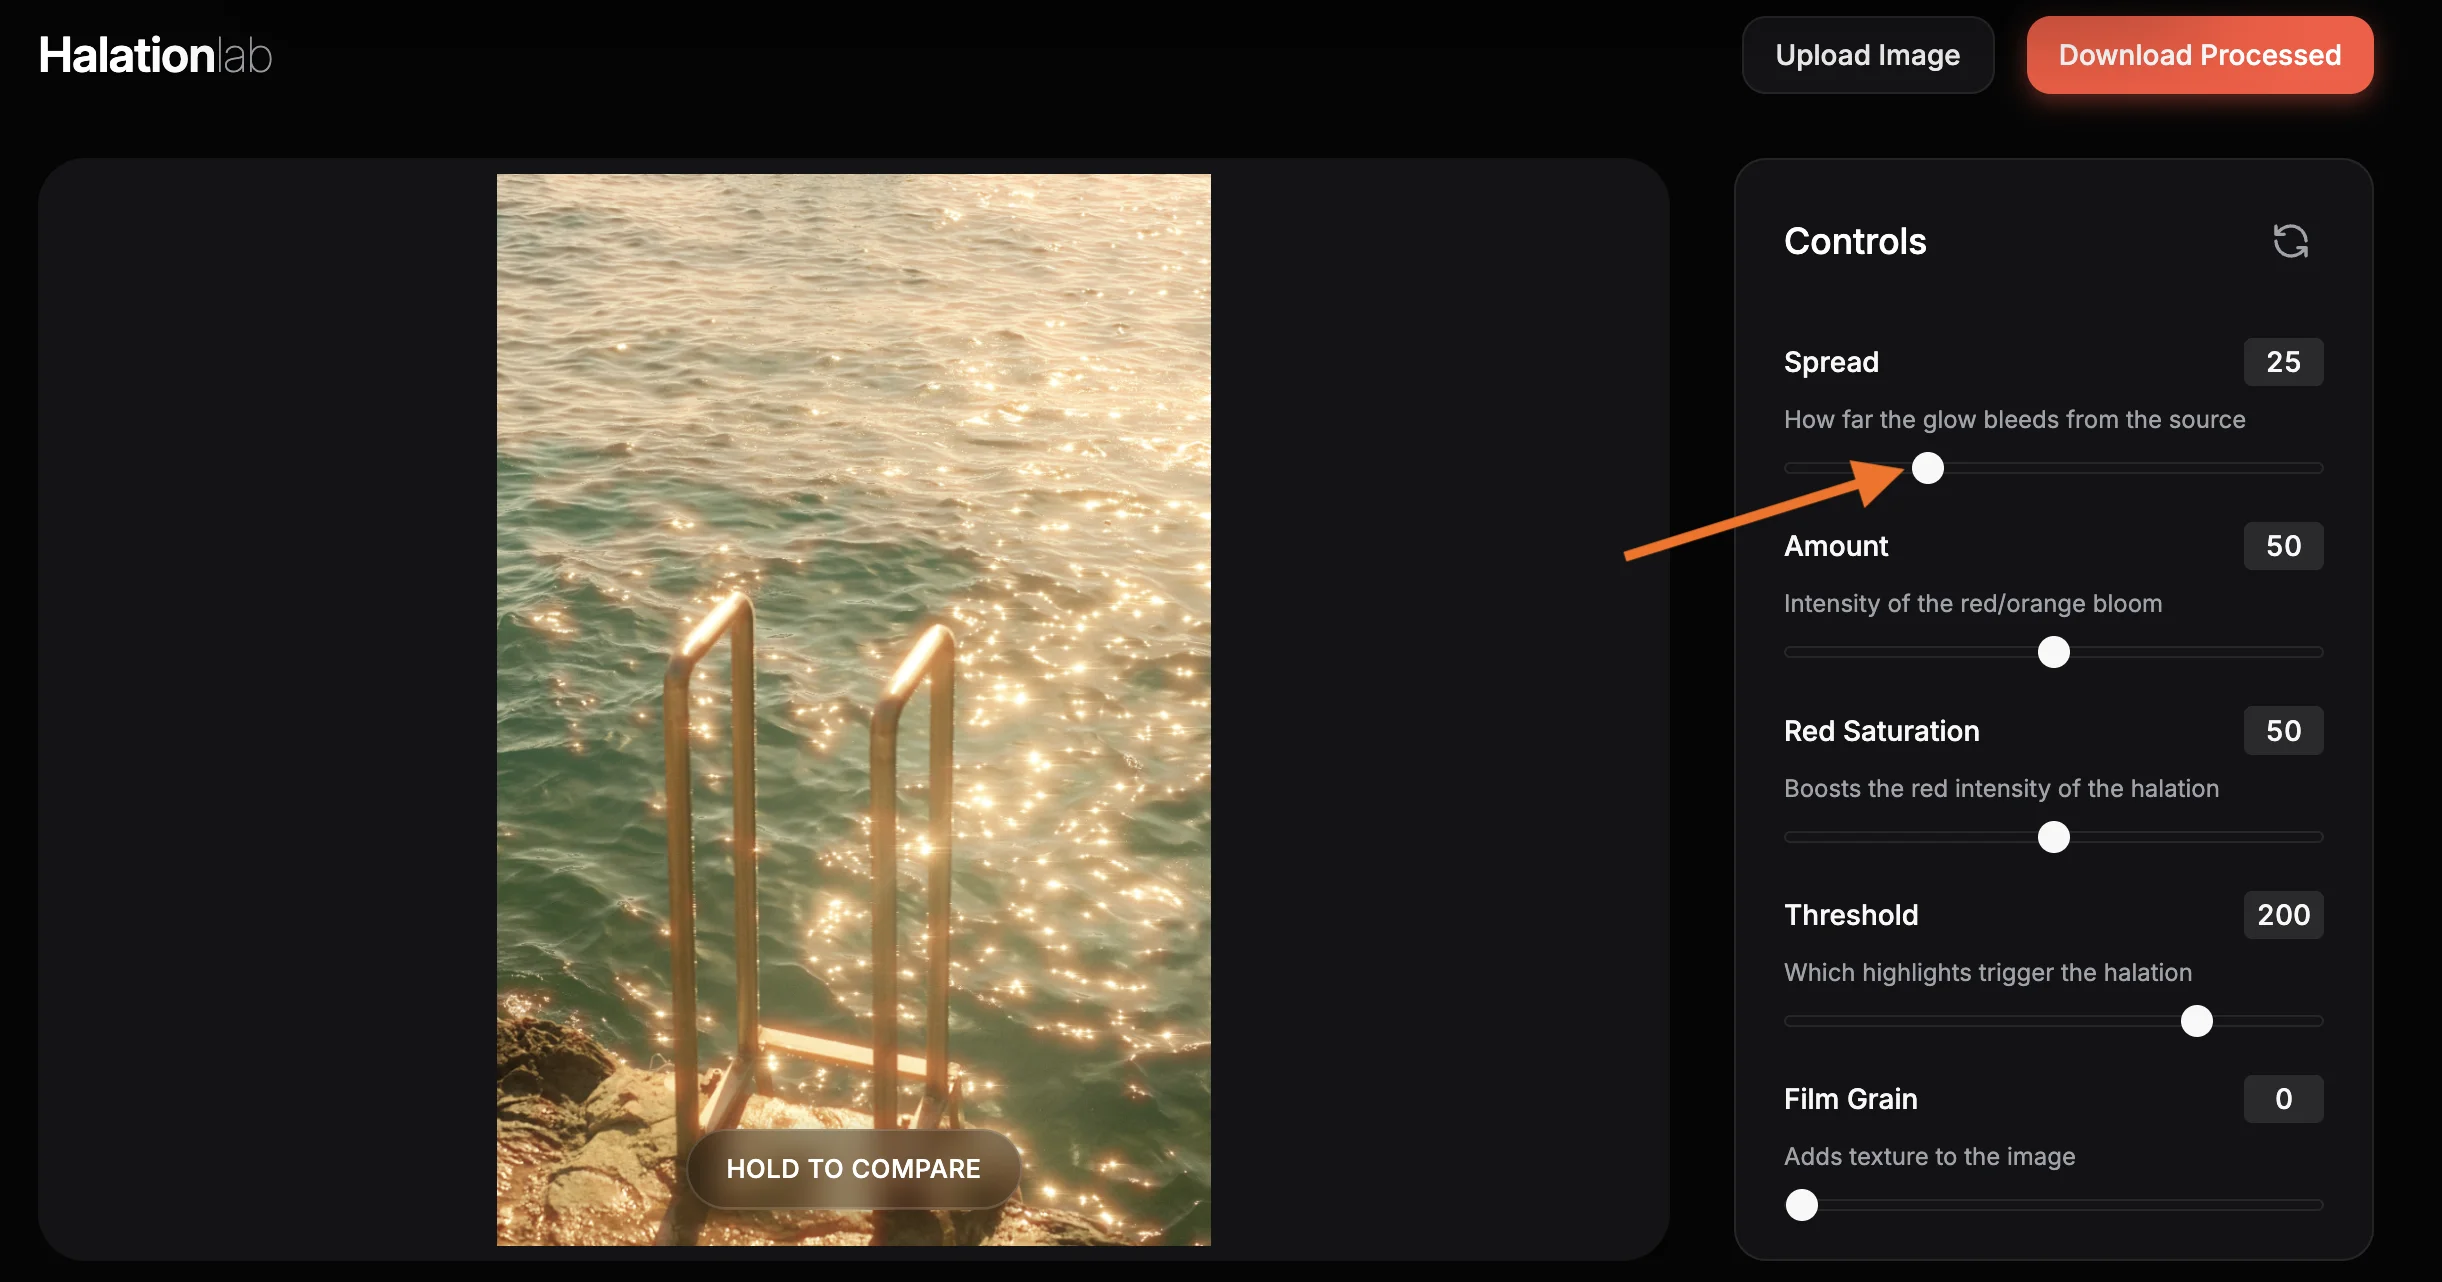
Set Spread to 25
Spread controls how far the glow bleeds from bright highlights. For the CineStill look, set it to 25. This creates a wide, dreamy bloom that wraps around light sources the same way rem-jet removed film stock does. If your photo has very large highlights, you may want to dial this back to 15–20. For smaller point lights like streetlamps, 25 is the sweet spot.
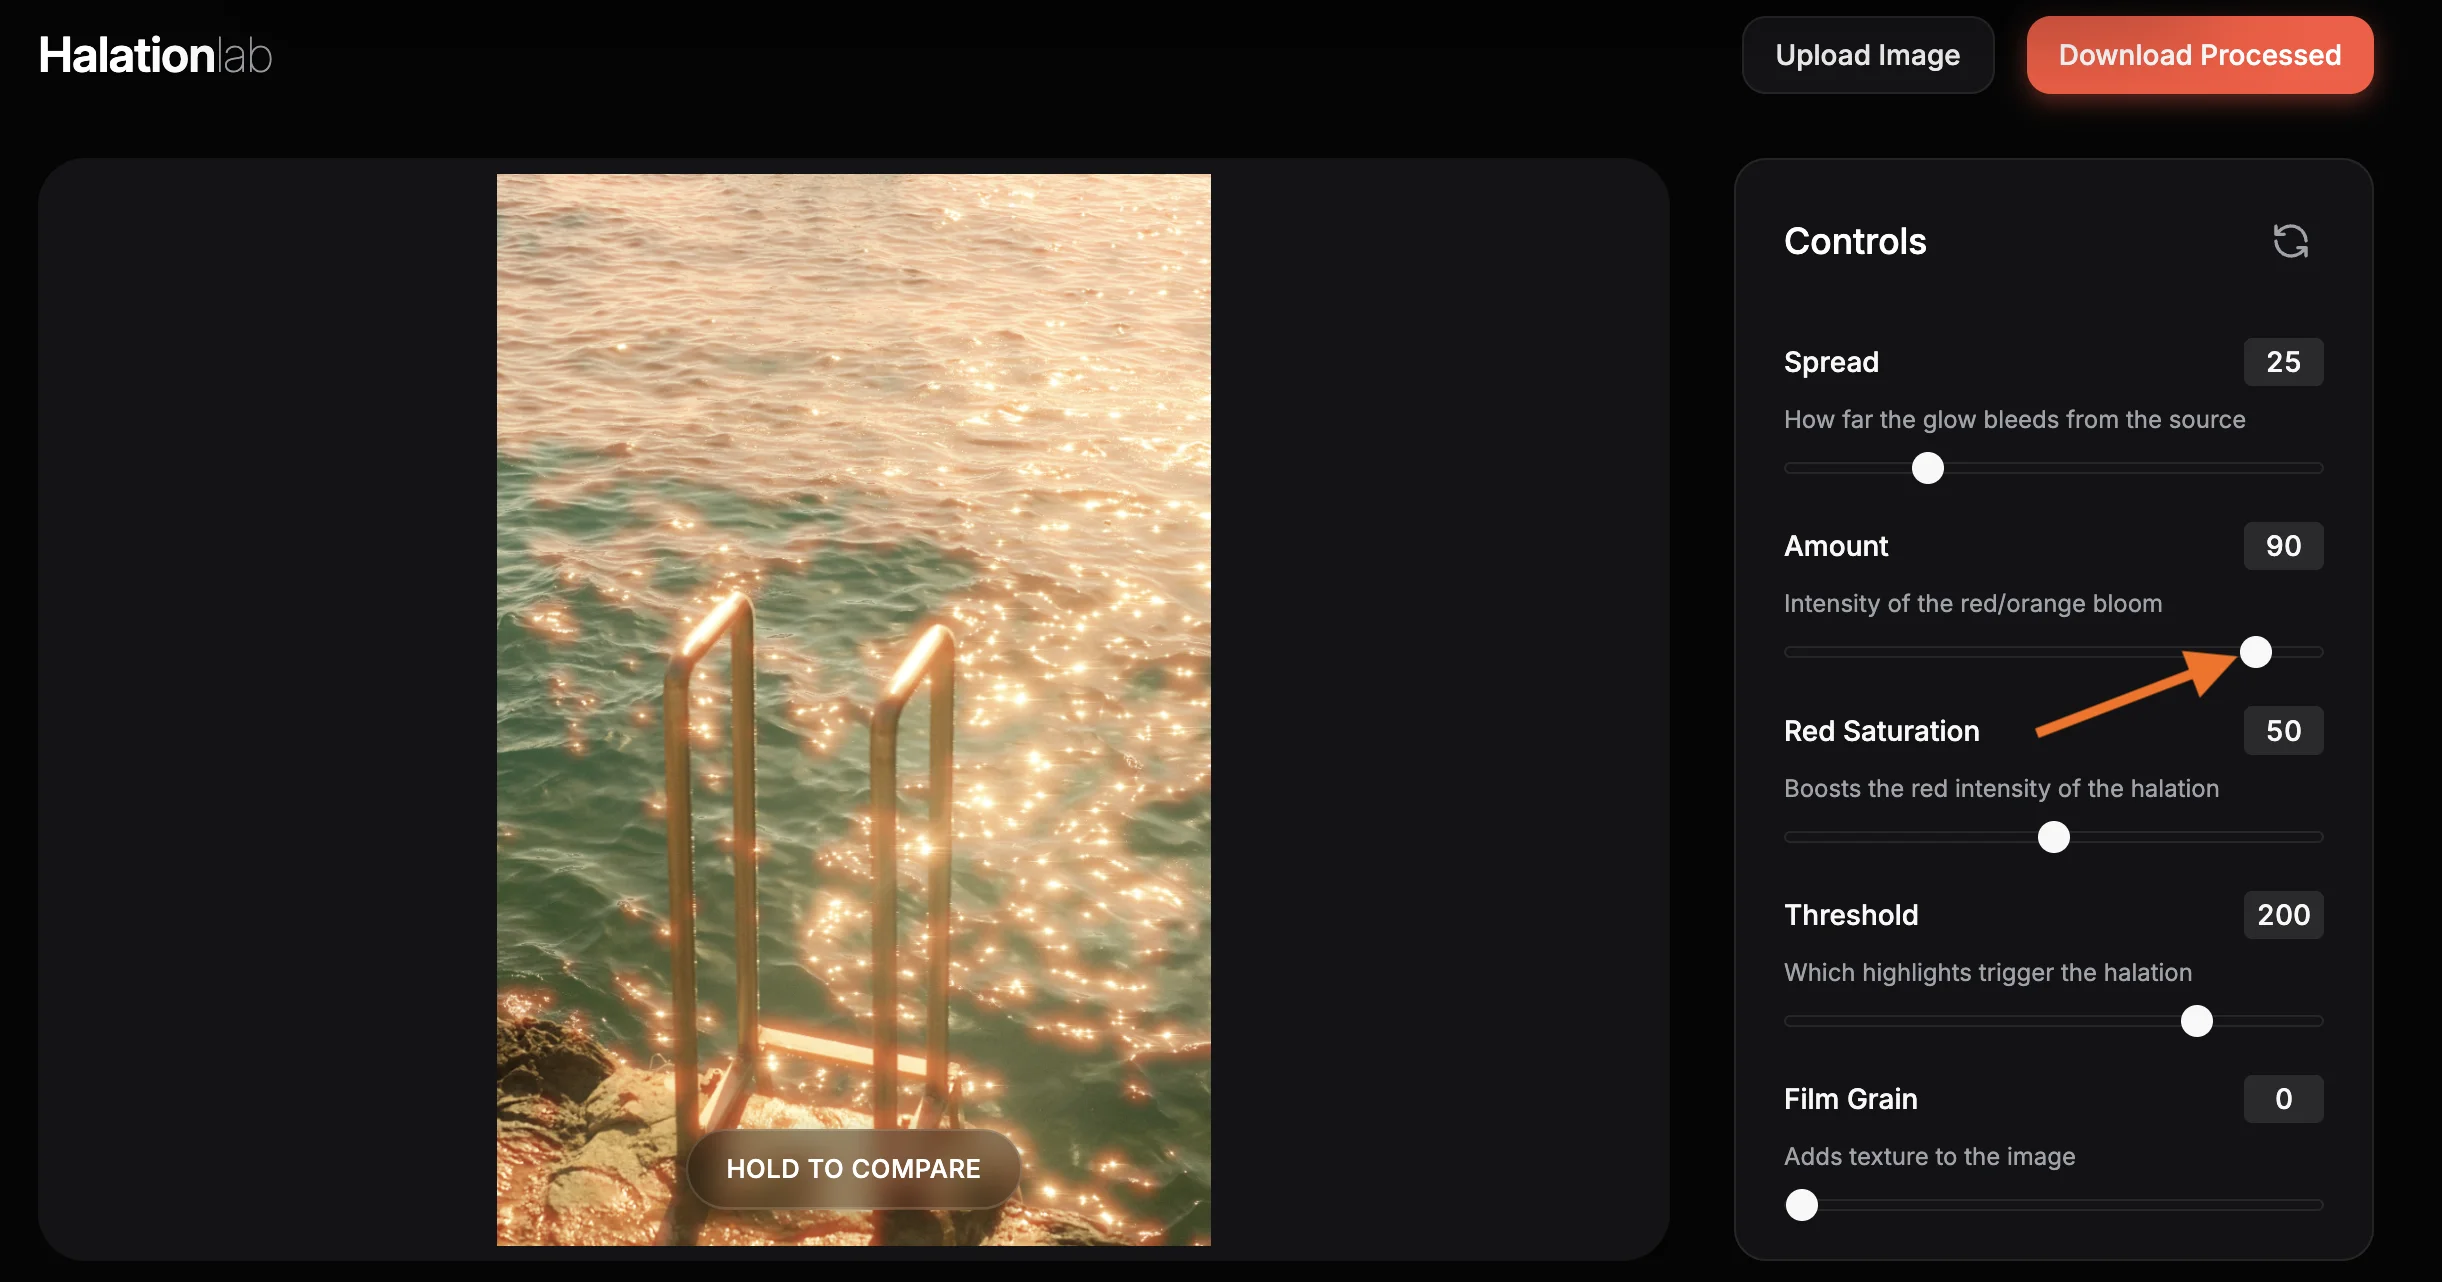
Push Amount to 90
Amount controls the intensity of the bloom. The CineStill preset uses 90 for a bold, unmistakable glow. This is what gives the effect its signature presence. If the glow feels too strong on your specific photo, drop it to 70–80. But for that authentic CineStill feel, 90 is where the magic happens.
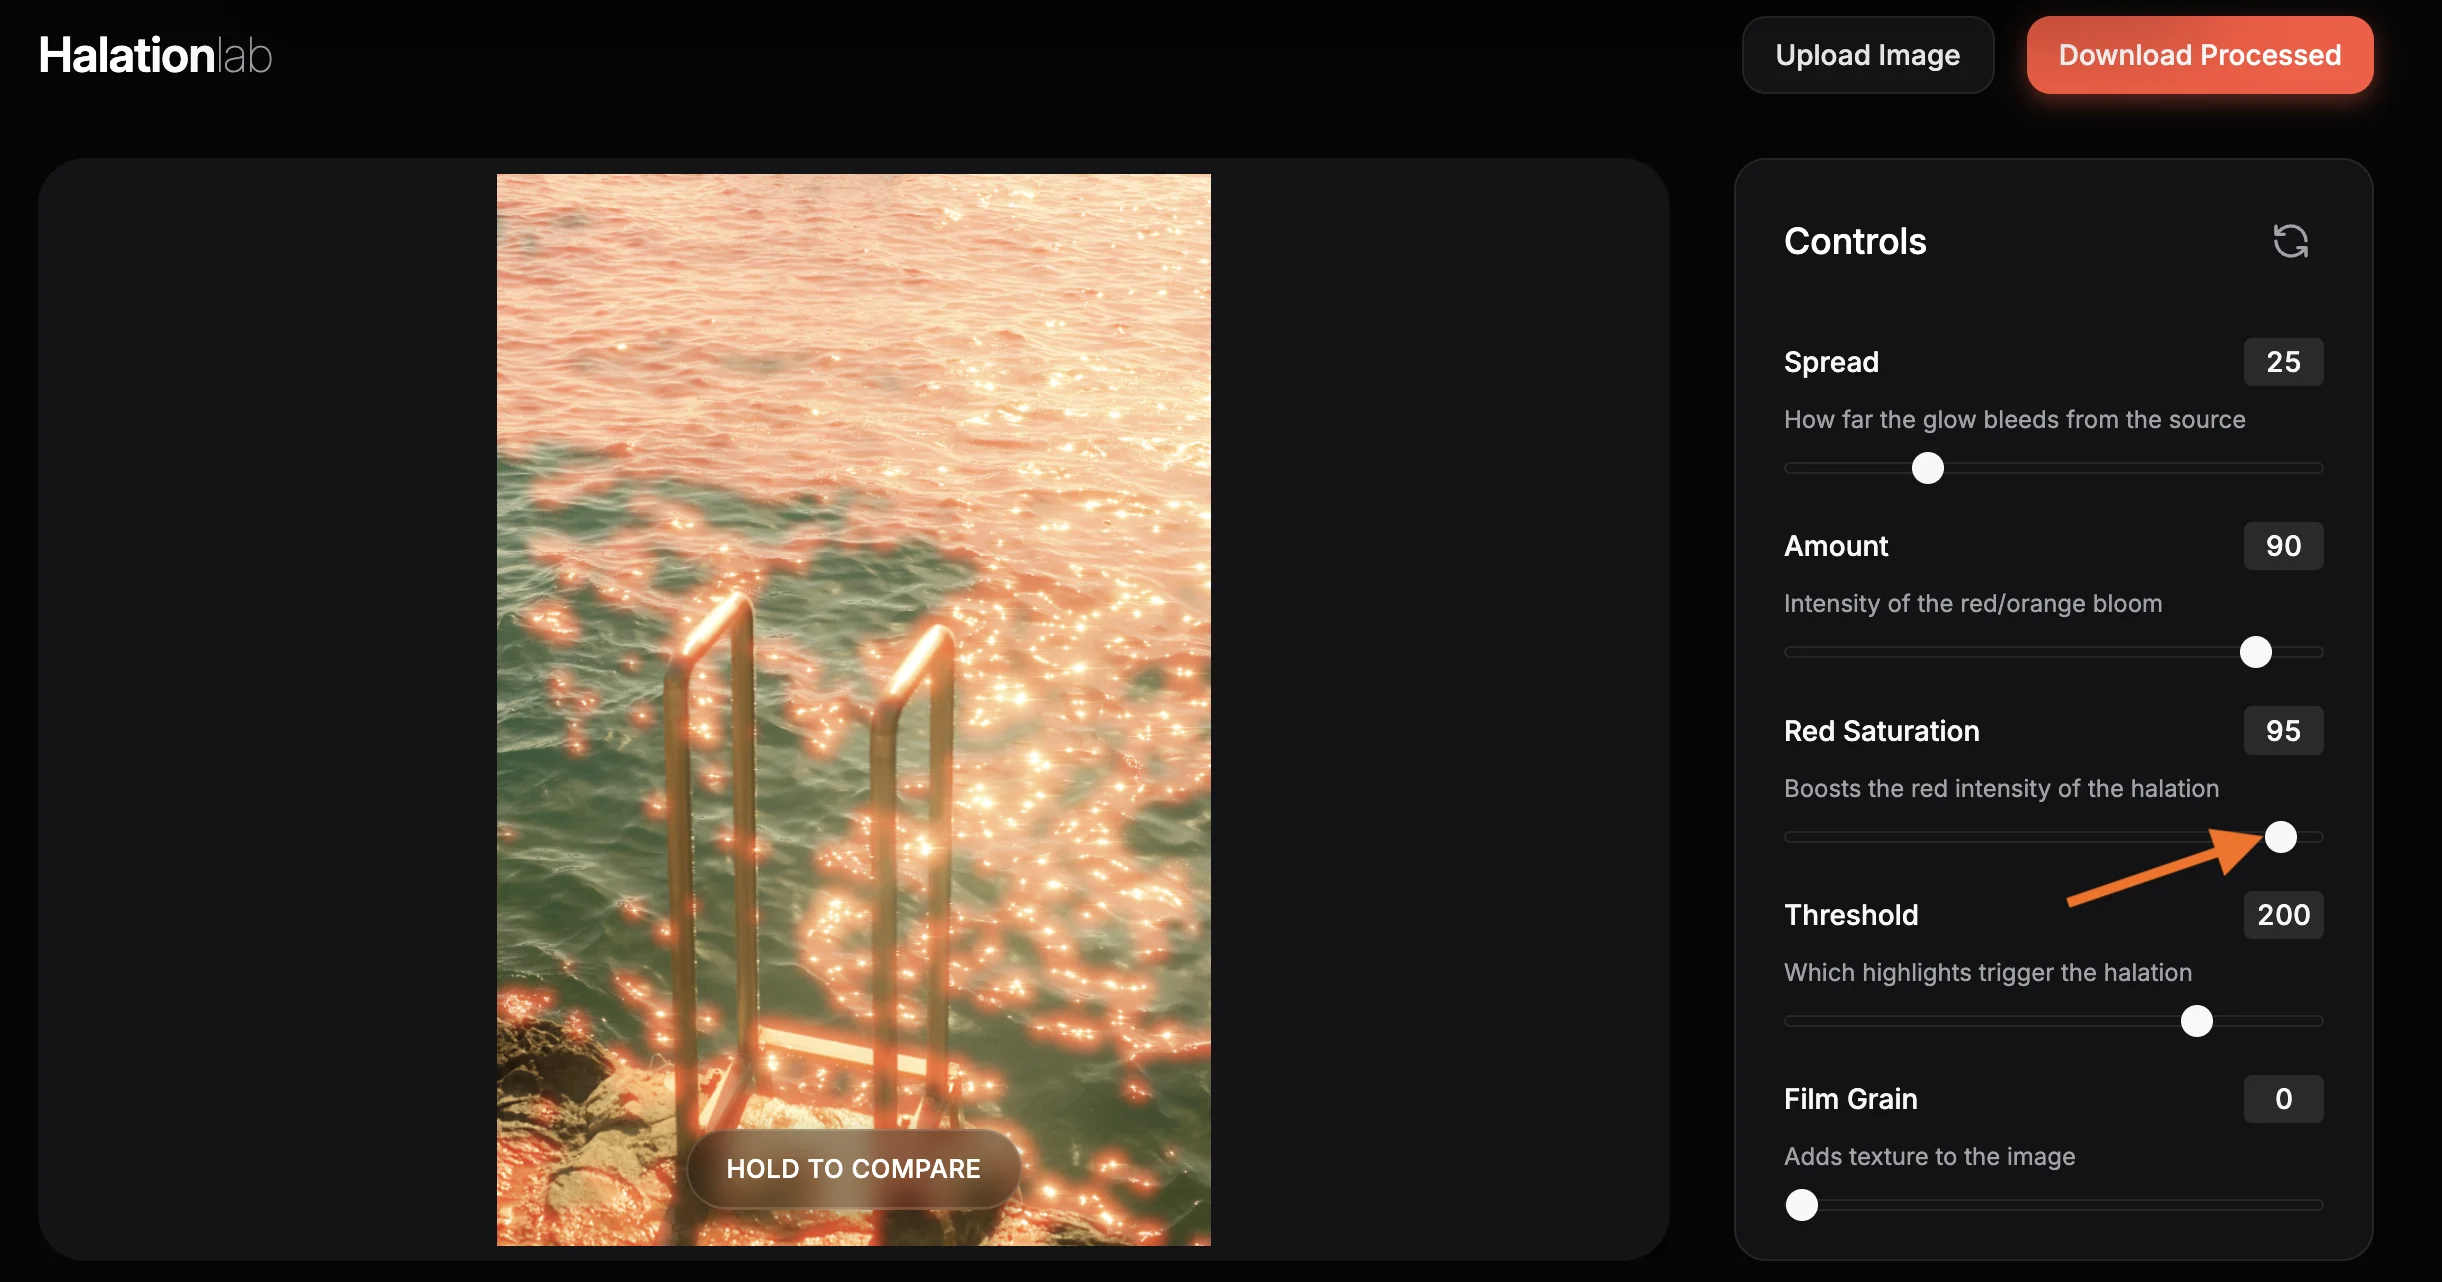
Max Out Red Saturation to 95
This is what separates CineStill from other film stocks. Set Red Saturation to 95 for that intense red-orange bloom. At this level, the halation shifts toward deep red, especially around the edges of bright highlights. Lower values produce a more generic warm glow. If you want the look that photographers chase in CineStill 800T, keep this above 90.
Raise Threshold to 242
Threshold determines which pixels trigger the effect. At 242, only the very brightest highlights will glow: bare bulbs, neon tubes, sun reflections. This keeps the halation focused on light sources rather than spreading across the entire image. If you want a softer look that catches more mid-tones, lower this to 220–230. For pure CineStill accuracy, 242 is the target.
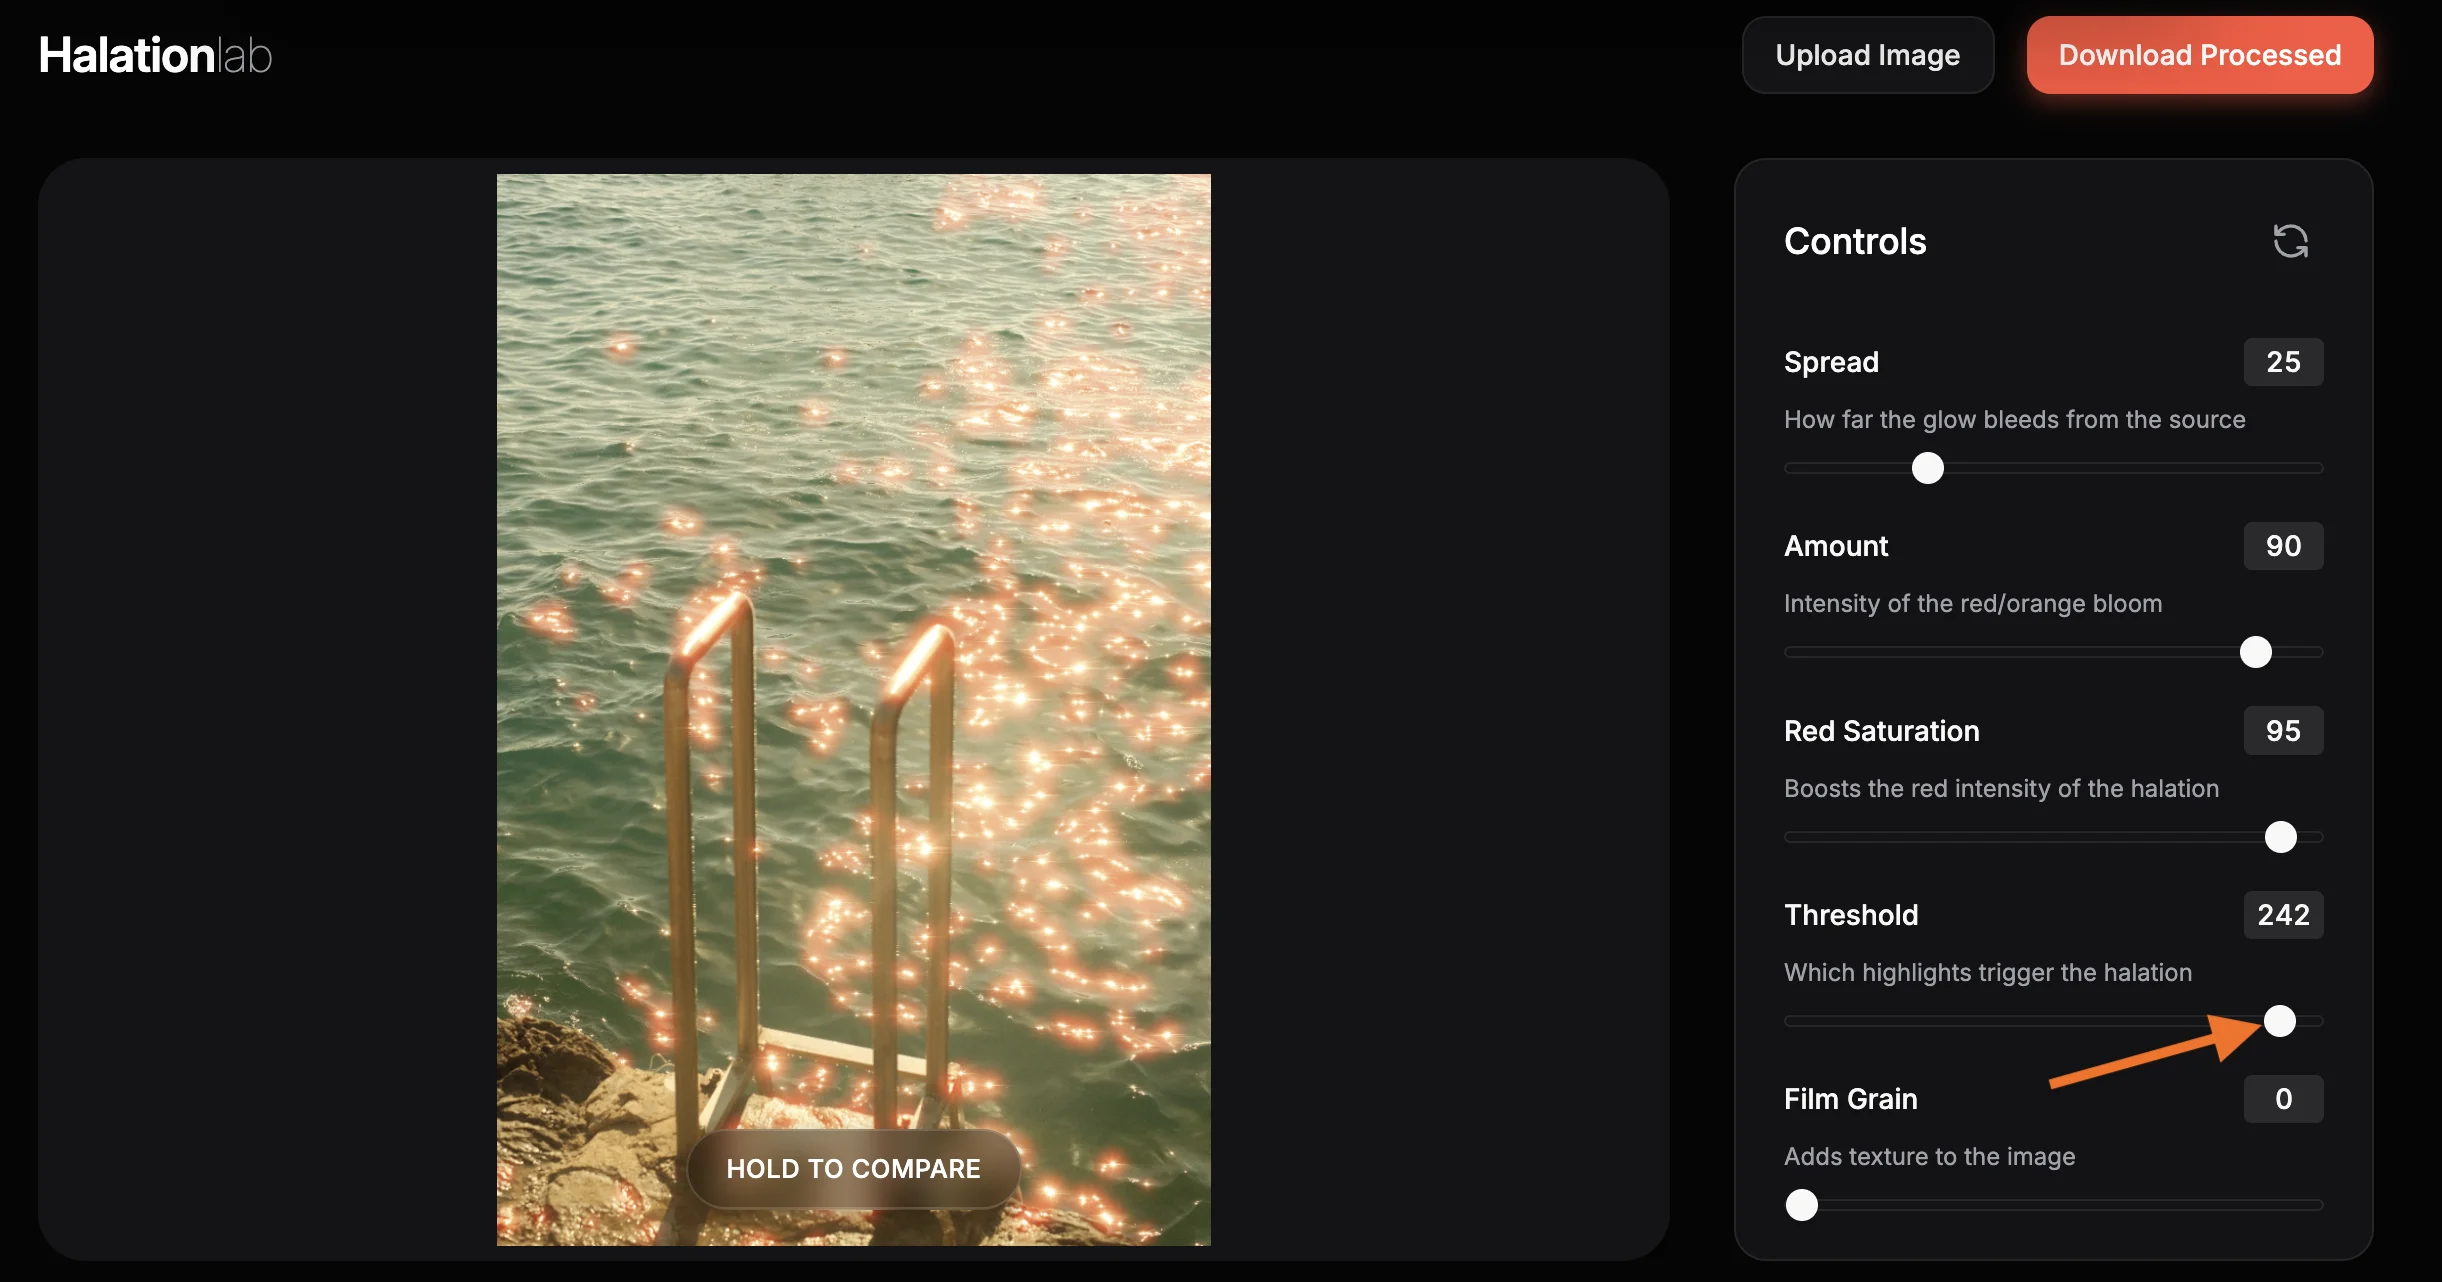
Add a Touch of Grain and Export
Set Film Grain to 10 for a subtle analog texture that completes the film look. Hold the "Compare" button to check your before and after. When you are happy, click "Download Processed" to export at full resolution. The output is a 95% quality JPEG with "_halation" in the filename. You now have the CineStill 800T look, no film camera required.
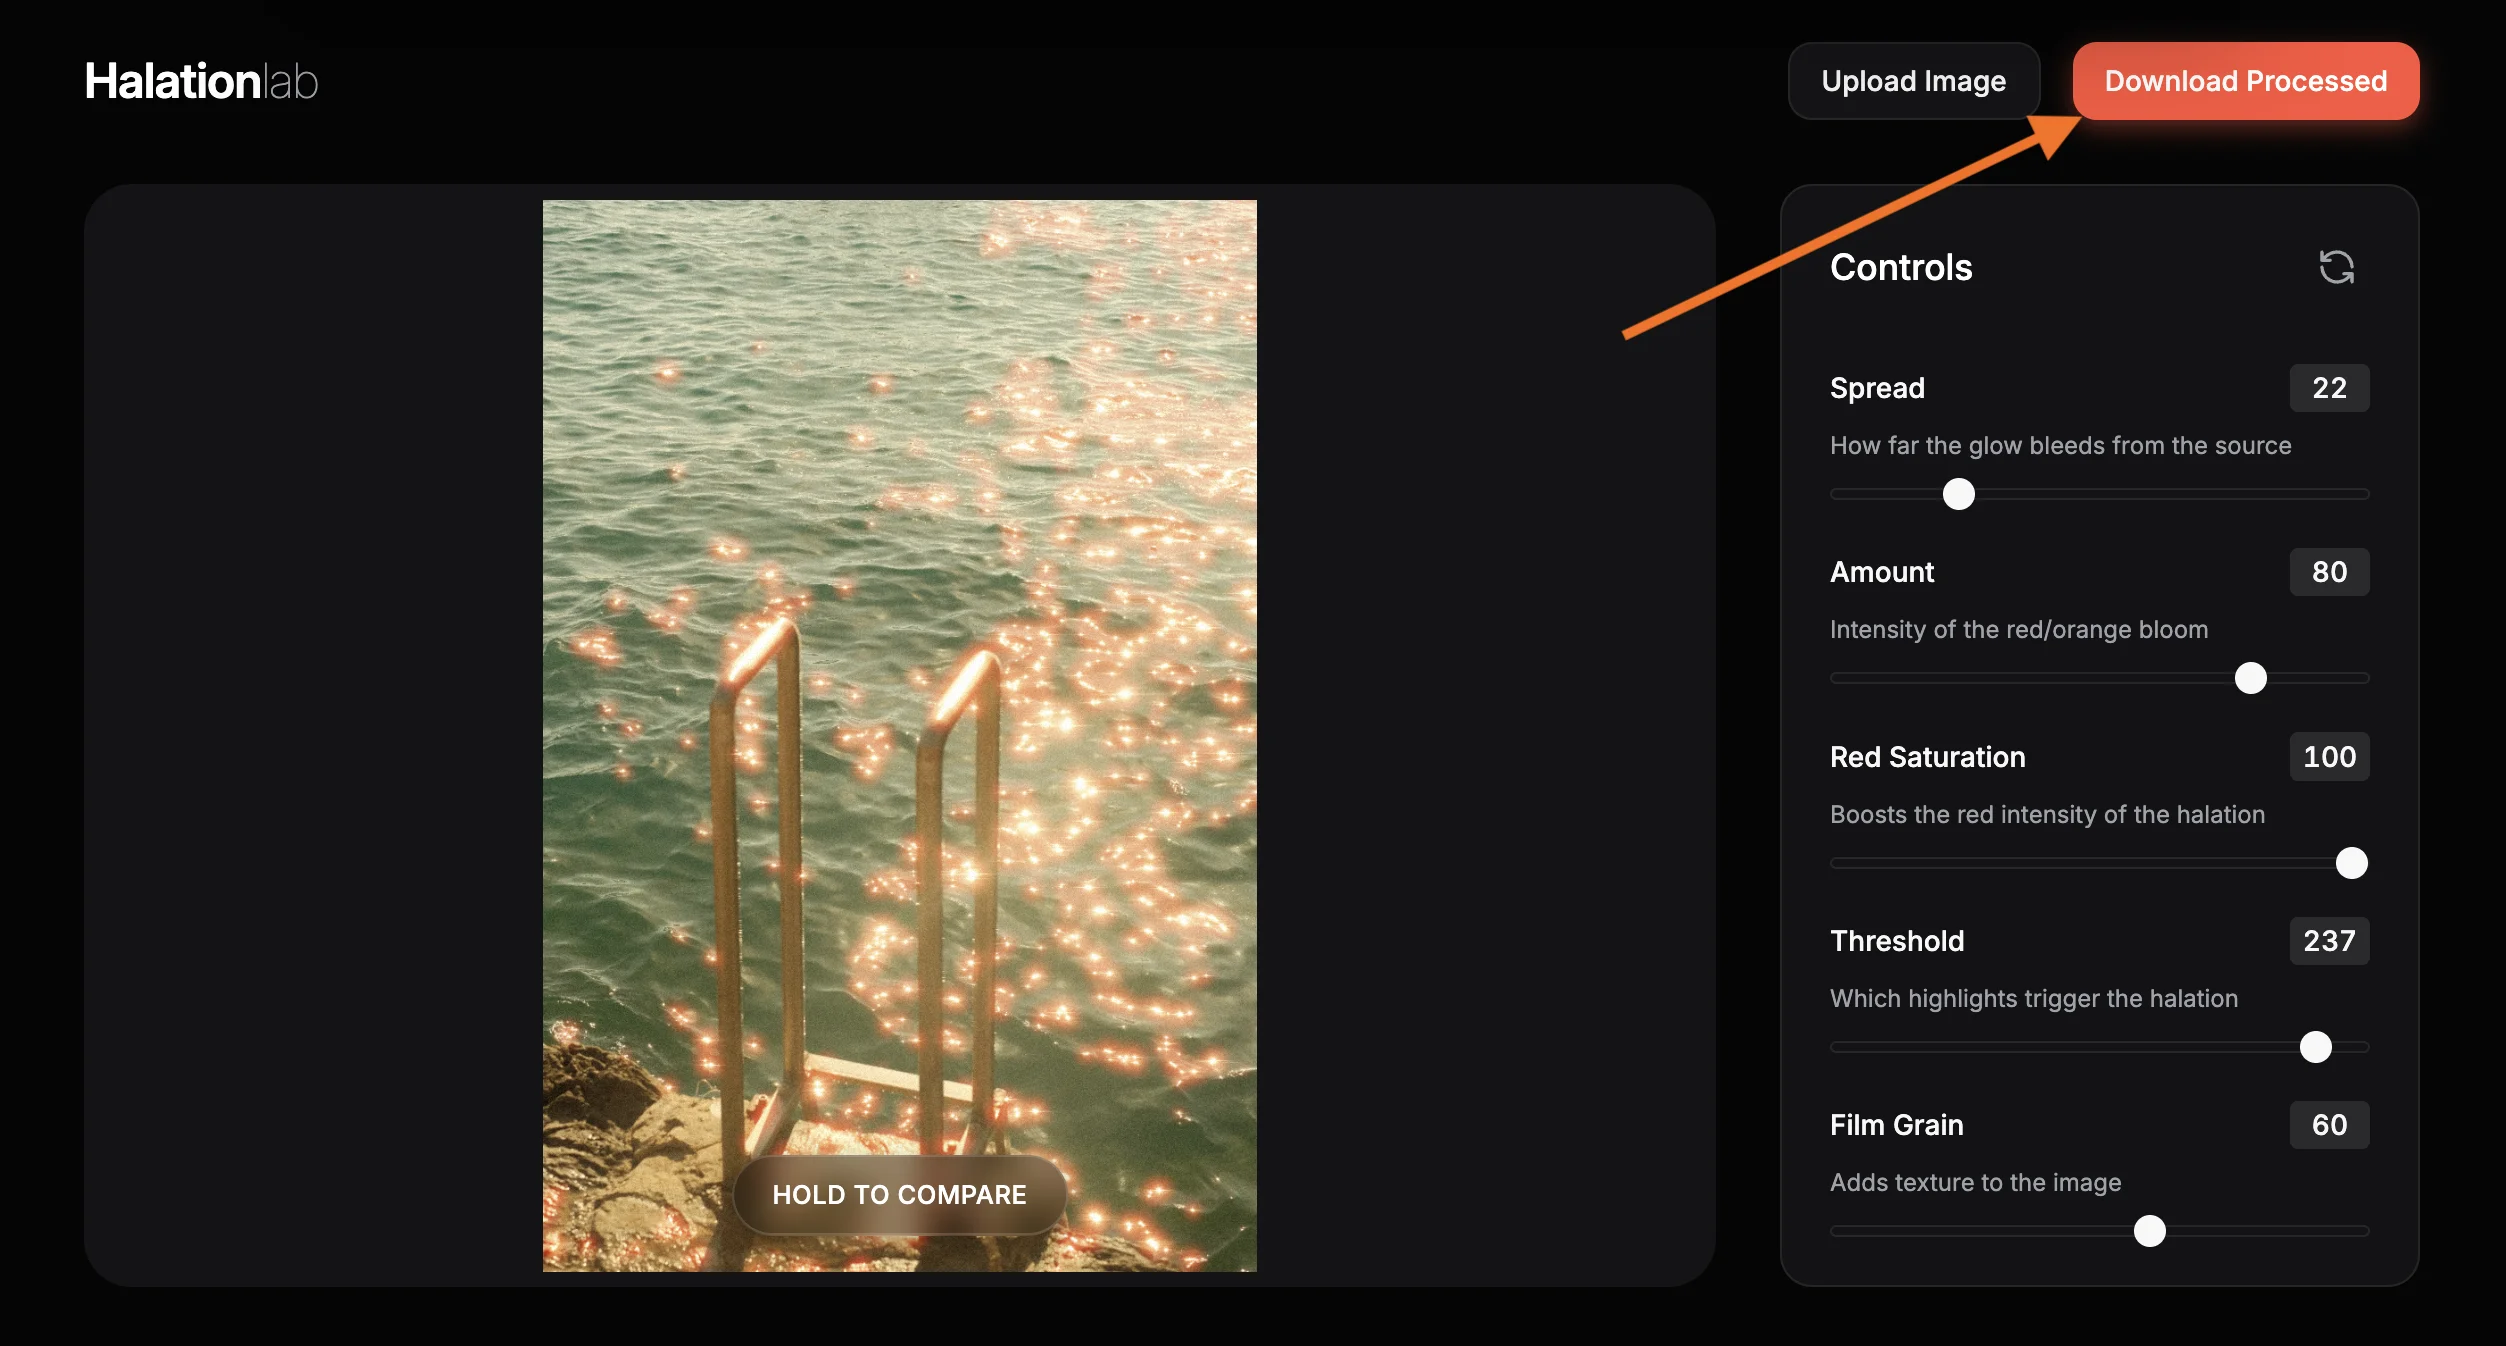
CineStill 800T Cheat Sheet
| Setting | Value | Why this value |
|---|---|---|
| Spread | 25 | Wide bloom that wraps around bright highlights like rem-jet removed film |
| Amount | 90 | High intensity for bold, unmistakable halation presence |
| Red Saturation | 95 | Pushes the bloom toward deep red-orange, the CineStill signature |
| Threshold | 242 | Only the brightest highlights trigger the effect, keeping it focused |
| Film Grain | 10 | Subtle analog texture that completes the film look |
Frequently Asked Questions
Guides & Tutorials
Halation Lab Guide
Add film halation effects. Adjust spread, amount, and red saturation.
Whiteborder Lab Guide
Add professional frames, customize border widths, and export in batch.
Add Border to Photo
Add a clean border online for free. Choose width, color, and aspect ratio.
Other Tools
Halation Lab
CineStill 800T film halation effect
CineStill 800T Preset
Preloaded iconic red glow settings
Whiteborder Lab
Custom borders & aspect ratios
Film Border Generator
Classic film look border
Double Border Generator
Sharp double frame border
InstantCard Lab
Photo cards with camera metadata
Carousel Lab
Seamless Instagram carousels
Grading Lab
Color palette extractor
FotoZine Lab
Create printable photo zines
Camera Finder
Find your perfect Fujifilm