How to Create Polaroid / Instax Photo Cards
Turn any photo into a beautiful Polaroid or Instax Mini style card with automatic Exif camera settings. Free browser tool, perfect for Instagram, portfolios, and film recipe sharing.
What Is InstantCard Lab?
InstantCard Lab is a free, browser-based tool that transforms your digital photos into aesthetic Polaroid and Instax Mini style cards. It automatically reads the Exif metadata embedded in your photo and displays your camera settings on the card: camera model, lens, aperture, shutter speed, ISO, and film recipe.
All processing happens locally in your browser. Your photos are never uploaded to any server. The tool uses DOM-to-image rendering to export high-resolution JPEGs at 3x pixel density, making them crisp and ready for Instagram, Threads, printing, or sharing in photography communities.
Create a Card Now
Open InstantCard Lab and start creating.
Browse Film Recipes
Find Fujifilm SOOC recipes to use on your cards.
Upload Your Photo
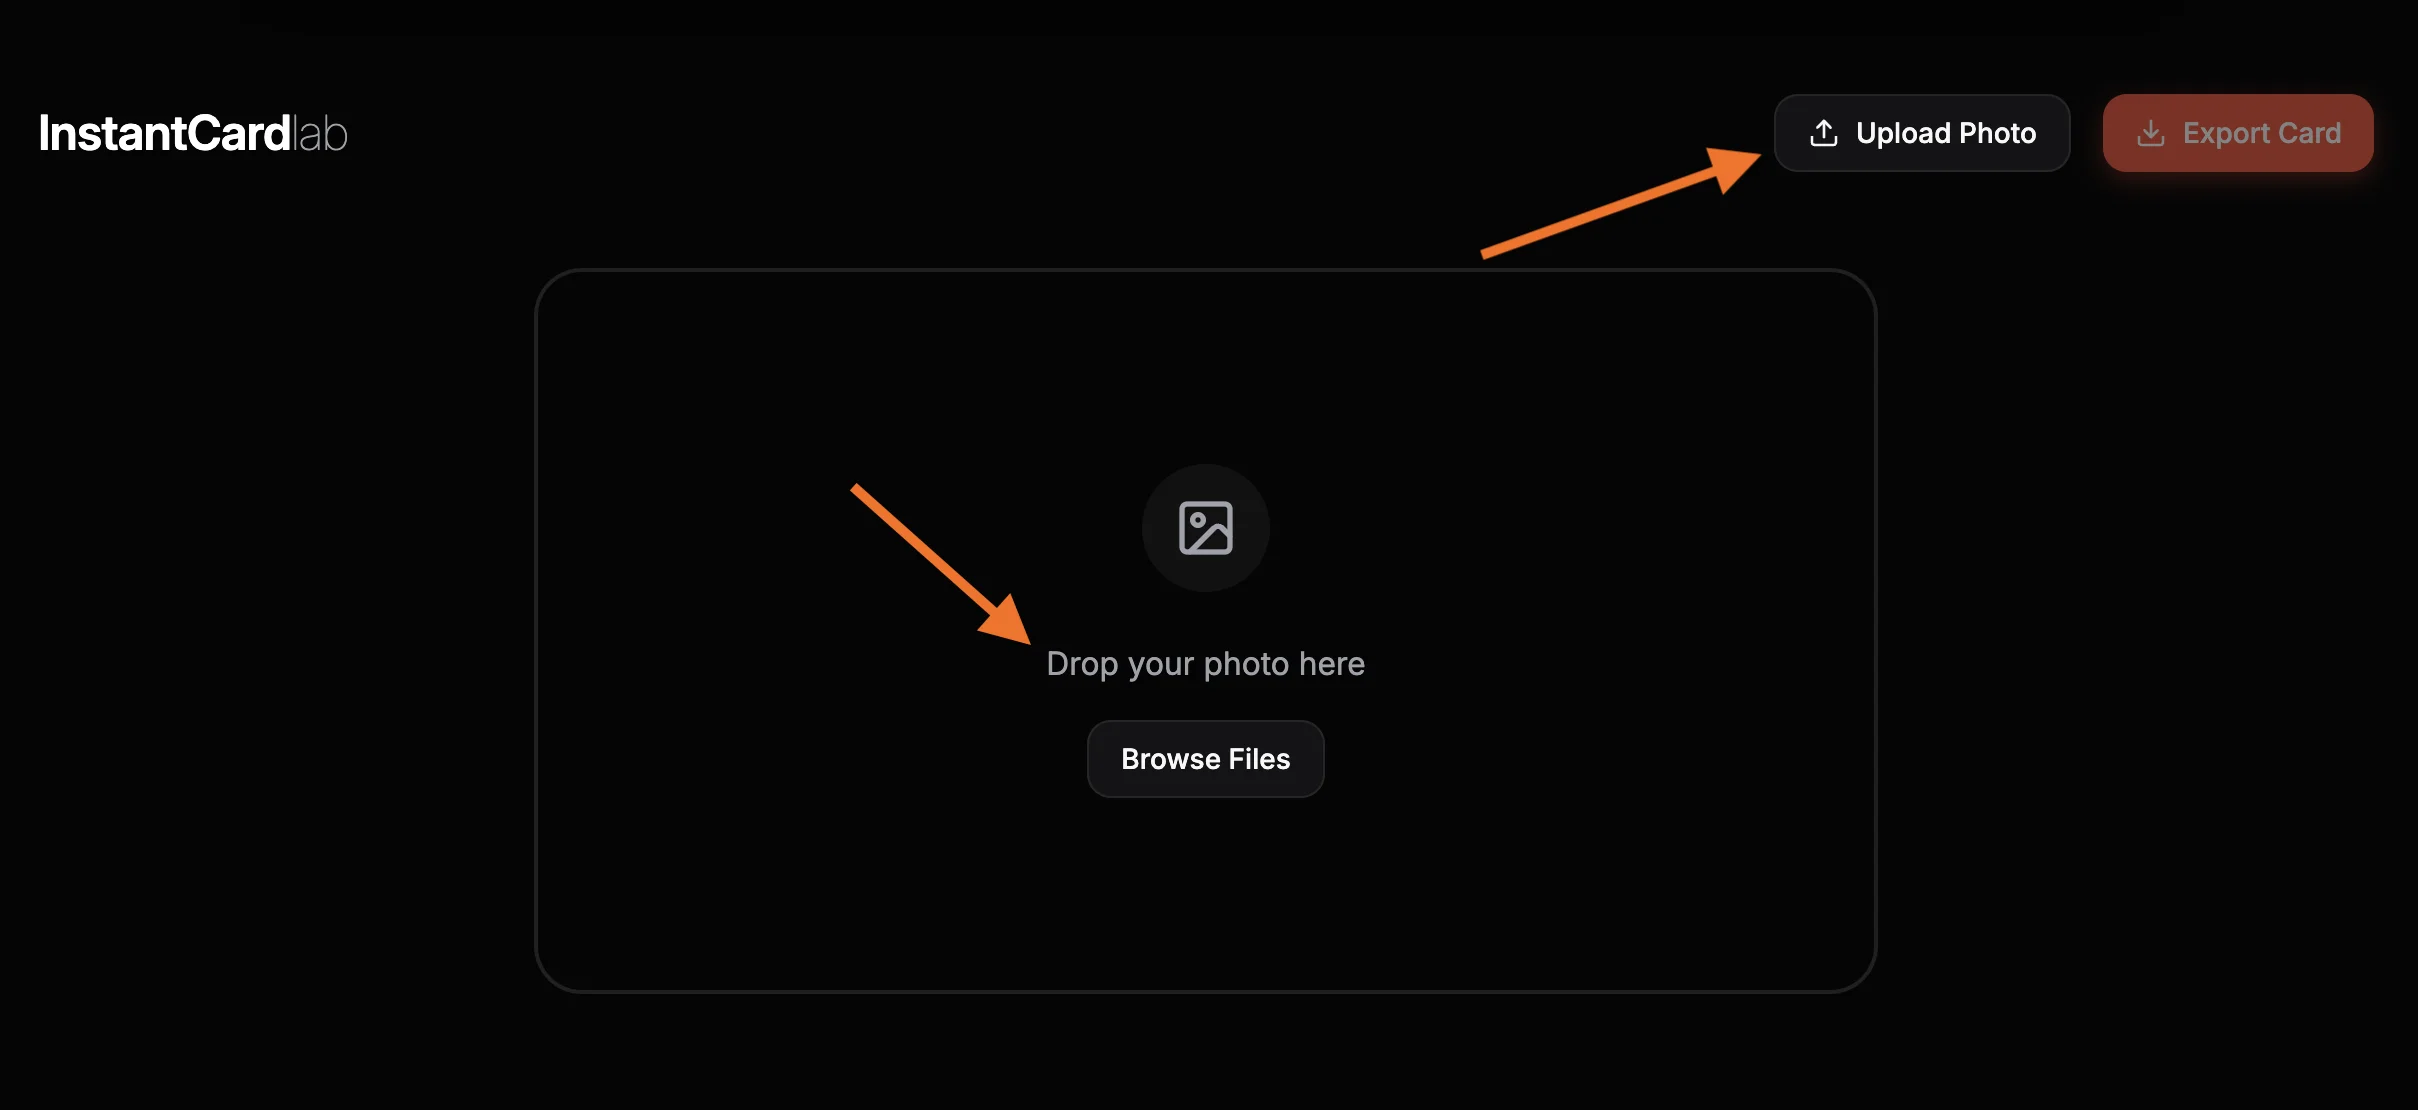
Open InstantCard Lab and drag your photo onto the upload area, or click "Browse Files" to select one from your computer. JPEG and PNG files work best. As soon as the image loads, the tool automatically reads the embedded Exif metadata and extracts your camera settings. Camera model, lens name, aperture, shutter speed, and ISO all appear instantly. No typing required.
Verify Your Camera Settings
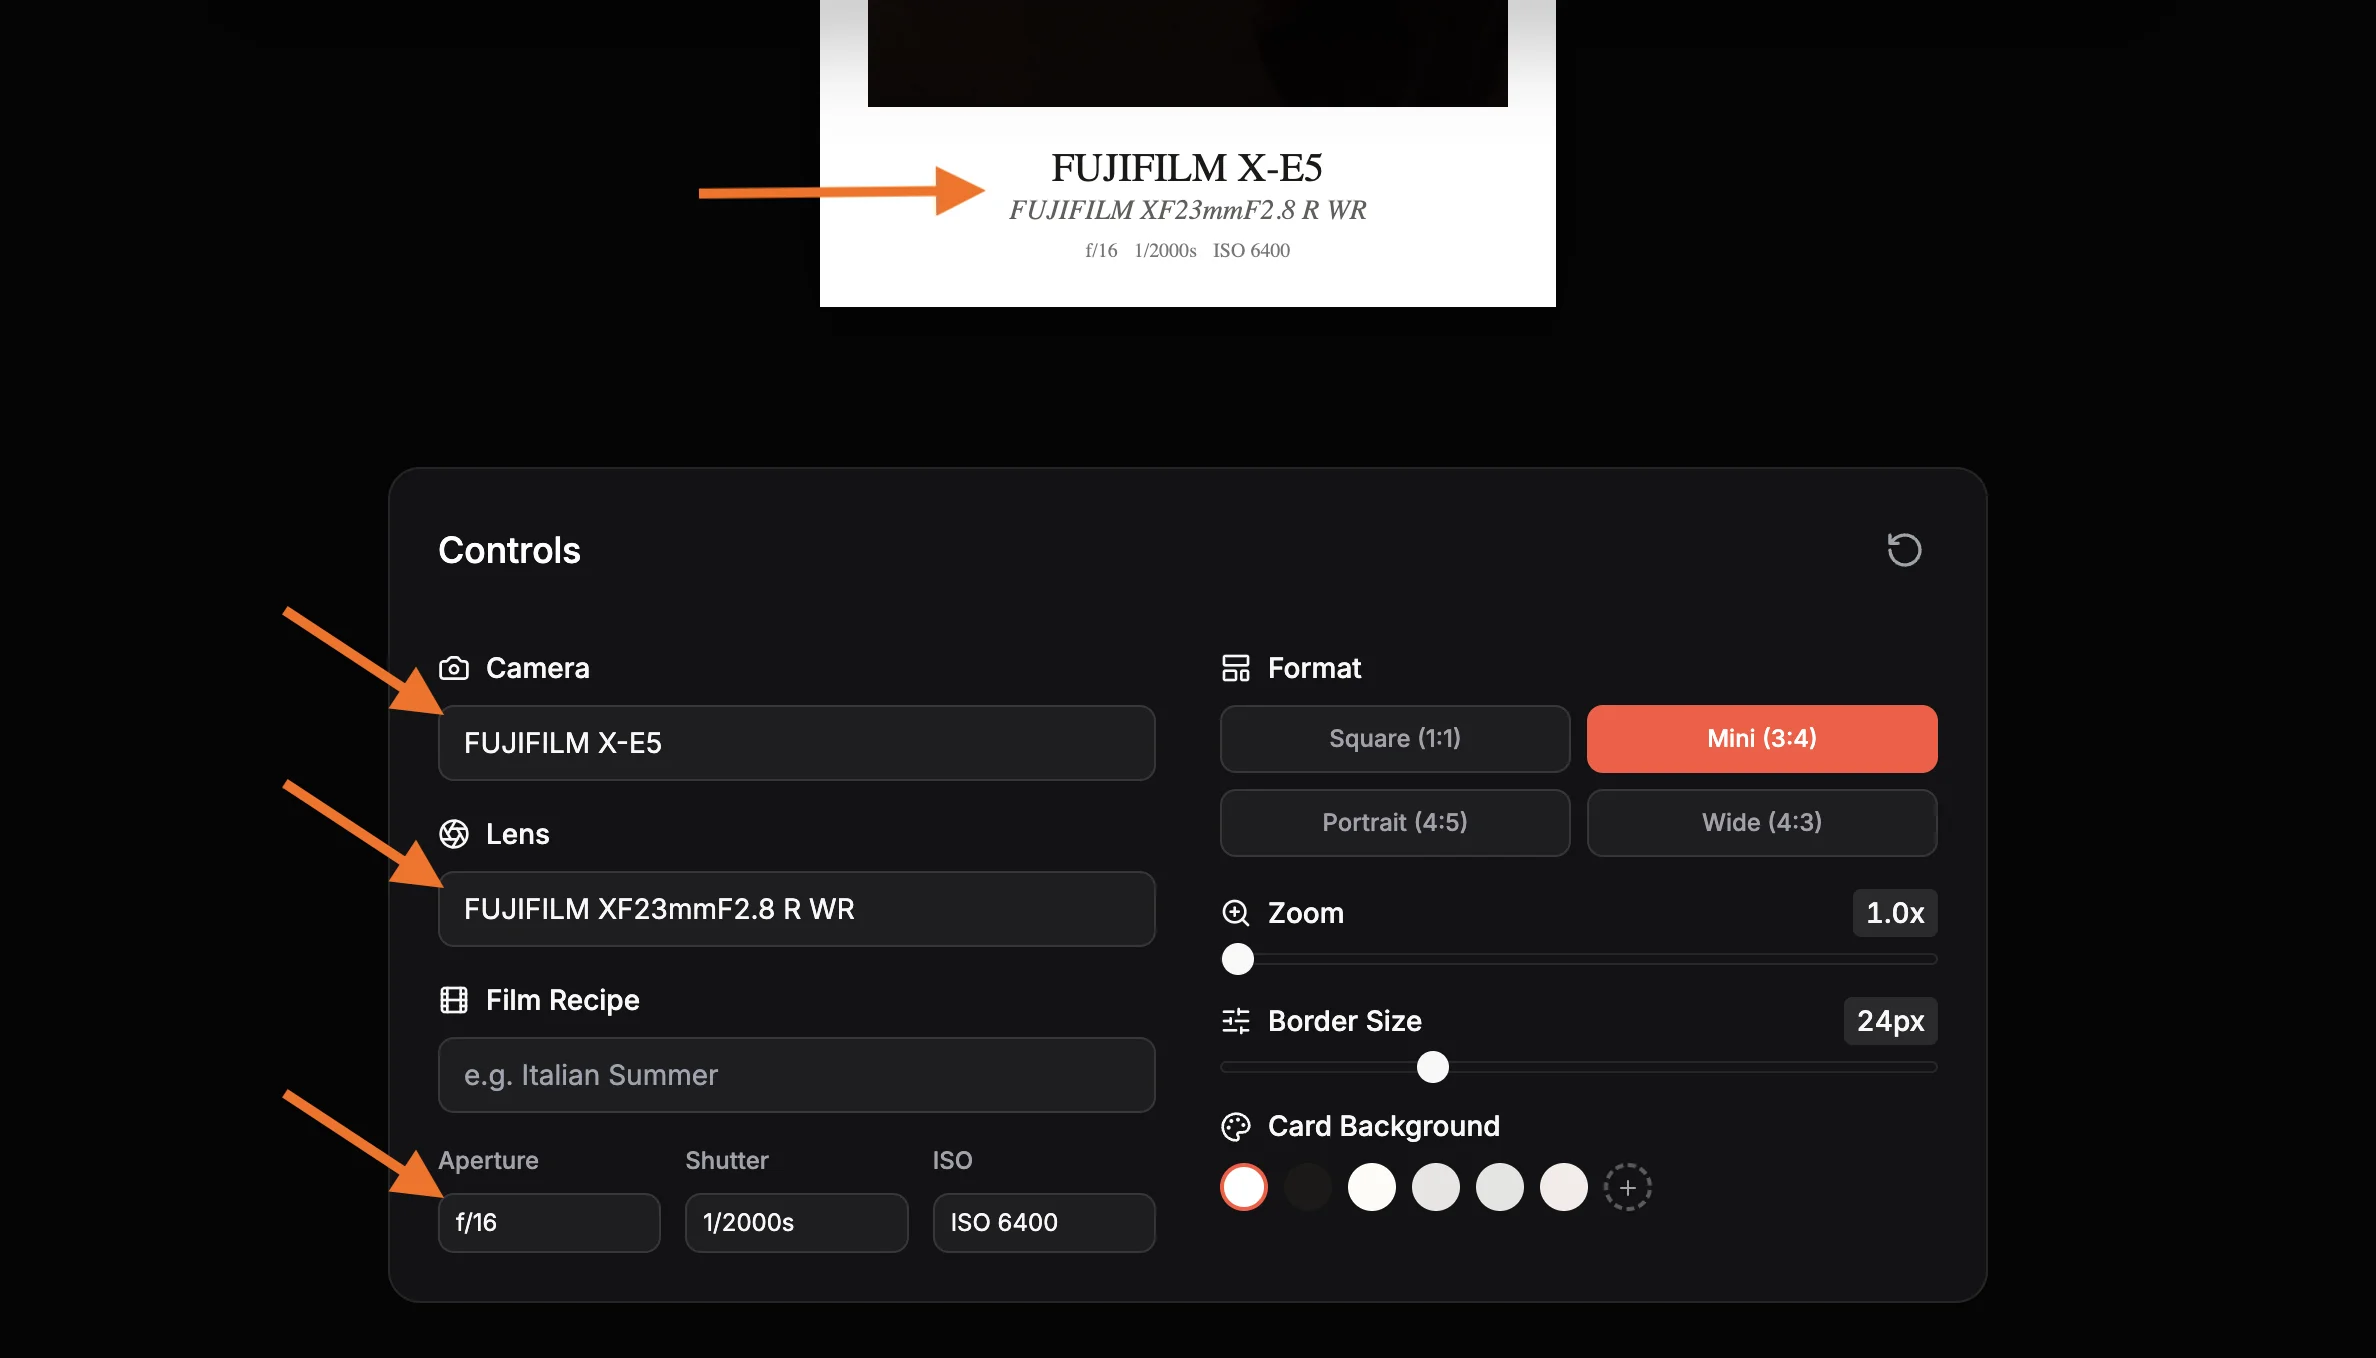
Check that the Exif data was extracted correctly. The camera name, lens, aperture, shutter speed, and ISO fields are all auto-populated from your photo. If any field is missing, perhaps because the photo was processed in an app that stripped metadata, you can type the values in manually. This is also where you can customize the display. Want to hide the lens name? Just delete the field. Want to add a custom note? Edit any text freely.
Choose Your Card Format
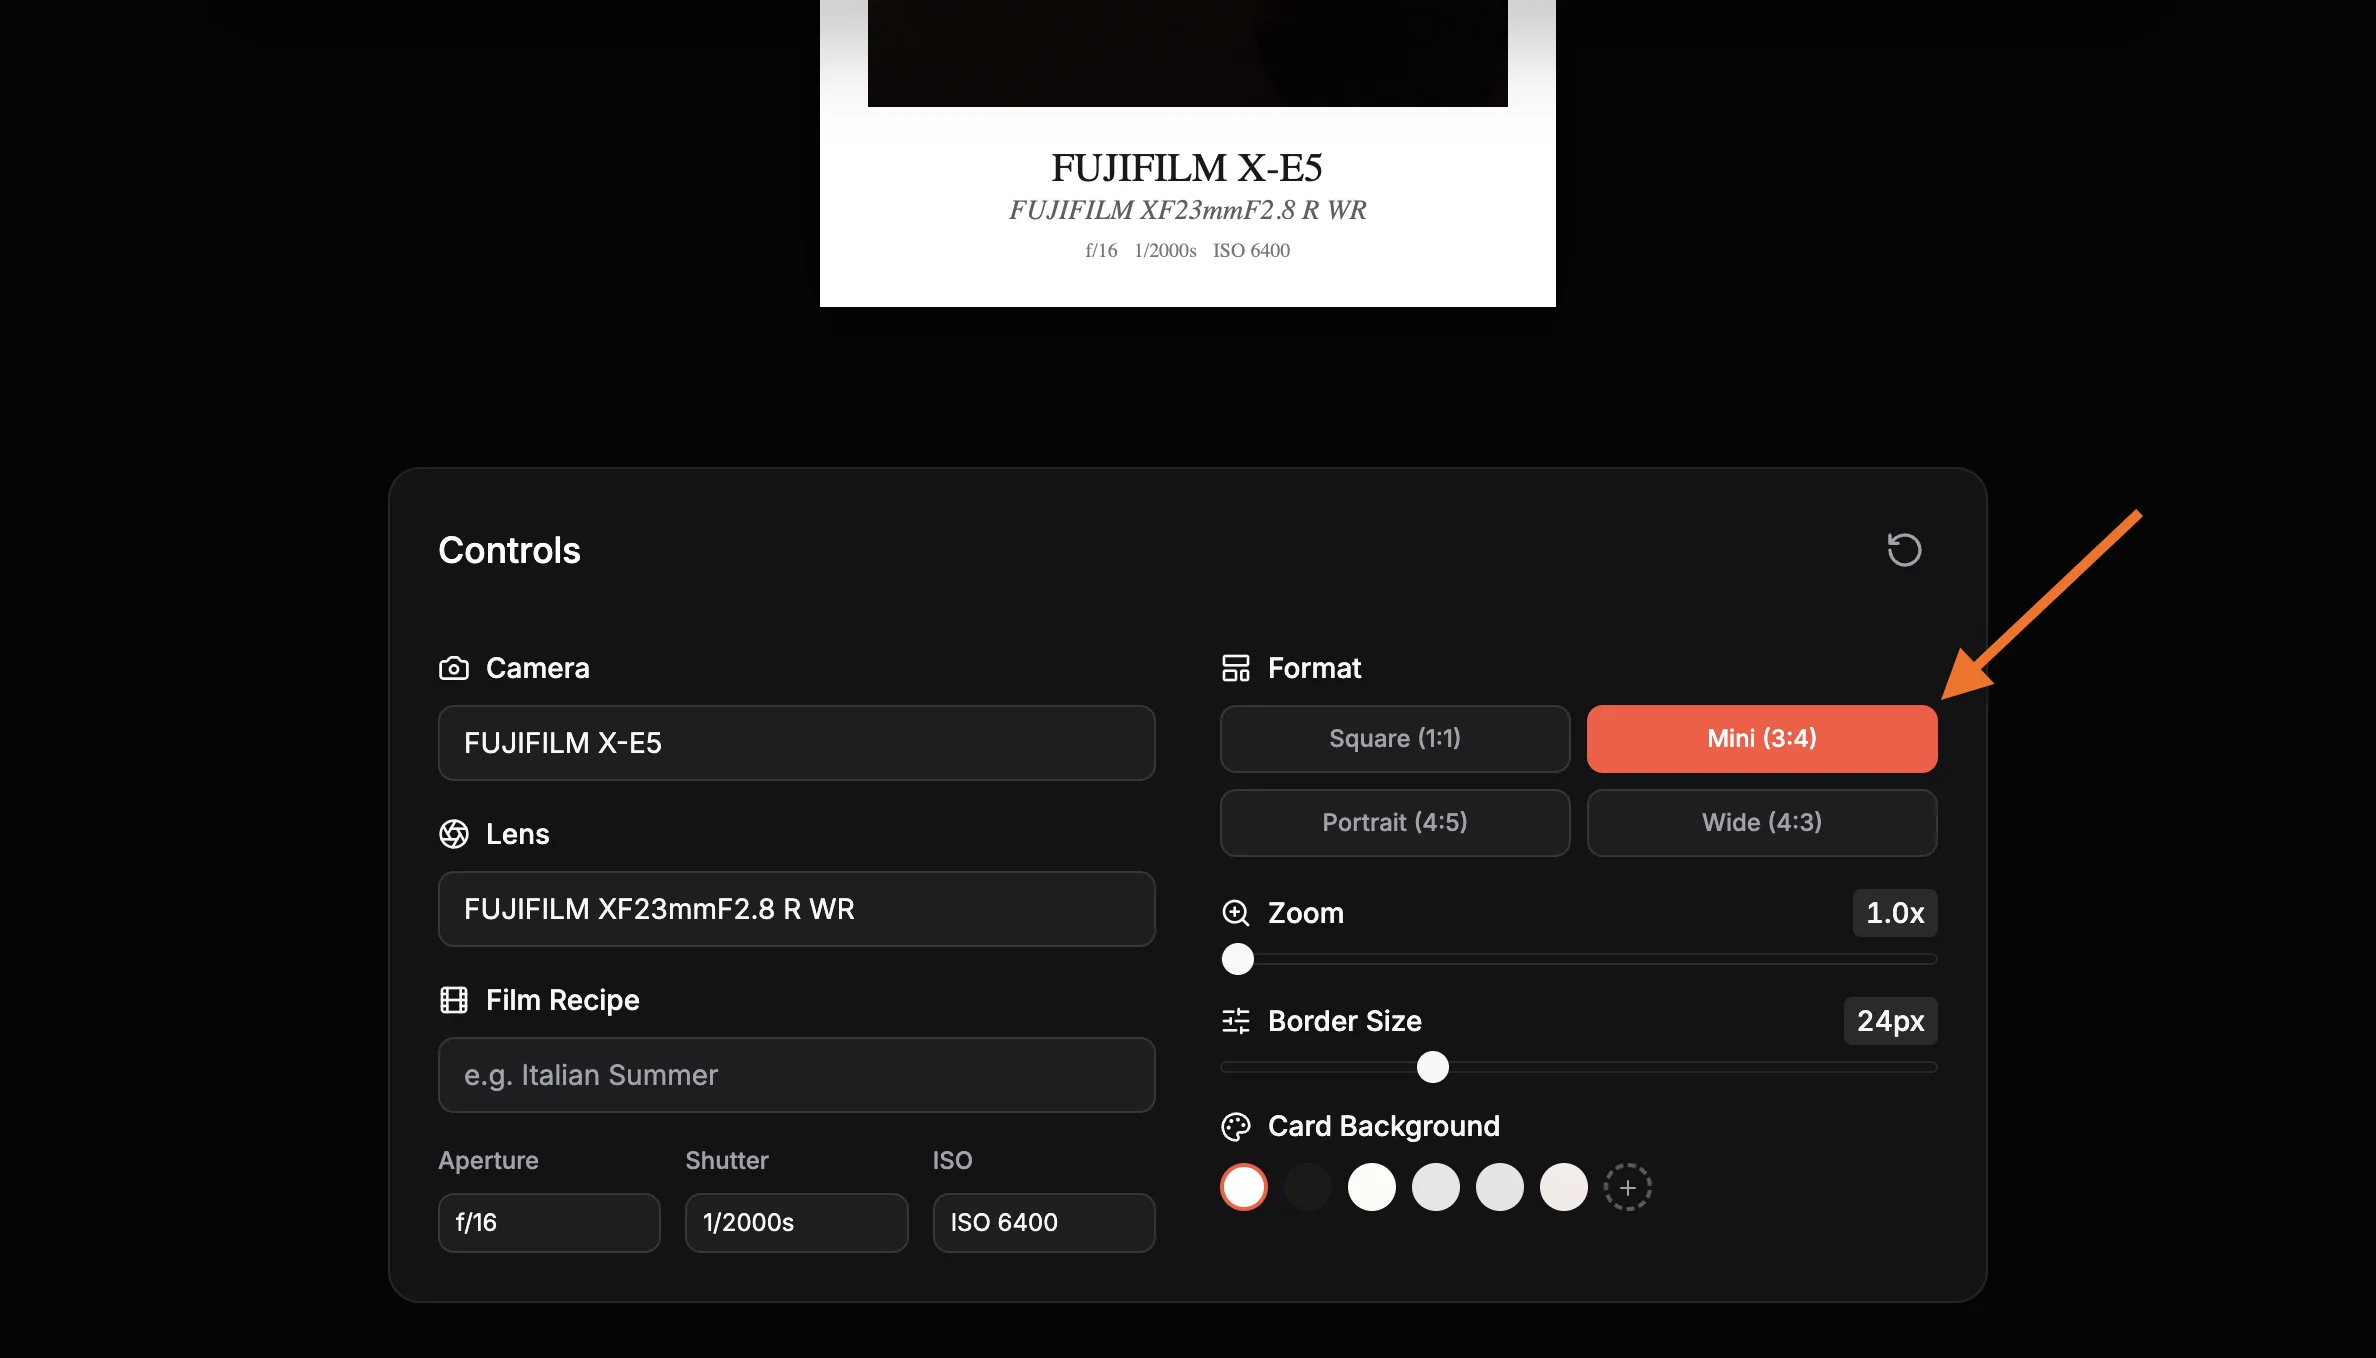
Pick the shape that matches your destination. Square (1:1) is perfect for Instagram posts and feeds. Mini (3:4) replicates the classic instax mini format. Portrait (4:5) is ideal for Instagram portraits and vertical content. Wide (4:3) gives a cinematic feel reminiscent of polaroid spectra. Each format changes the card proportions while keeping the signature bottom margin where your camera settings are displayed.
Crop, Zoom, and Position
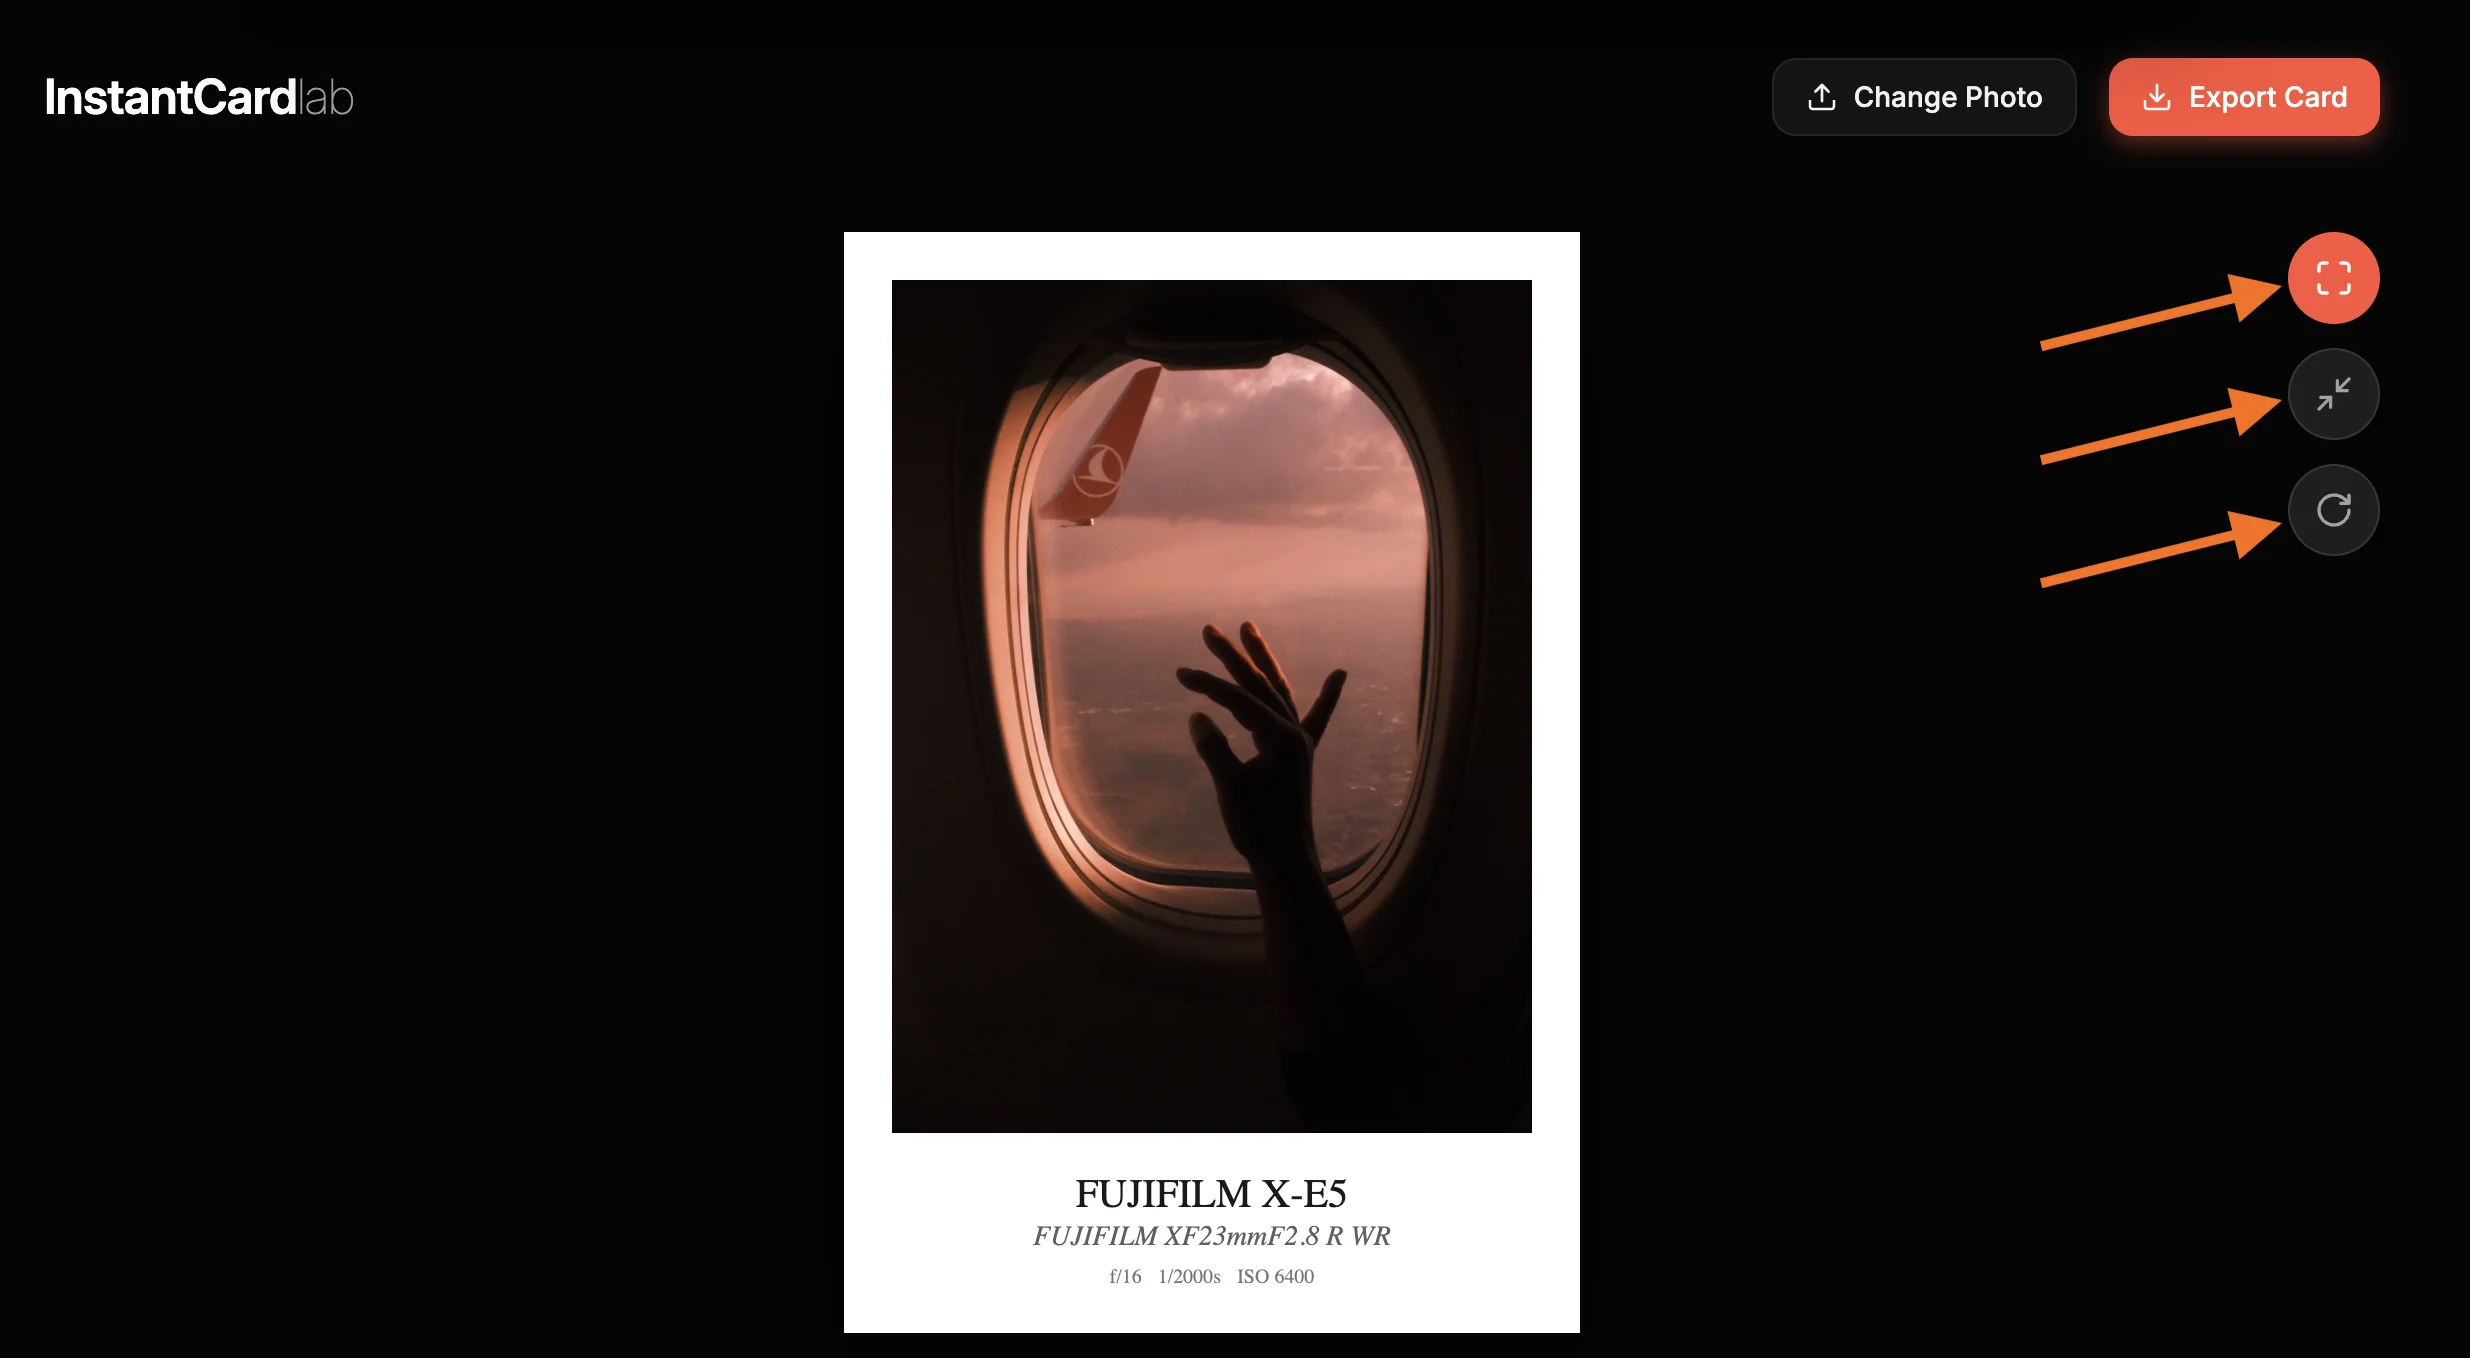
Use the floating toolbar to control how your photo fits inside the card. Toggle between "Fill" to cover the entire frame, or "Fit" to show the whole image with letterboxing. Drag to reposition, zoom in for detail, or rotate in 90-degree increments to fix orientation. This gives you full control over the composition without needing Photoshop or Lightroom.
Style Your Card
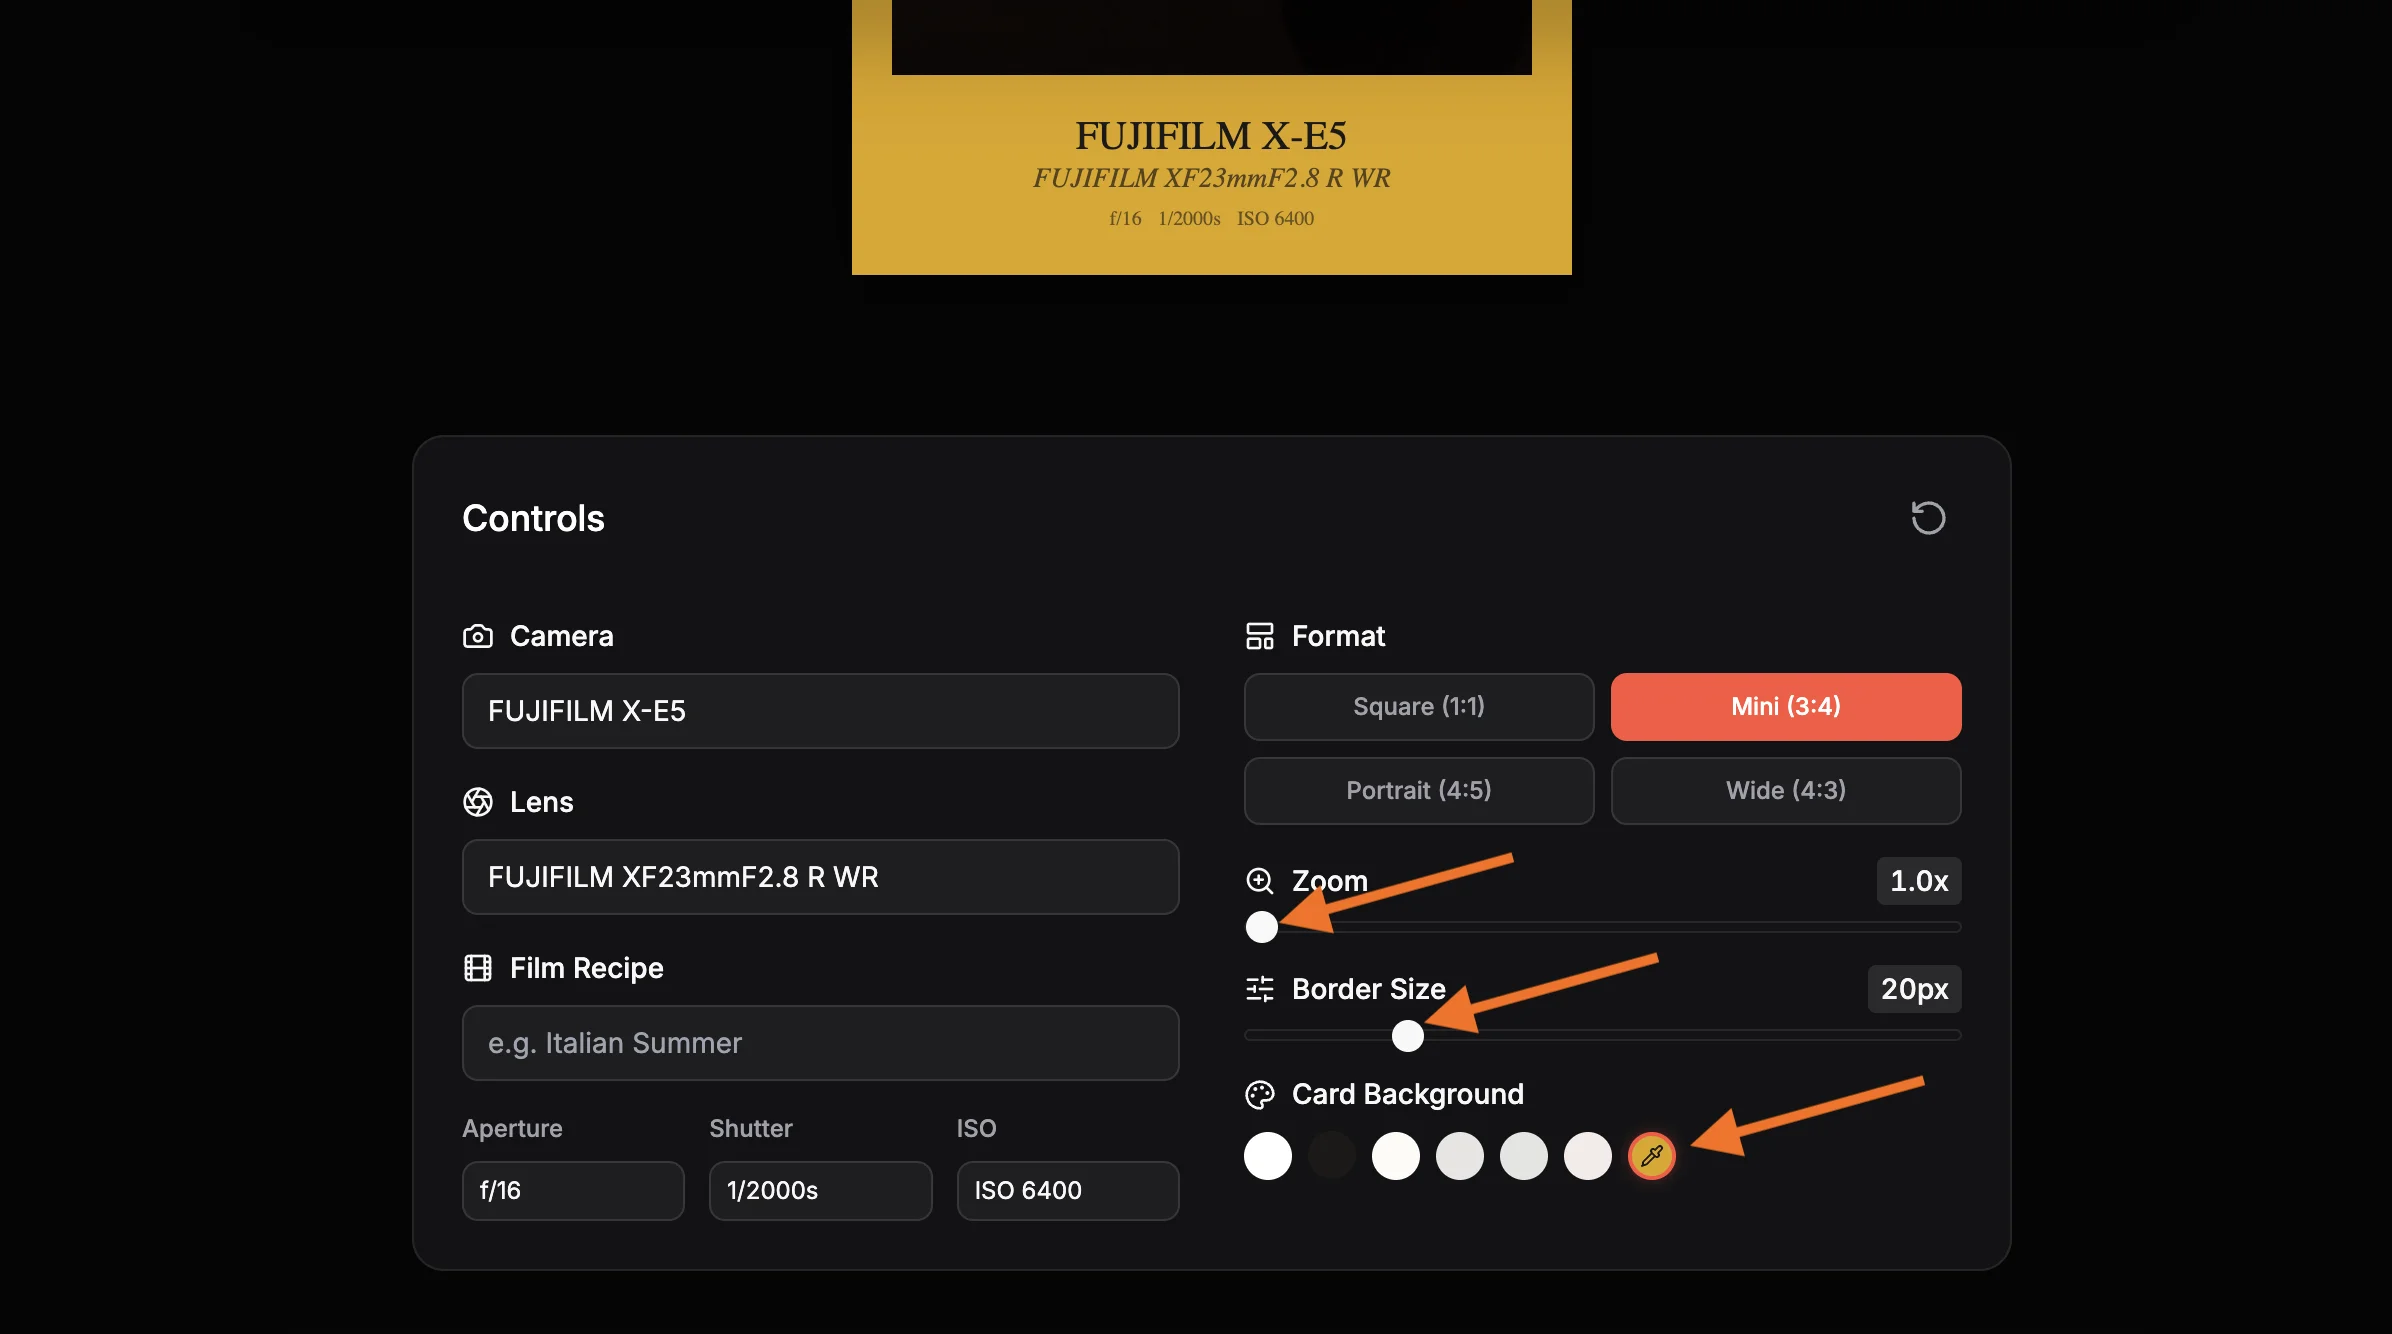
Adjust the Border Size slider to control the thickness of the frame around your photo. For an authentic instax mini look, use a thicker border. For a sleek modern polaroid style, keep it moderate. Then pick a Background Color. White and Cream give the classic instant film aesthetic. Black creates dramatic contrast. Sage and Blush add trendy aesthetic variations. You can also enter any custom hex color to match your personal brand or the mood of the photo. If you want a plain white border for your regular posts instead of the full card format, Whiteborder Lab handles that with the same one-click, private processing.
Add a Film Recipe and Export
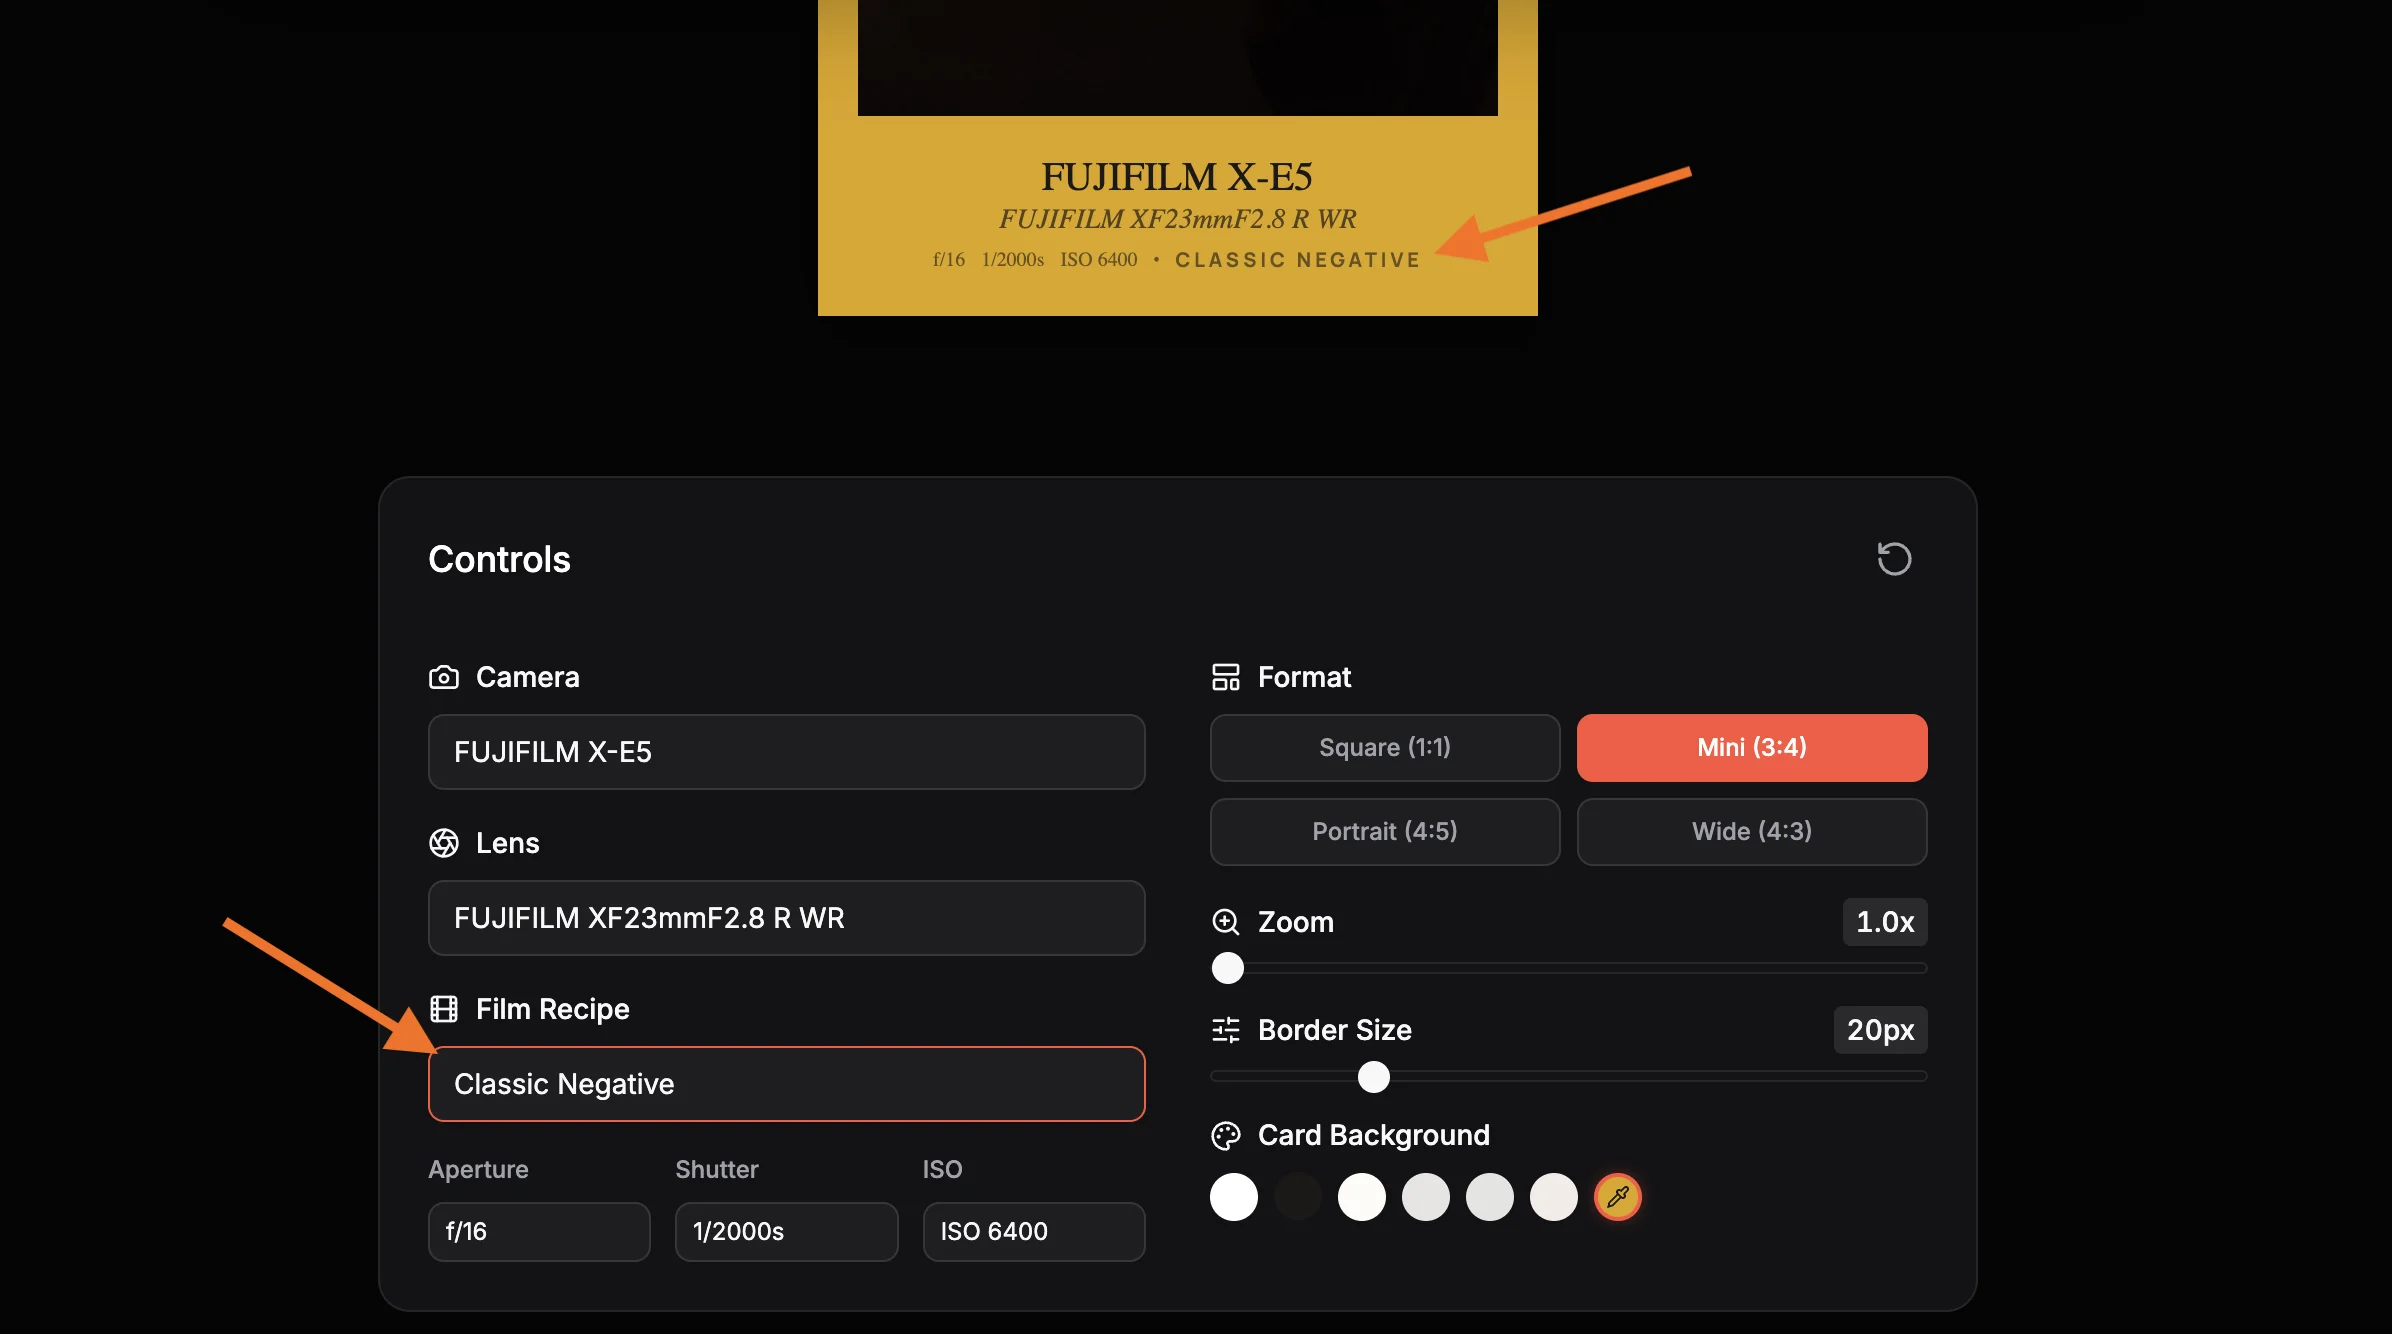
Type your film recipe name into the Film Recipe field. This could be a Fujifilm film simulation like Classic Negative or Acros, or a custom recipe name like Italian Summer or Grain Noir. The recipe name appears in elegant uppercase lettering at the bottom of the card, alongside your camera settings. When everything looks right, click "Export Card" to download a high-resolution JPEG at 3x pixel density. The file is ready to post on Instagram, Threads, or print as a physical photo card.
Quick Settings Reference
| Setting | Options | Best for |
|---|---|---|
| Format | Square, Mini, Portrait, Wide | Square = Instagram; Mini = instax mini; Portrait = vertical content; Wide = cinematic |
| Border Size | 8px to 64px | Thicker borders = more authentic instant film look |
| Background Color | White, Cream, Black, Sage, Blush, Custom | White/Cream = classic Polaroid; Colored = aesthetic Instagram |
| Object Fit | Fill or Fit | Fill = crop to frame; Fit = show entire image |
| Export Quality | JPEG at 92%, 3x pixel density | Print-ready and crisp for social media |
Frequently Asked Questions
Guides & Tutorials
Other Tools
Halation Lab
CineStill 800T film halation effect
CineStill 800T Preset
Preloaded iconic red glow settings
Whiteborder Lab
Custom borders & aspect ratios
Film Border Generator
Classic film look border
Double Border Generator
Sharp double frame border
InstantCard Lab
Photo cards with camera metadata
Carousel Lab
Seamless Instagram carousels
Grading Lab
Color palette extractor
FotoZine Lab
Create printable photo zines
Camera Finder
Find your perfect Fujifilm