How to Organize a DaVinci Resolve Project: Bins, Timelines, and Naming
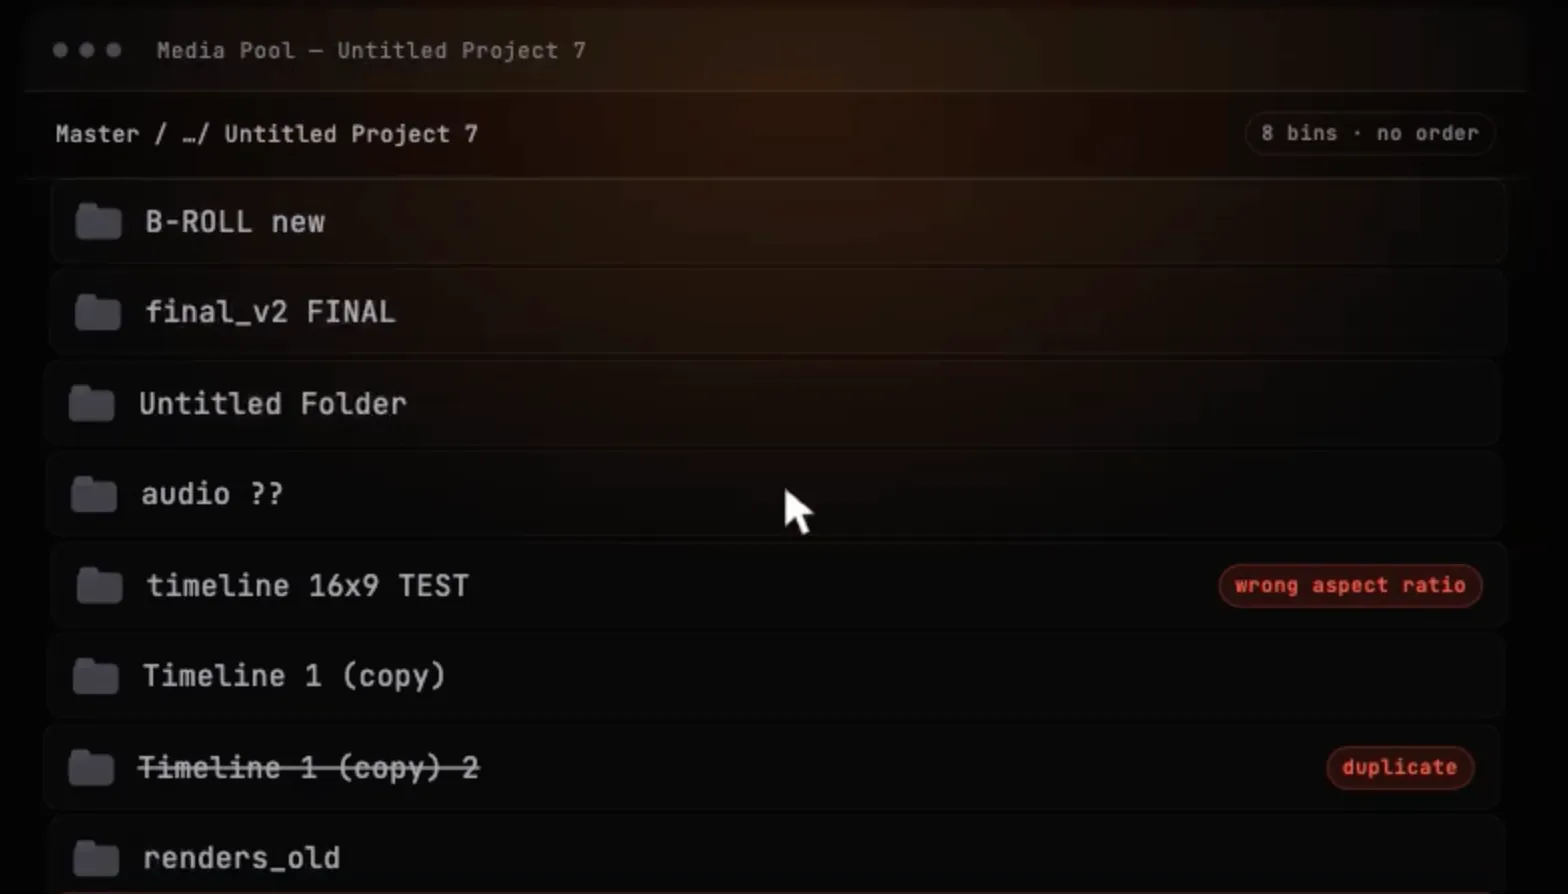
Most of my editing problems are not editing problems. They are finding problems. The clip I know I shot, somewhere in a bin of 400 files named C0001 to C0412. The sound effect I liked in a video from last year, buried in a folder called sfx_final_2. The export I rendered at 1 a.m., written to a location I cannot reconstruct the next morning.
I already told the story of the template I built to escape this. Since then, a few people asked what was actually inside it. So here is the system itself, piece by piece. Everything below works in the free version of DaVinci Resolve, with no plugins and nothing to buy. You can build the whole thing in one afternoon.
Bins first, footage second
The most common mistake is importing before the structure exists. You drag a card into the Master bin, tell yourself you will sort it later, and later never comes. Two projects in, the Media Pool is a pile.
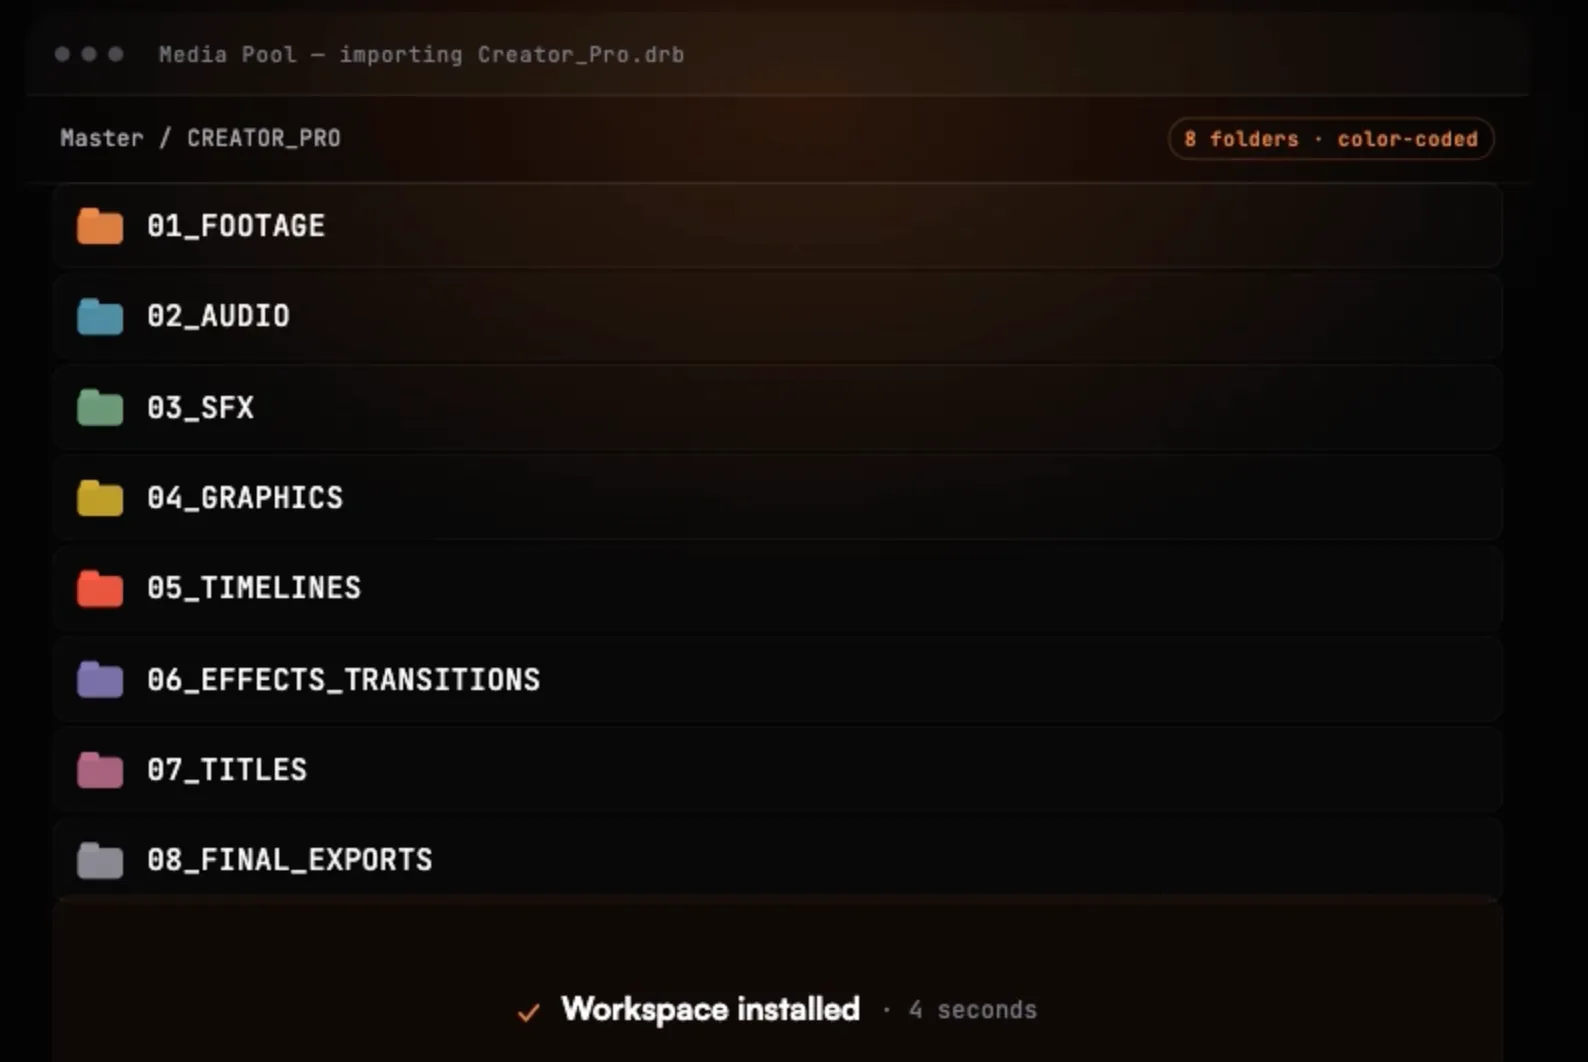
So the rule is: create the bins first, import second. In my projects, the Media Pool always starts with the same folders: footage, audio, graphics, timelines, exports. Footage splits into main and b-roll. Audio splits into voice, music, and sound effects. Graphics holds logos, stills, and lower thirds. Timelines holds every timeline, nothing else. Exports holds the stills and reference frames I pull out along the way.
Five top-level bins covers most projects. My own version grew three more over time: sound effects split out of audio, effects for adjustment layers, and titles for templates I reuse. Eight total. If yours passes nine or ten, the categories are probably wrong, not the project.
Name things for the tired version of you
Naming is what saves you at 1 a.m. three months from now.
My timelines carry the deliverable and the version: YT-4K24_v03, REELS-9x16_v01. One timeline per deliverable, so I never hunt for "the vertical cut" inside a sequence called timeline 7. When I make a structural change, I duplicate the timeline and increment the number. The old version stays. It costs nothing, and it has saved me more than once.
Exports follow the same logic: project_format_v03.mp4. If clients are involved, I add the date. And one firm rule: nothing is ever called final. Every editor owns a folder containing final, final_v2, and final_REAL. Version numbers end that.
Clip color is free information
On the Edit page, right-click a clip and you can assign a clip color. I use one color per role: A-roll, b-roll, adjustment clips, nested timelines. Once set, the timeline reads at a glance. You can see the shape of the edit, where the b-roll sits, how often the adjustment clips hit, without playing a second of it.
Markers do the same job for notes. A marker on the timeline ruler with a short comment ("re-record this line", "check the grade") stays attached to the exact frame, and the Edit Index can list them all in one place. To-do lists inside the project, not in a separate app I forget to open.
Power Bins: the feature nobody opens
Buried in the View menu is Show Power Bins. Whatever you drop into a Power Bin becomes available in every project in your project library, on that machine. Sound effects, logos, title templates, adjustment layers: anything you reach for on every edit should live there, collected once, instead of being re-imported project after project.
This single feature removed most of my "where did I put that file" moments. My whooshes and my film burns have had a permanent home for two years.
The disk matters as much as the bins
The Media Pool is an index, not a folder structure. Moving a clip between bins moves nothing on your drive. So I keep the same structure on disk: one folder per project, with footage, audio, graphics, exports, and project files inside it. When I archive, Resolve's Media Management tool copies just the media a timeline actually uses, and the project itself exports as a .drp from the Project Manager. The whole thing fits in one folder I can hand to a drive.
Set it up once
Everything above takes an afternoon to build. The trick is to build it one time, in an empty project, and keep that project as your starting point. Duplicate it, rename it, import, edit. Setup time per project: zero.
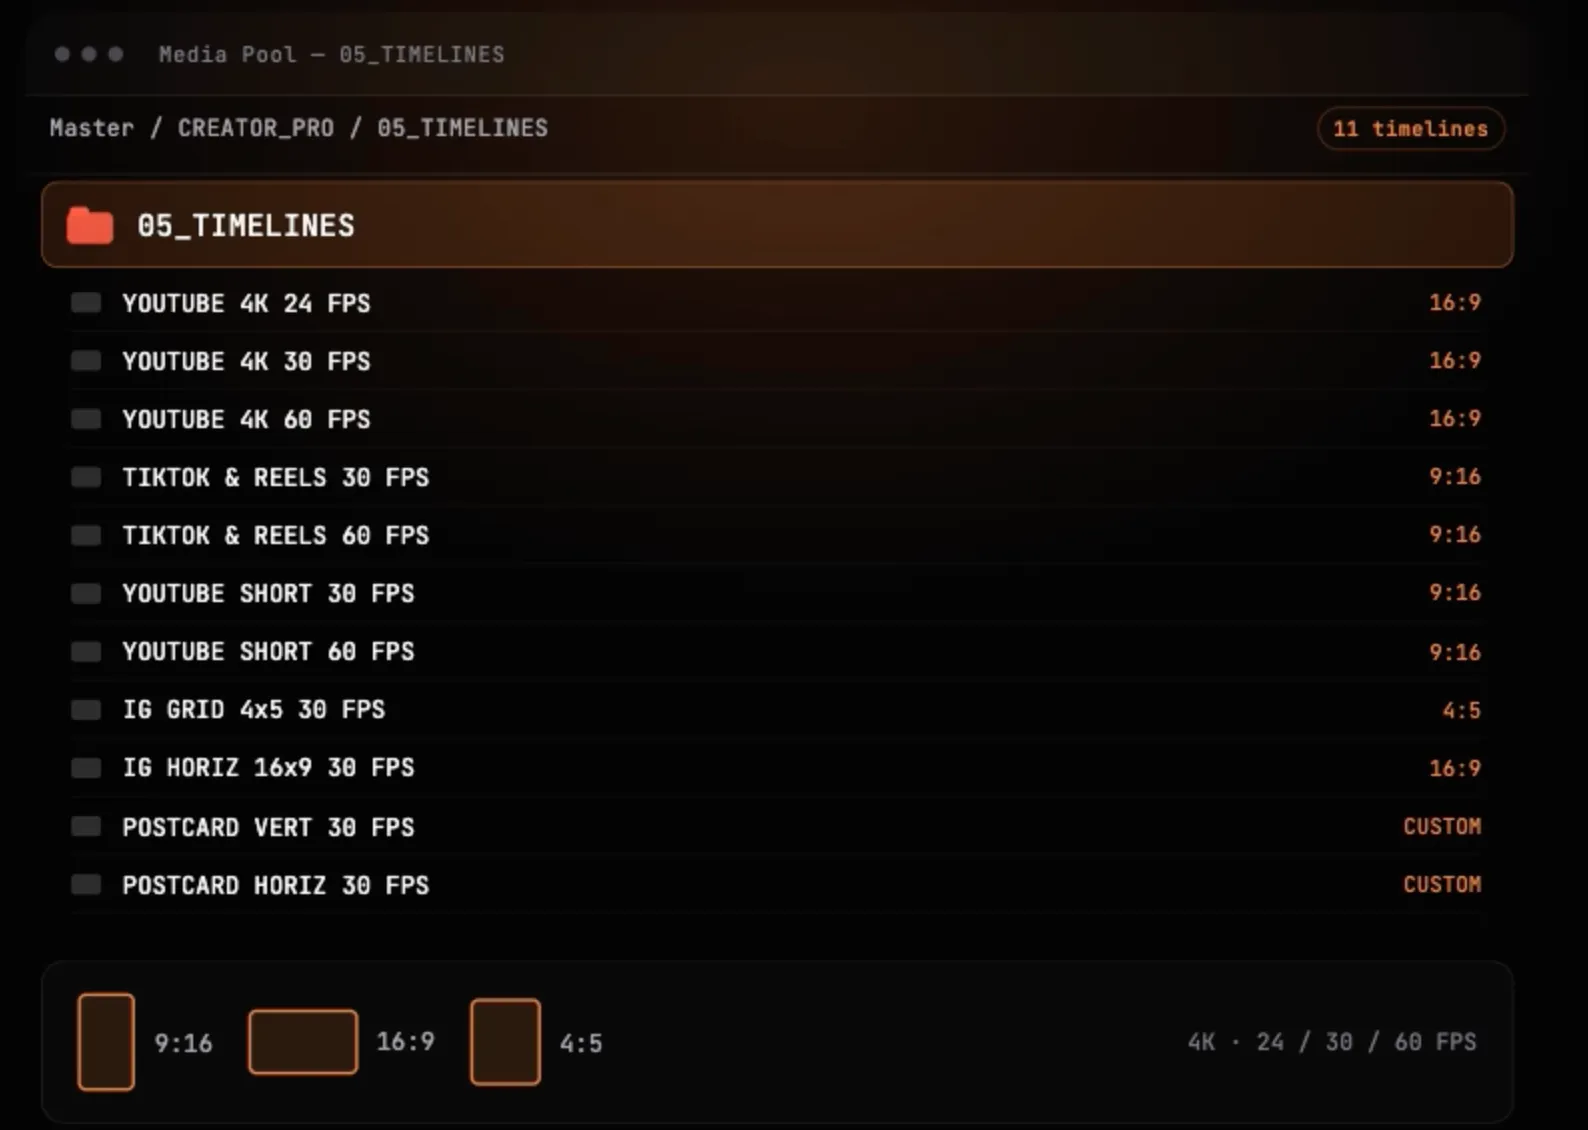
That pre-built starting point is exactly what I sell as Creator Pro: the eight folders, eleven ready timelines (YouTube in 4K at 24, 30 and 60 fps, TikTok, Reels, Shorts, Instagram 4:5), a sound library sorted by use, and drag-and-drop adjustment layers. €29, one-time. If you want the afternoon back, it is in my store. If you would rather build your own, this article has everything you need. Either way, you only solve project organization once.
If you take the template route, the install tutorial covers the fonts, the audio folders, and the relinking in about ten minutes.
Help me keep writing
If these articles are useful to you, have a look at what I make.
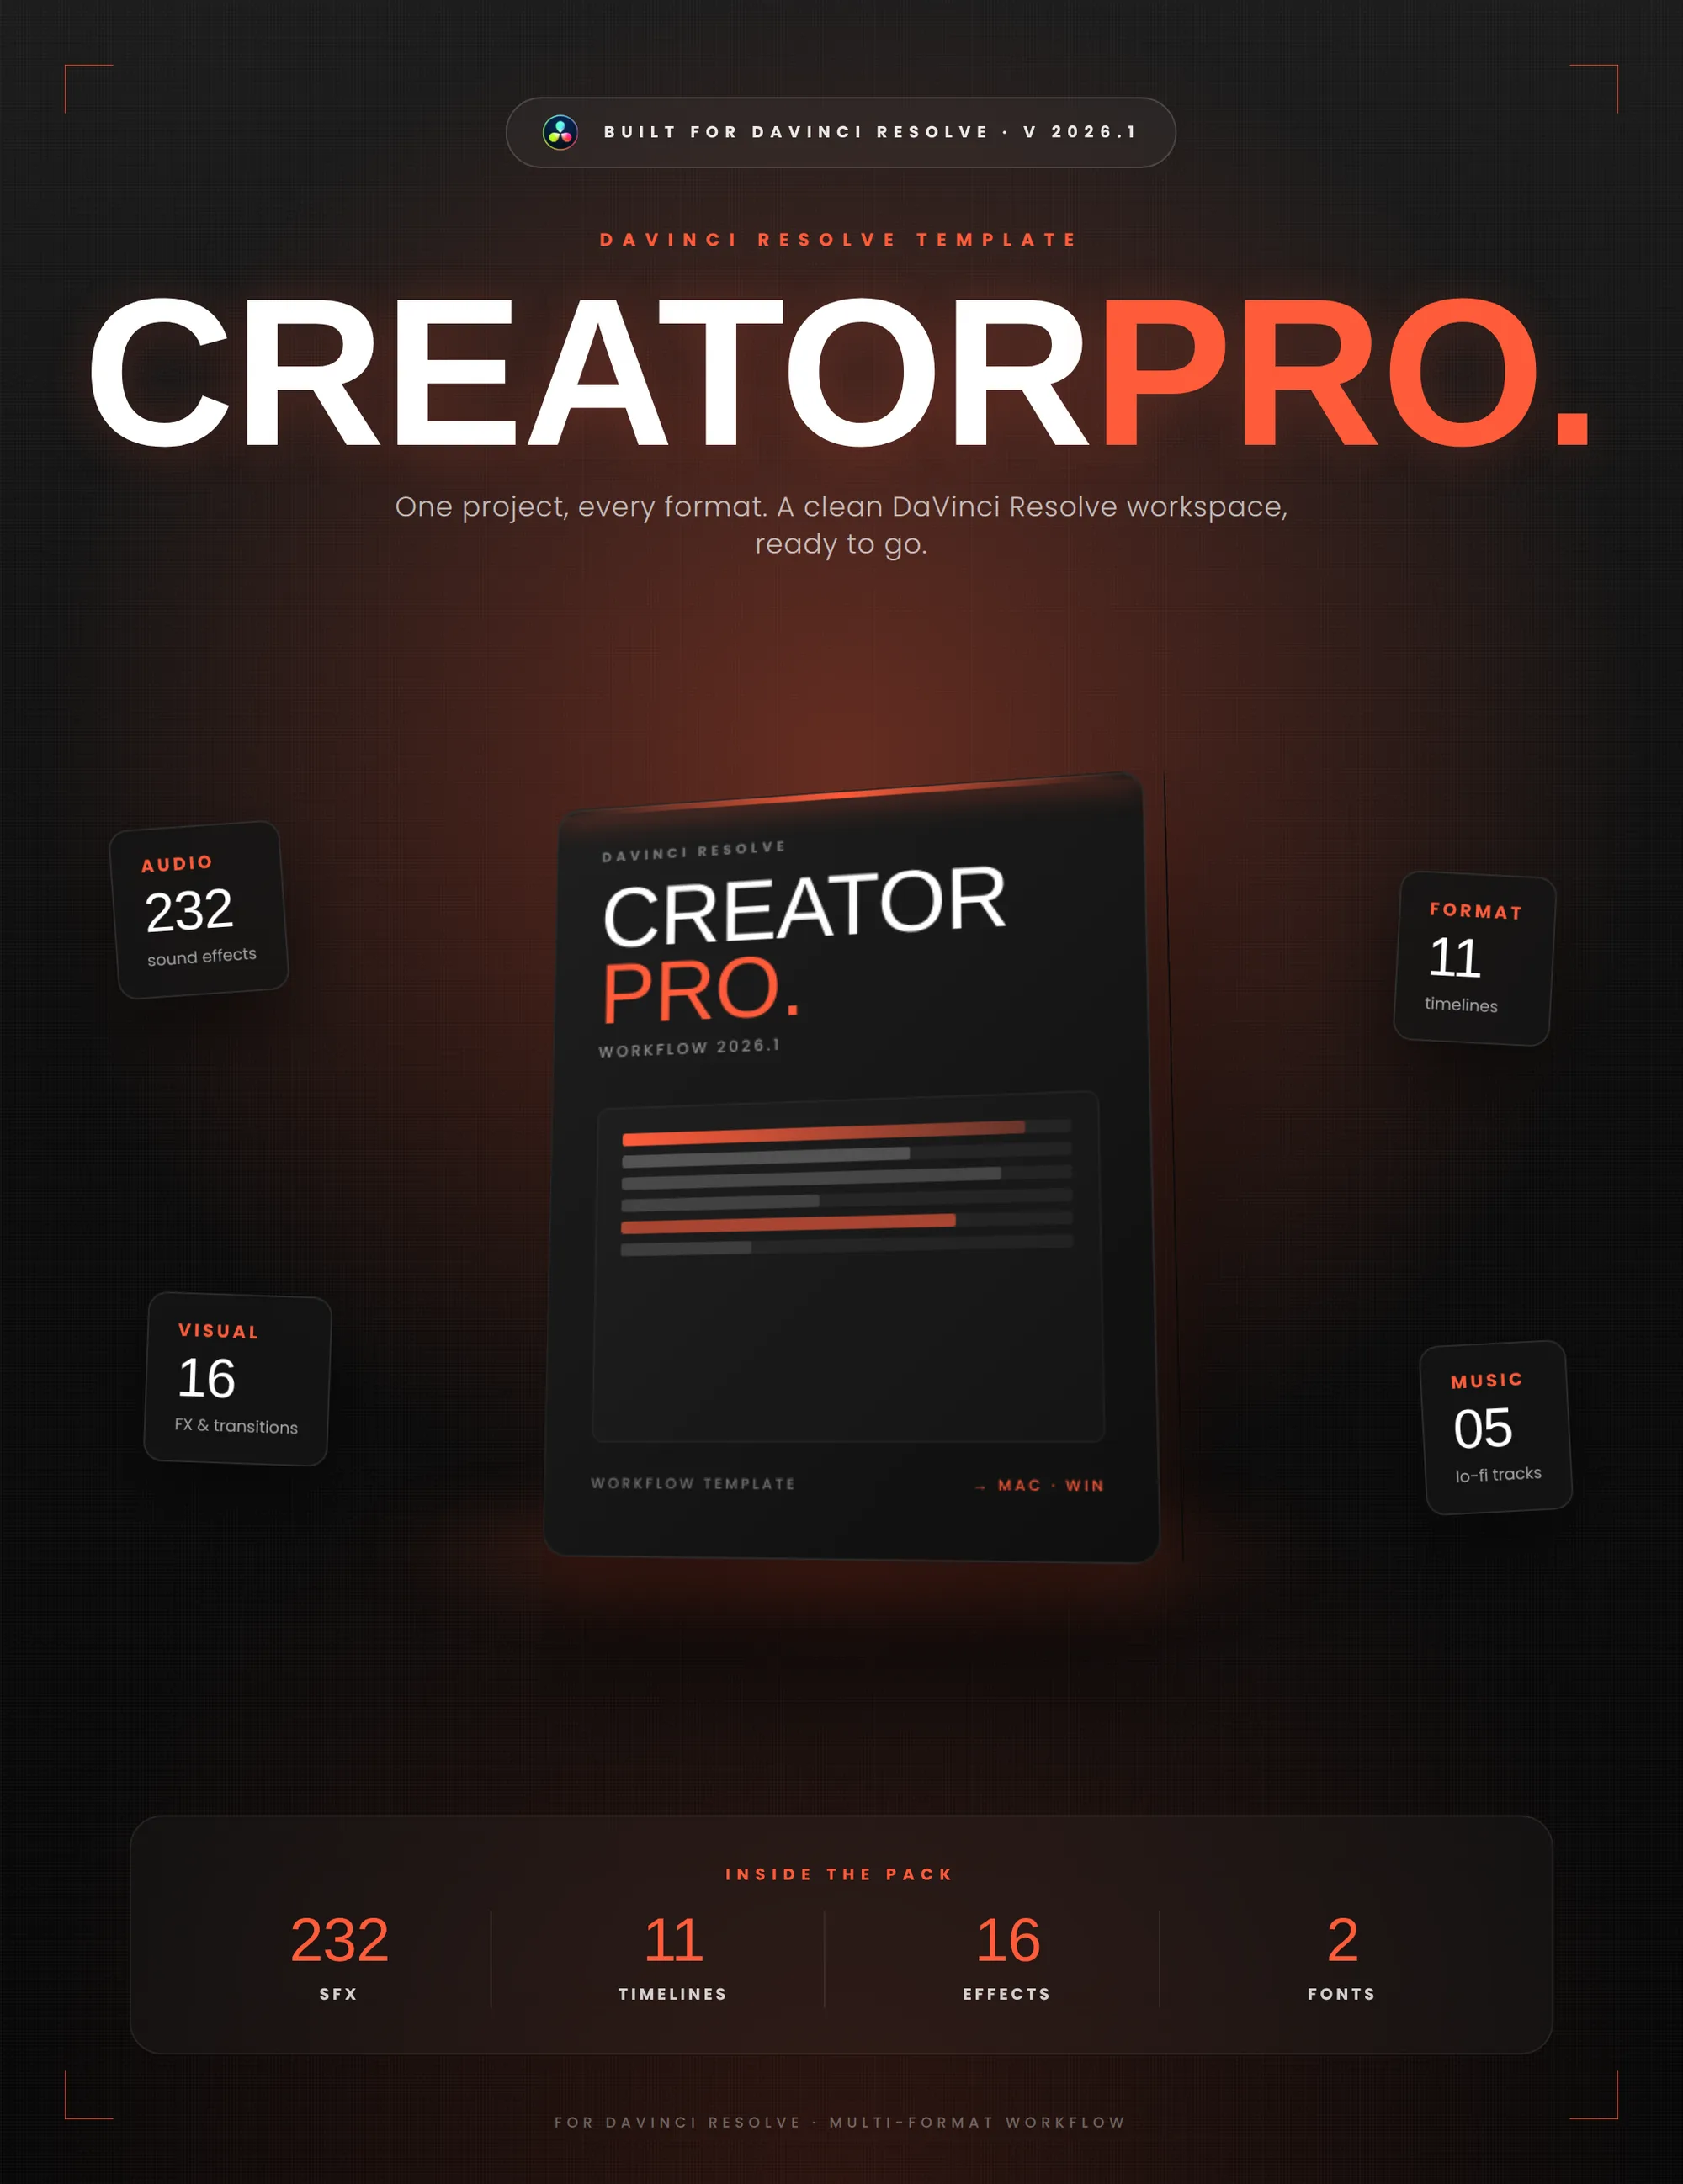
Creator Pro
The ultimate DaVinci Resolve workspace for creators
View plugin — €29.00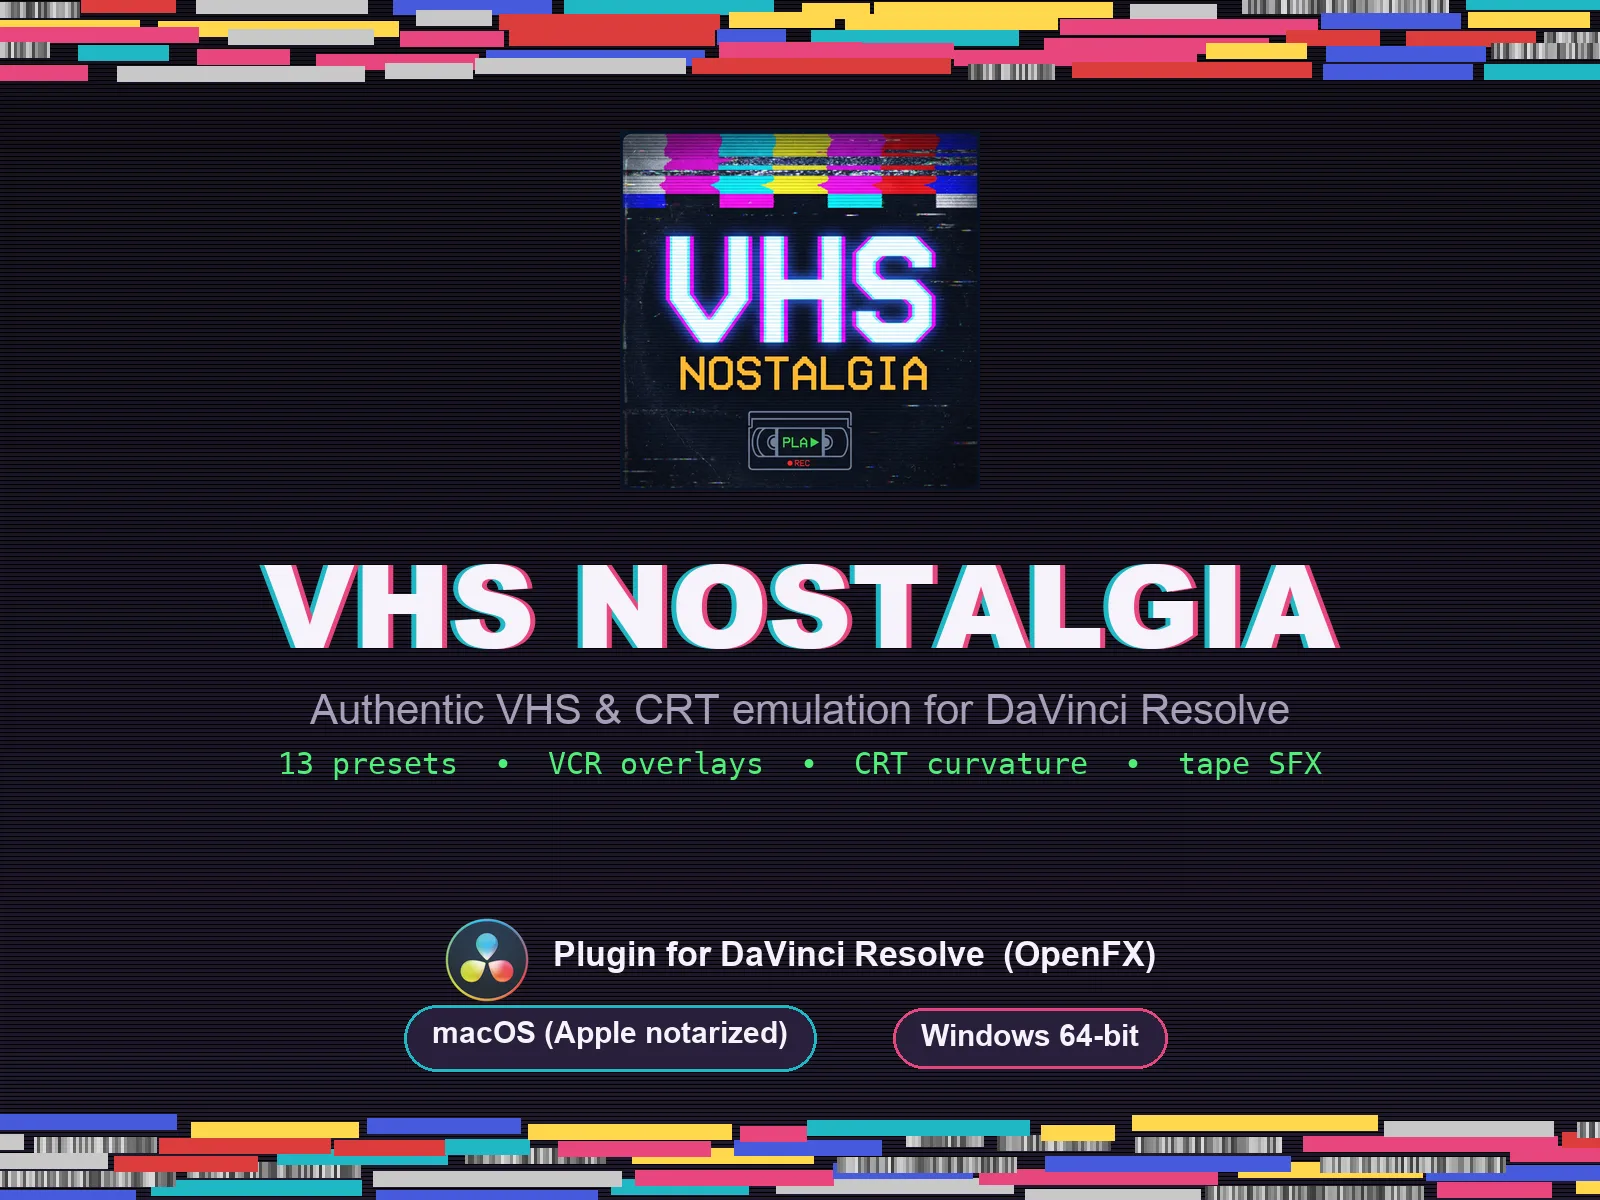
VHS Nostalgia
Real VHS & CRT emulation for DaVinci Resolve
View plugin — €39.00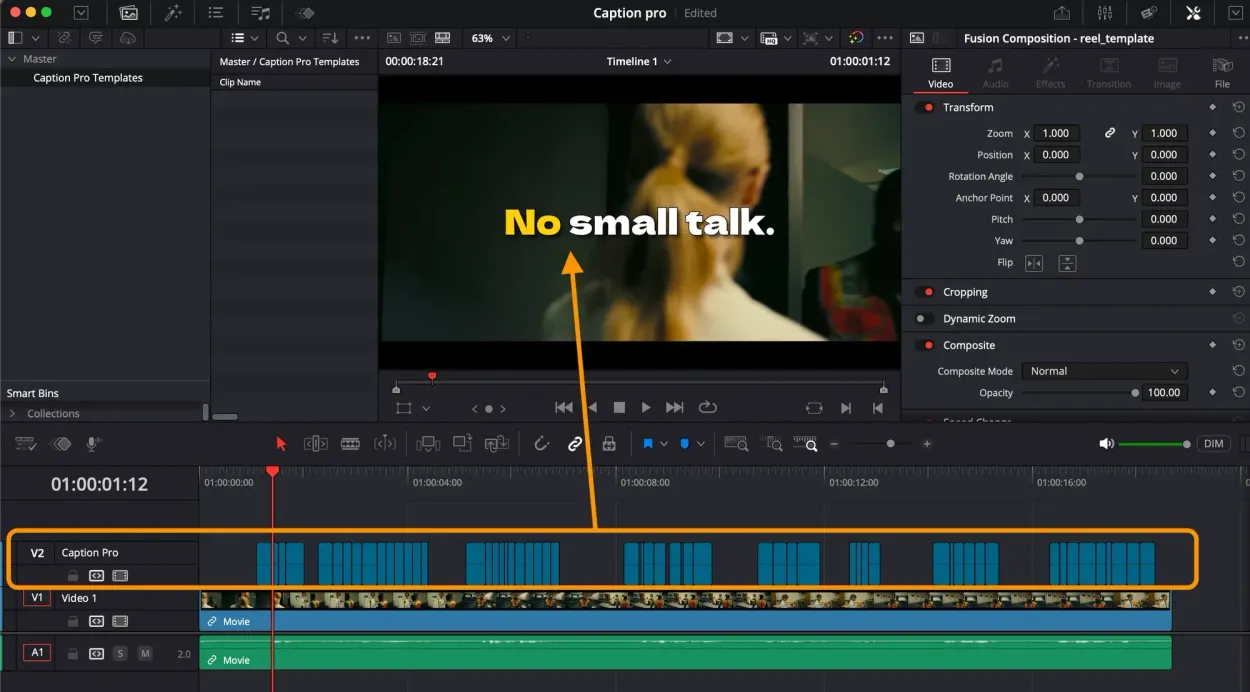
Caption Pro
Automatic word-by-word captions and translation for DaVinci Resolve
View plugin — €29.00
Get the zine
"Absorbed by the algorithm Vol. 1": 33 images shot in Paris, 28 pages, shipped worldwide.